Introduction
A hunt group is used to ring a specific group of users in a predetermined pattern within or across locations when a call is made to the phone number assigned to the hunt group. As business needs change, the admin can adjust the hunt group settings.
Create a Hunt Group
Administrators can create a hunt group within the admin portal. To create a hunt group, follow these steps:
-
- From the dashboard, select Hunt Group under Group Services.
- Click the Add icon.
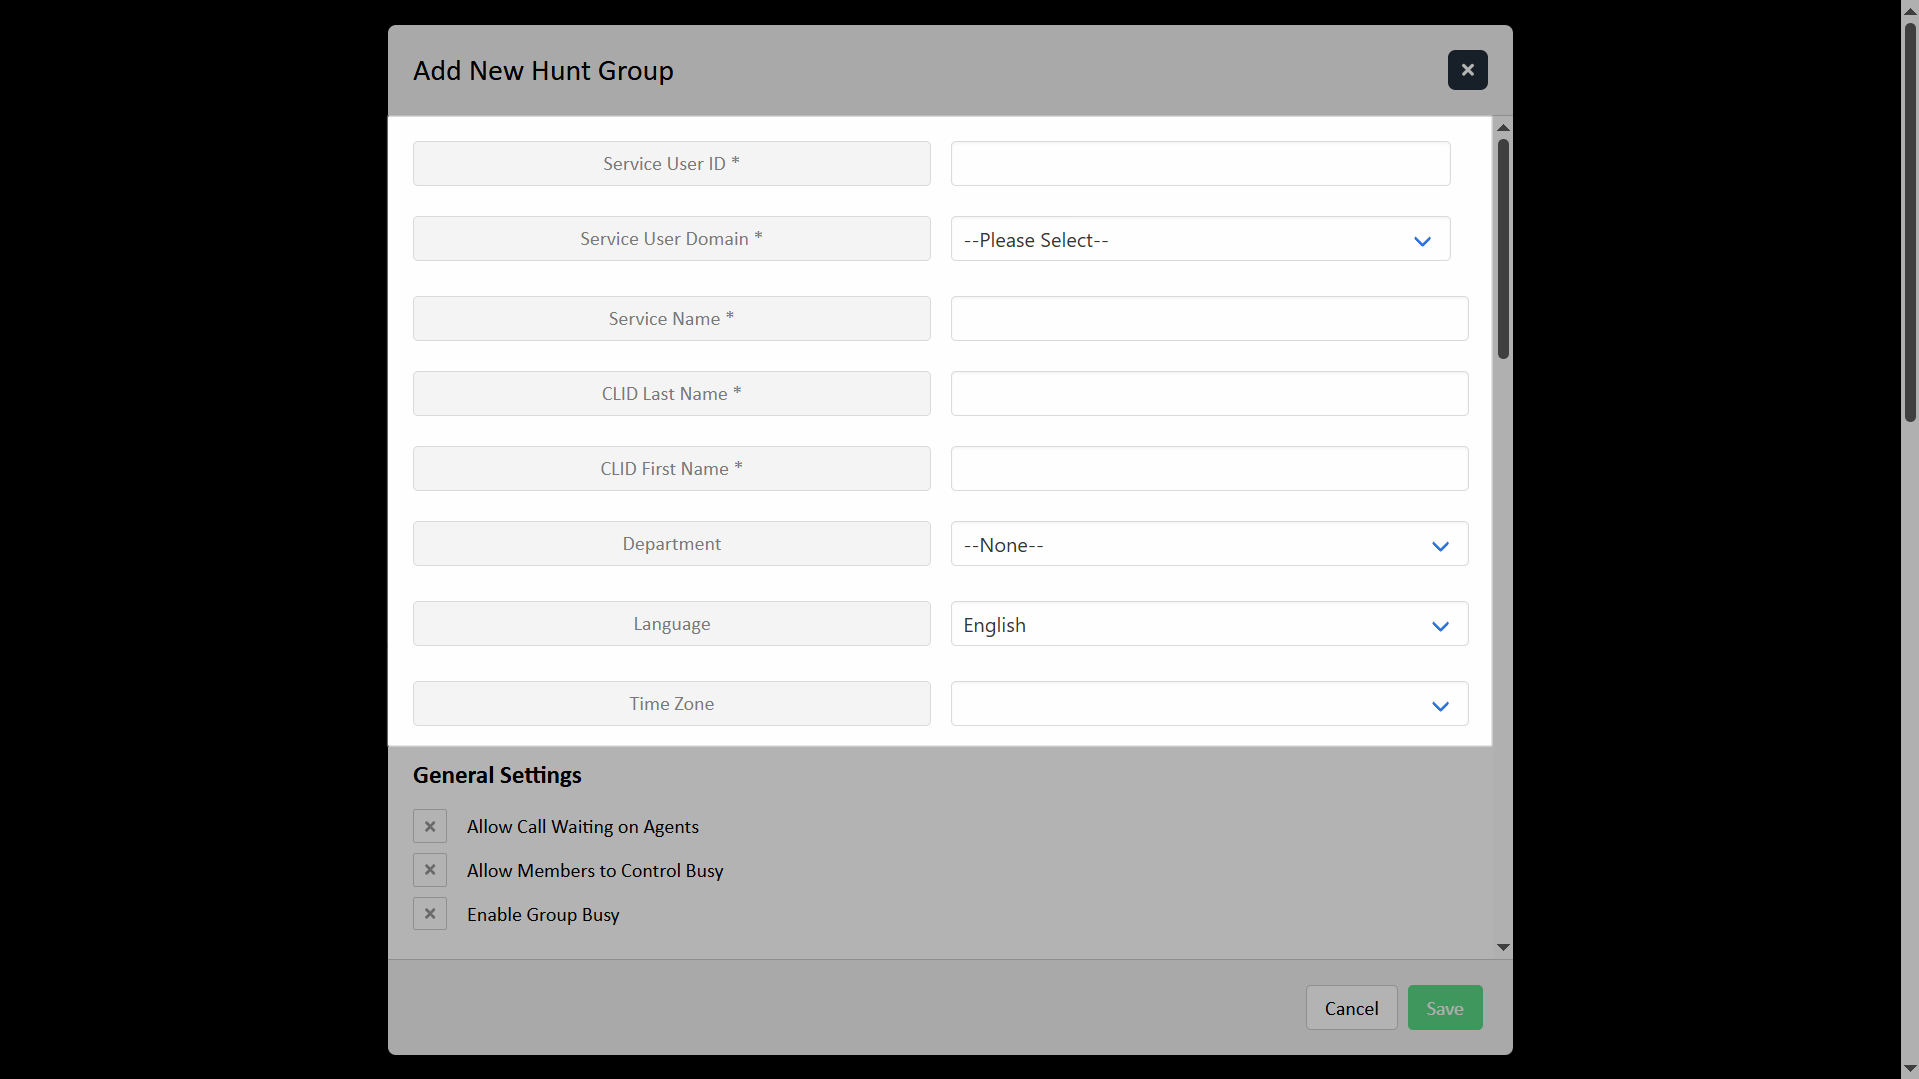
- Complete the following fields:
Note: Required fields are indicated with an asterisk (*).
-
-
- Service User ID* - Enter a unique Service ID for the Hunt Group. For extension-only Hunt Groups, use the format usrGroupIDExtension (no dash), such as usrZZZ19000007019999 or usrPRS11000999019999. This ID cannot be changed after the Hunt Group is created. Hunt Groups typically do not use a 10-digit phone number and are usually accessed through a virtual seat, another Hunt Group, or an auto attendant.
- Service User Domain* - This is always voicecci.net.
- Service Name* - Name of the hunt group you want showing in the group list. Be descriptive.
- CLID Last Name* - “Last name” of the hunt group.
- CLID First Name* - “First name” of the hunt group.
- Department - Not required. If desired, you can assign a department.
- Language - Not required. Defaults to English.
- Time Zone - Not required. Defaults to the group time zone.
-
Configure your desired settings, including:
General Settings — You can enable and disable the following:
-
-
- Allow Call Waiting on Agents - When enabled, agents can receive a new call from the hunt group while already on an active call.
- Allow Members to Control Busy - Allows individuals to enable or disable the group's "busy" status using a feature access code or phone button, preventing new calls from being routed to the hunt group.
- Enable Group Busy
-

Choose the Group Policy. This is how calls ring to assigned agents. Options include:
-
-
- Circular - Rings agents one-at-a-time, always in the same order.
- Regular - Rings agents one-at-a-time, always starting with the agent configured at the top of the Selected list, followed by the agents listed beneath, in sequential order.
- Simultaneous - Rings all assigned agents at once.
- Uniform - Rings the agent in the group who has been idle the longest.
- Weighted - Directs a certain percentage of calls to individual hunt group agents. Note: Users assigned a 0% weight only receive calls if all other agents are busy.
-
No Answer Settings
-
-
- Check the box next to Skip on No Answer to enable this setting and select the number of rings.
- Check the box next to Forward After Timeout to forward calls after a set number of seconds. Enter the number of seconds and the Forward To number.
-
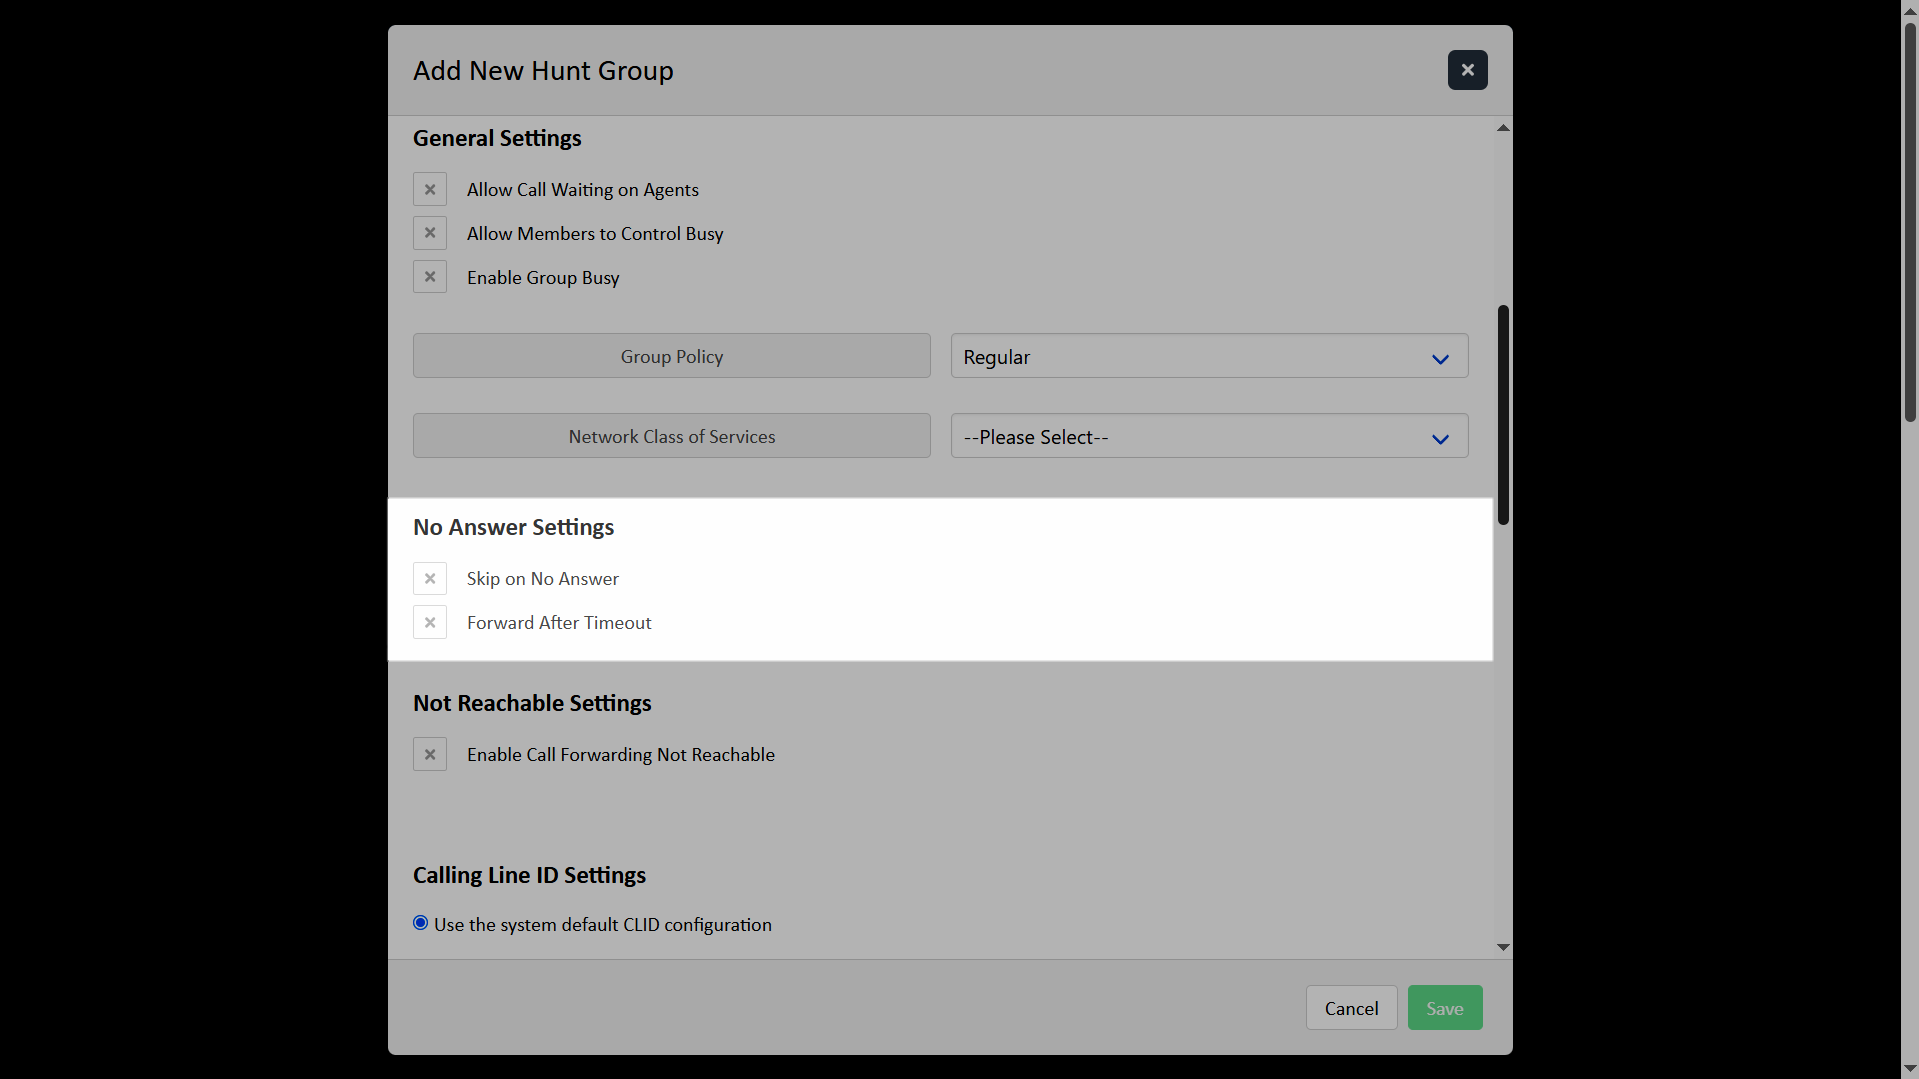
Not Reachable Settings
-
-
- Check Enable Call Forwarding Not Reachable to forward calls to a specific number when no agents in the hunt group are available. Enter the Forward To number.
-
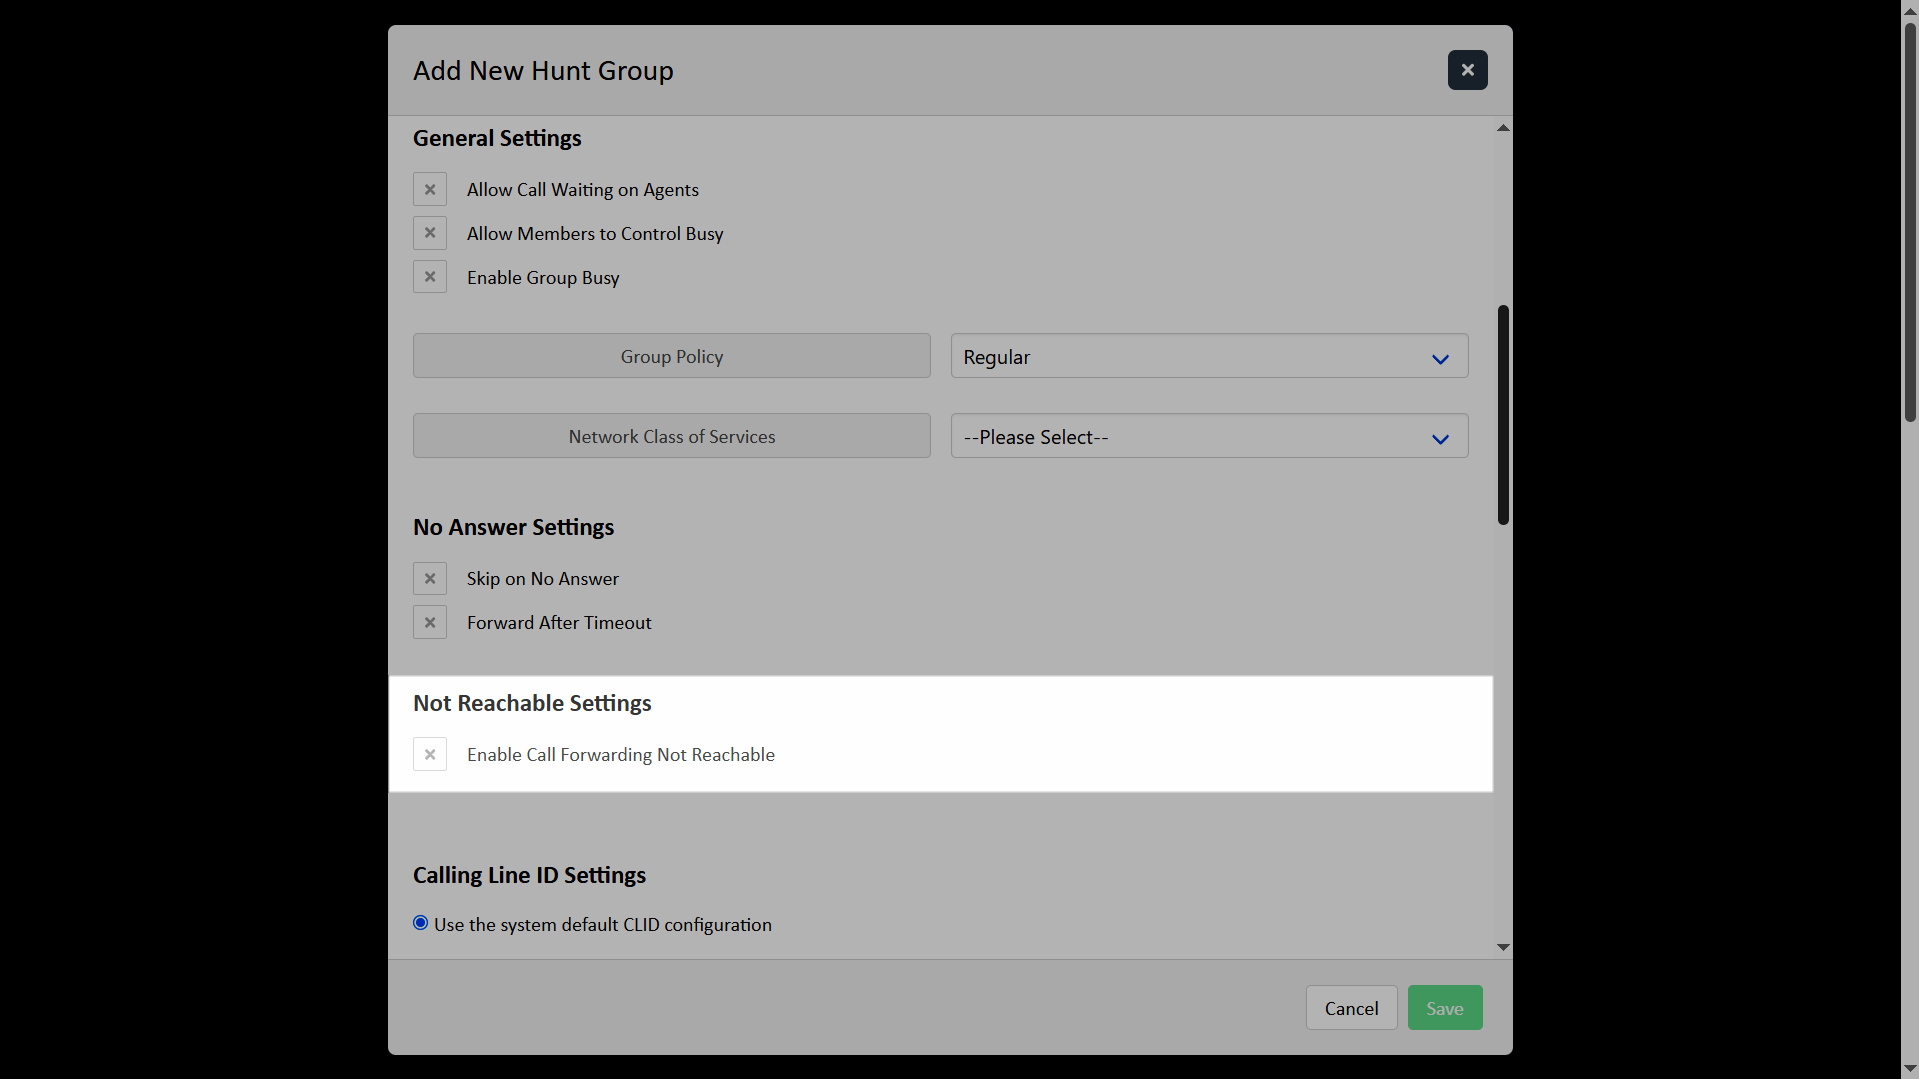
Calling Line ID Settings
Modify the Calling Line ID settings to include using either the default CLID configuration or customizing it.
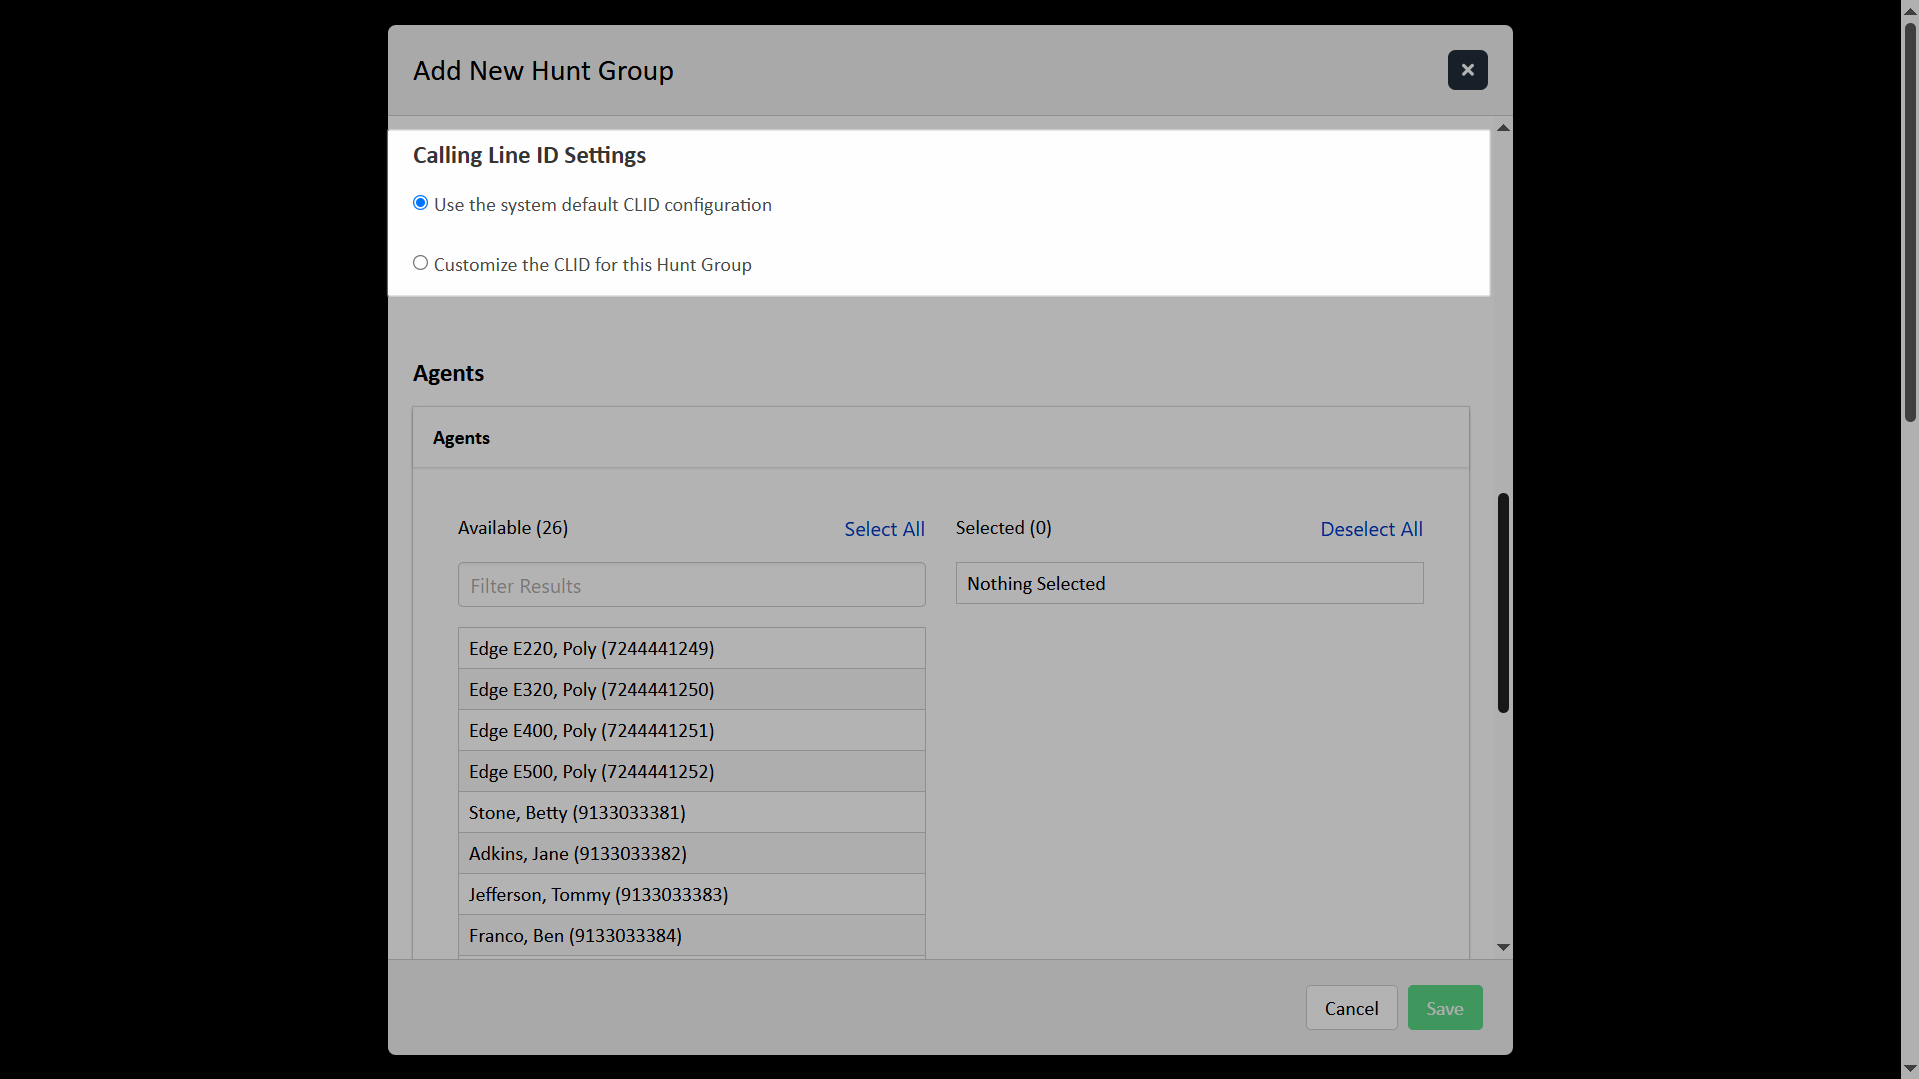
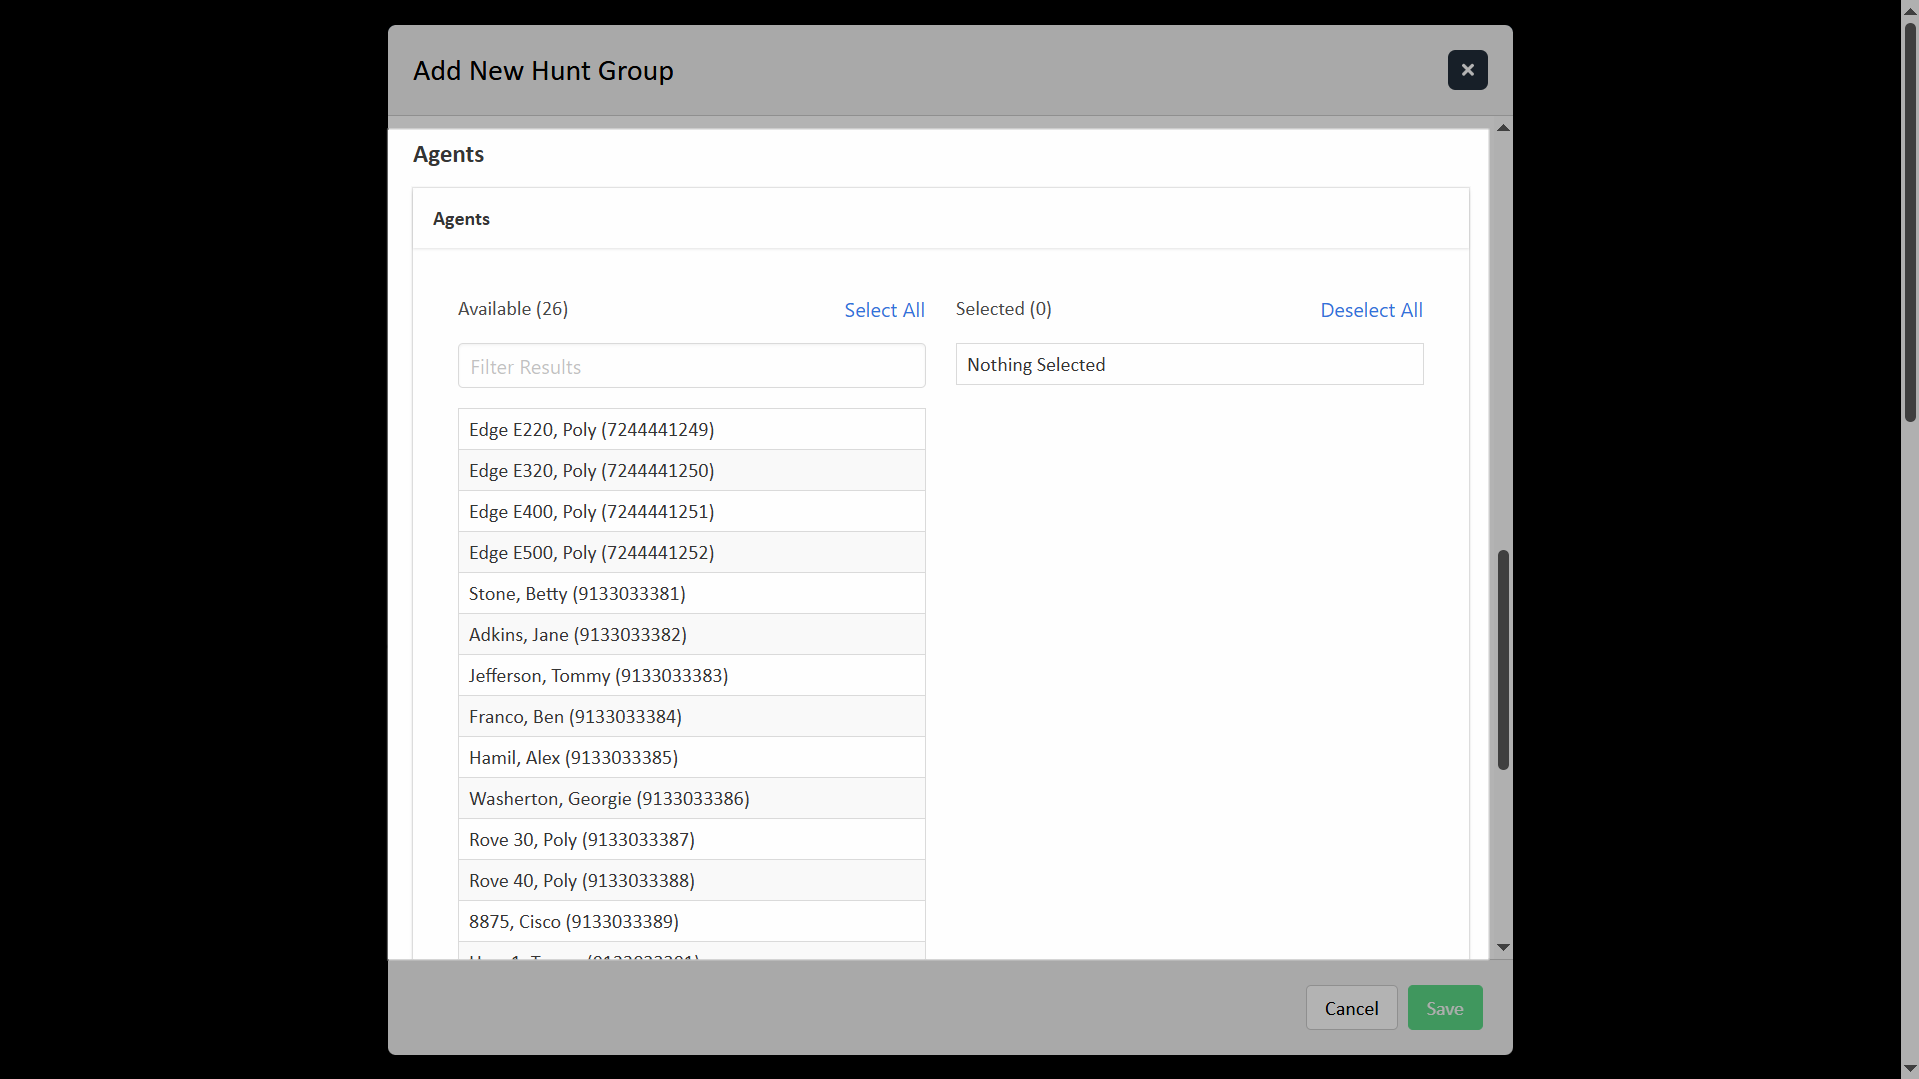
-
- Add Agents by selecting them from the Available list. To move all agents, click Select All. To remove selected agents, click their name within the Selected list. To remove all selected agents, click Deselect all.
- When all required and desired fields are complete, click Save. The hunt group now appears in your list and is set to Active.
Modify a Hunt Group
Administrators can modify existing hunt groups within the admin portal. To view and modify a hunt group, follow these steps:
- From the dashboard, select Hunt Group under Group Services.
- A list of the hunt groups assigned to this group/location are displayed.
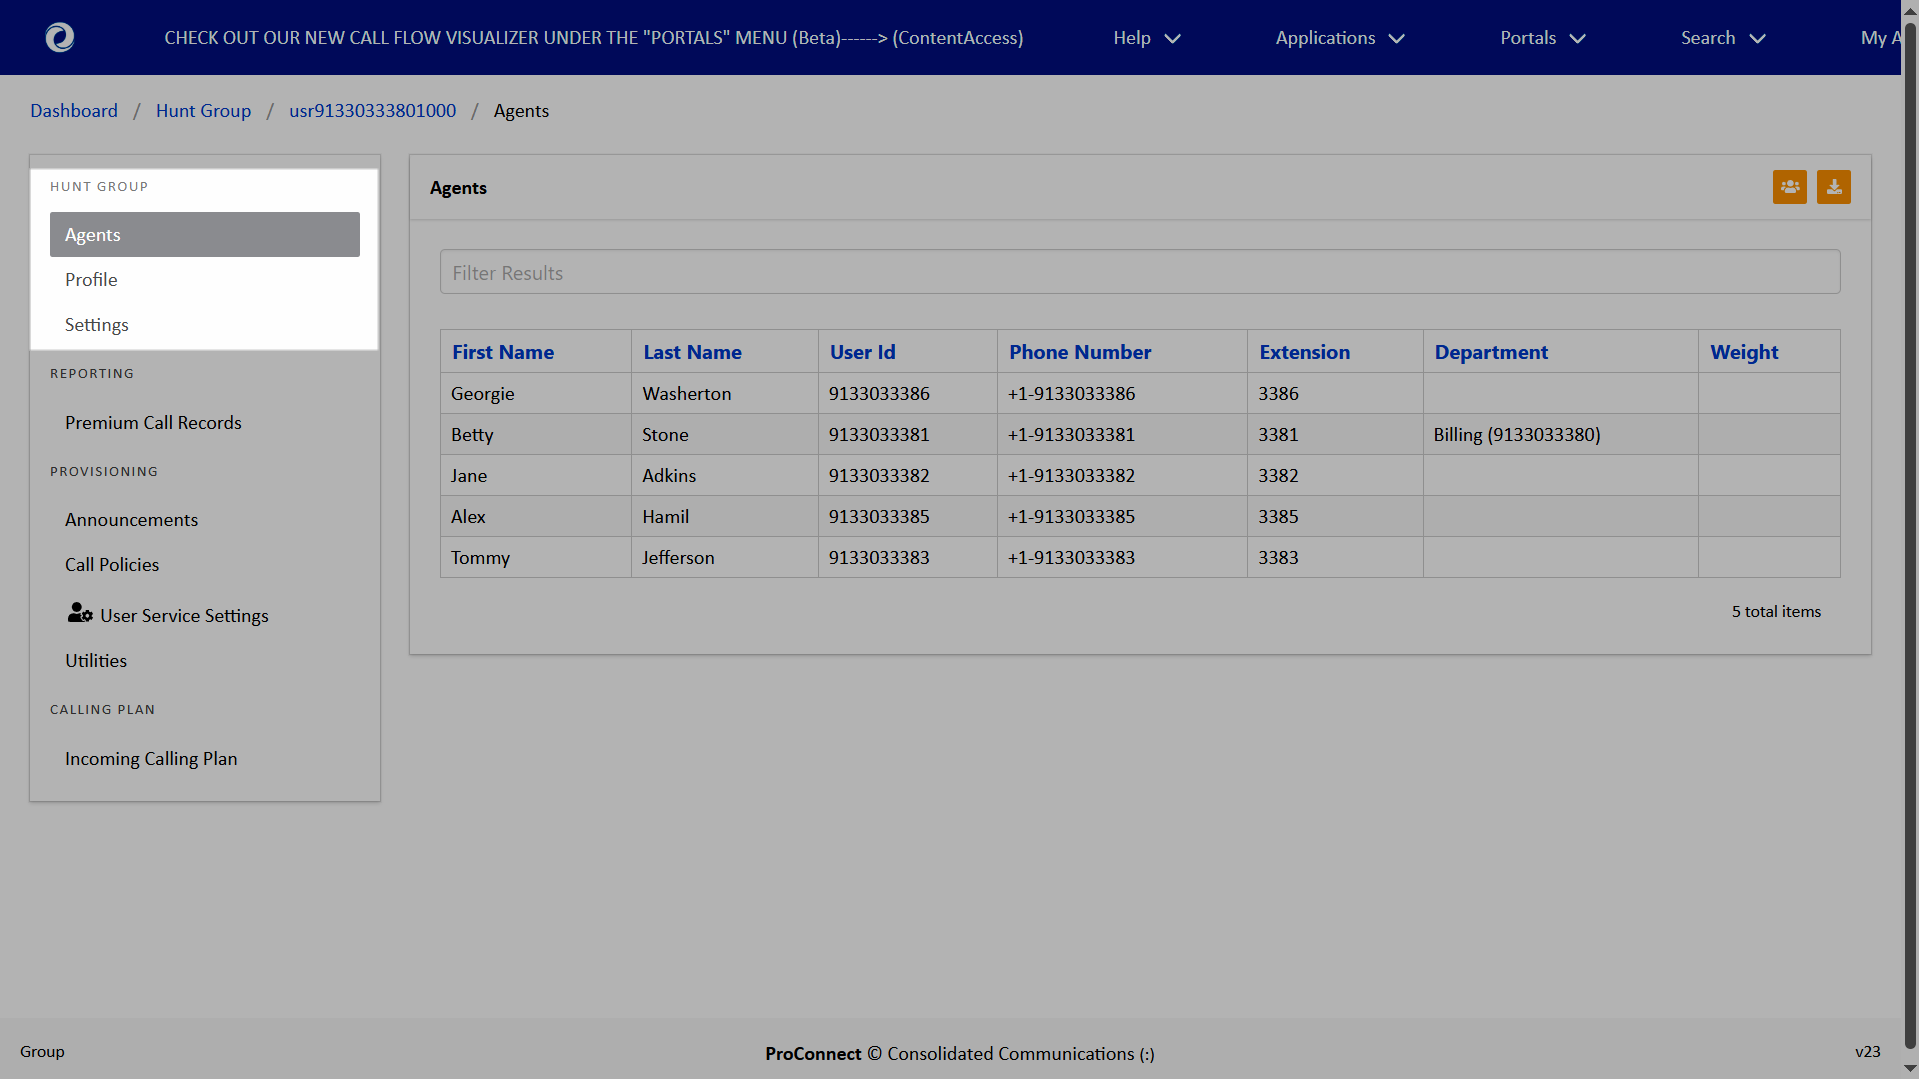
- Select the hunt group you would like to modify. The left menu displays the settings available to modify.
- Agents — Displays the agents assigned to this hunt group.
- Profile — View the hunt group profile details.
- Settings — View the hunt group setting details, including the schedule assignments.
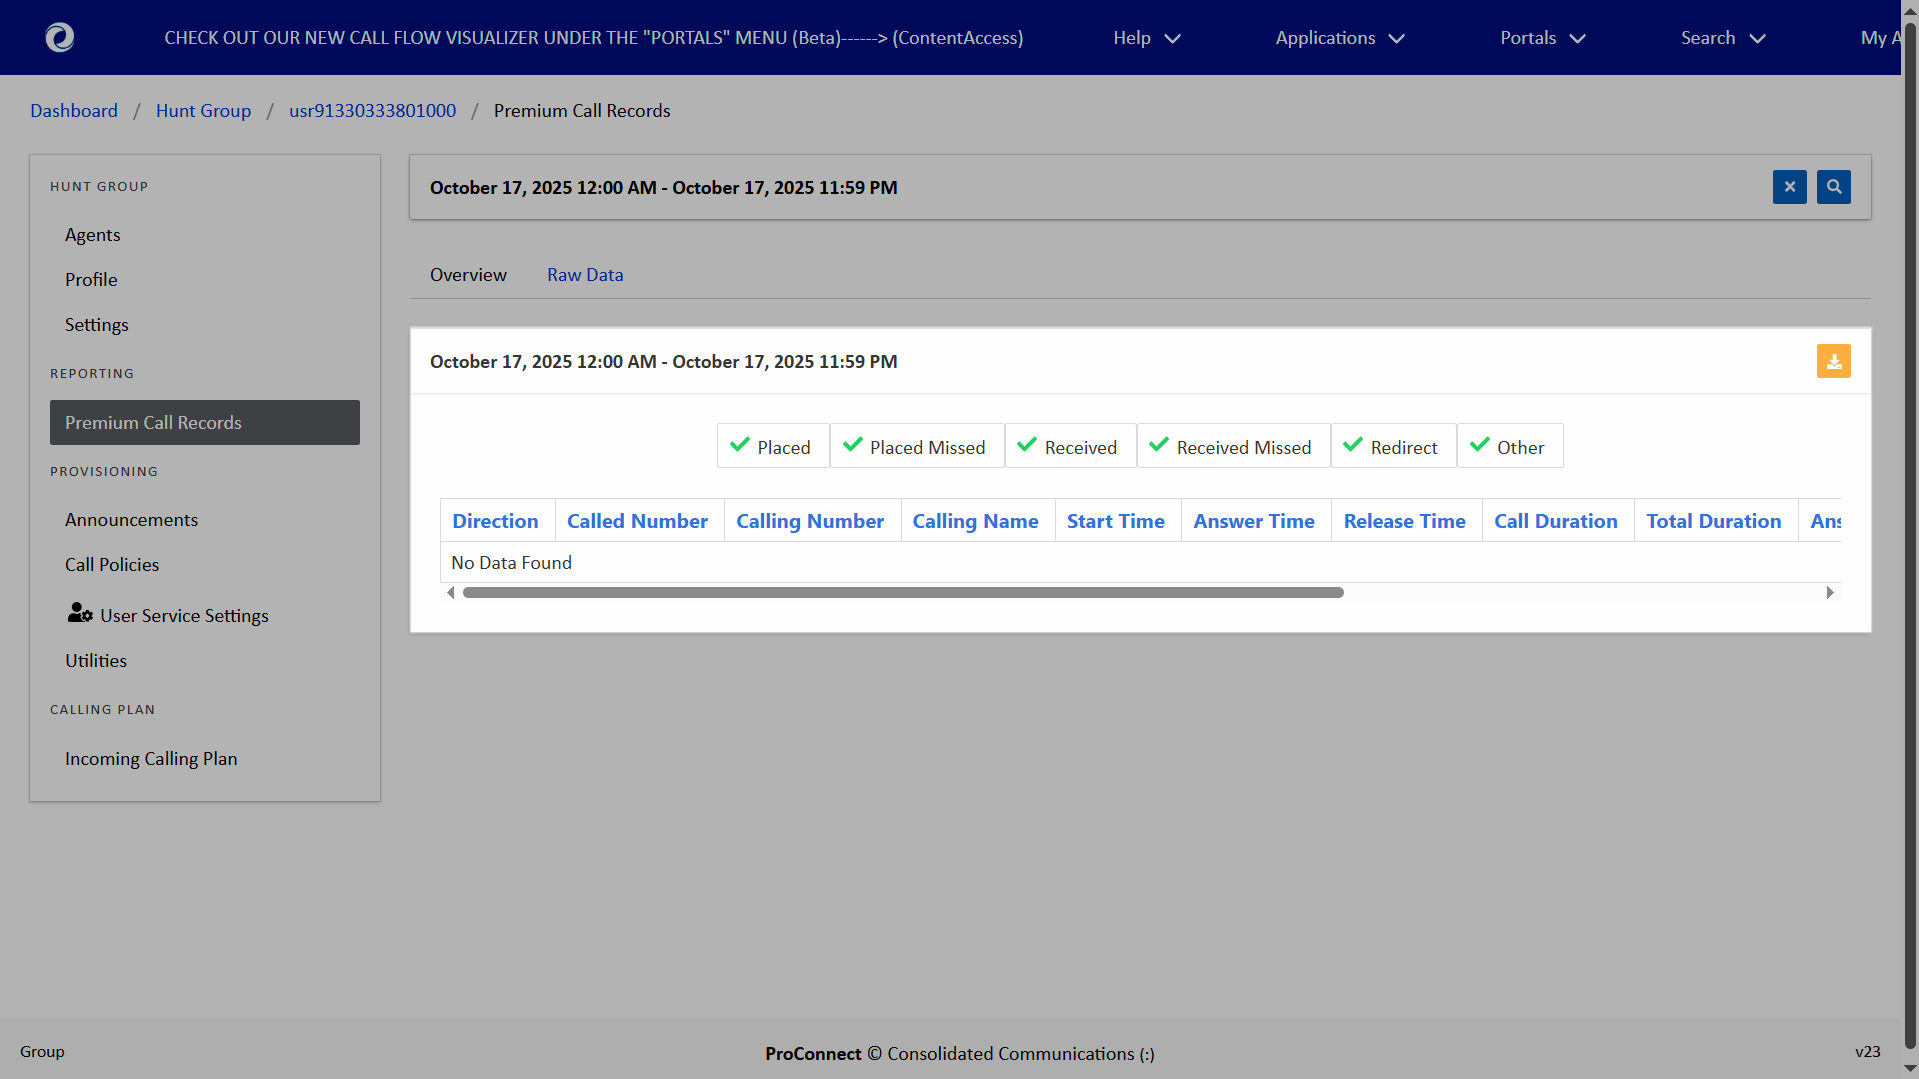
Premium Call Records
You can view and generate the call records for the agents within a hunt group.
- From the dashboard, select Hunt Group under Group Services.
- A list of the hunt groups assigned to this group/location are displayed. Select the hunt group you’d like to view call records for.
- Under Reporting, select Premium Call Records.
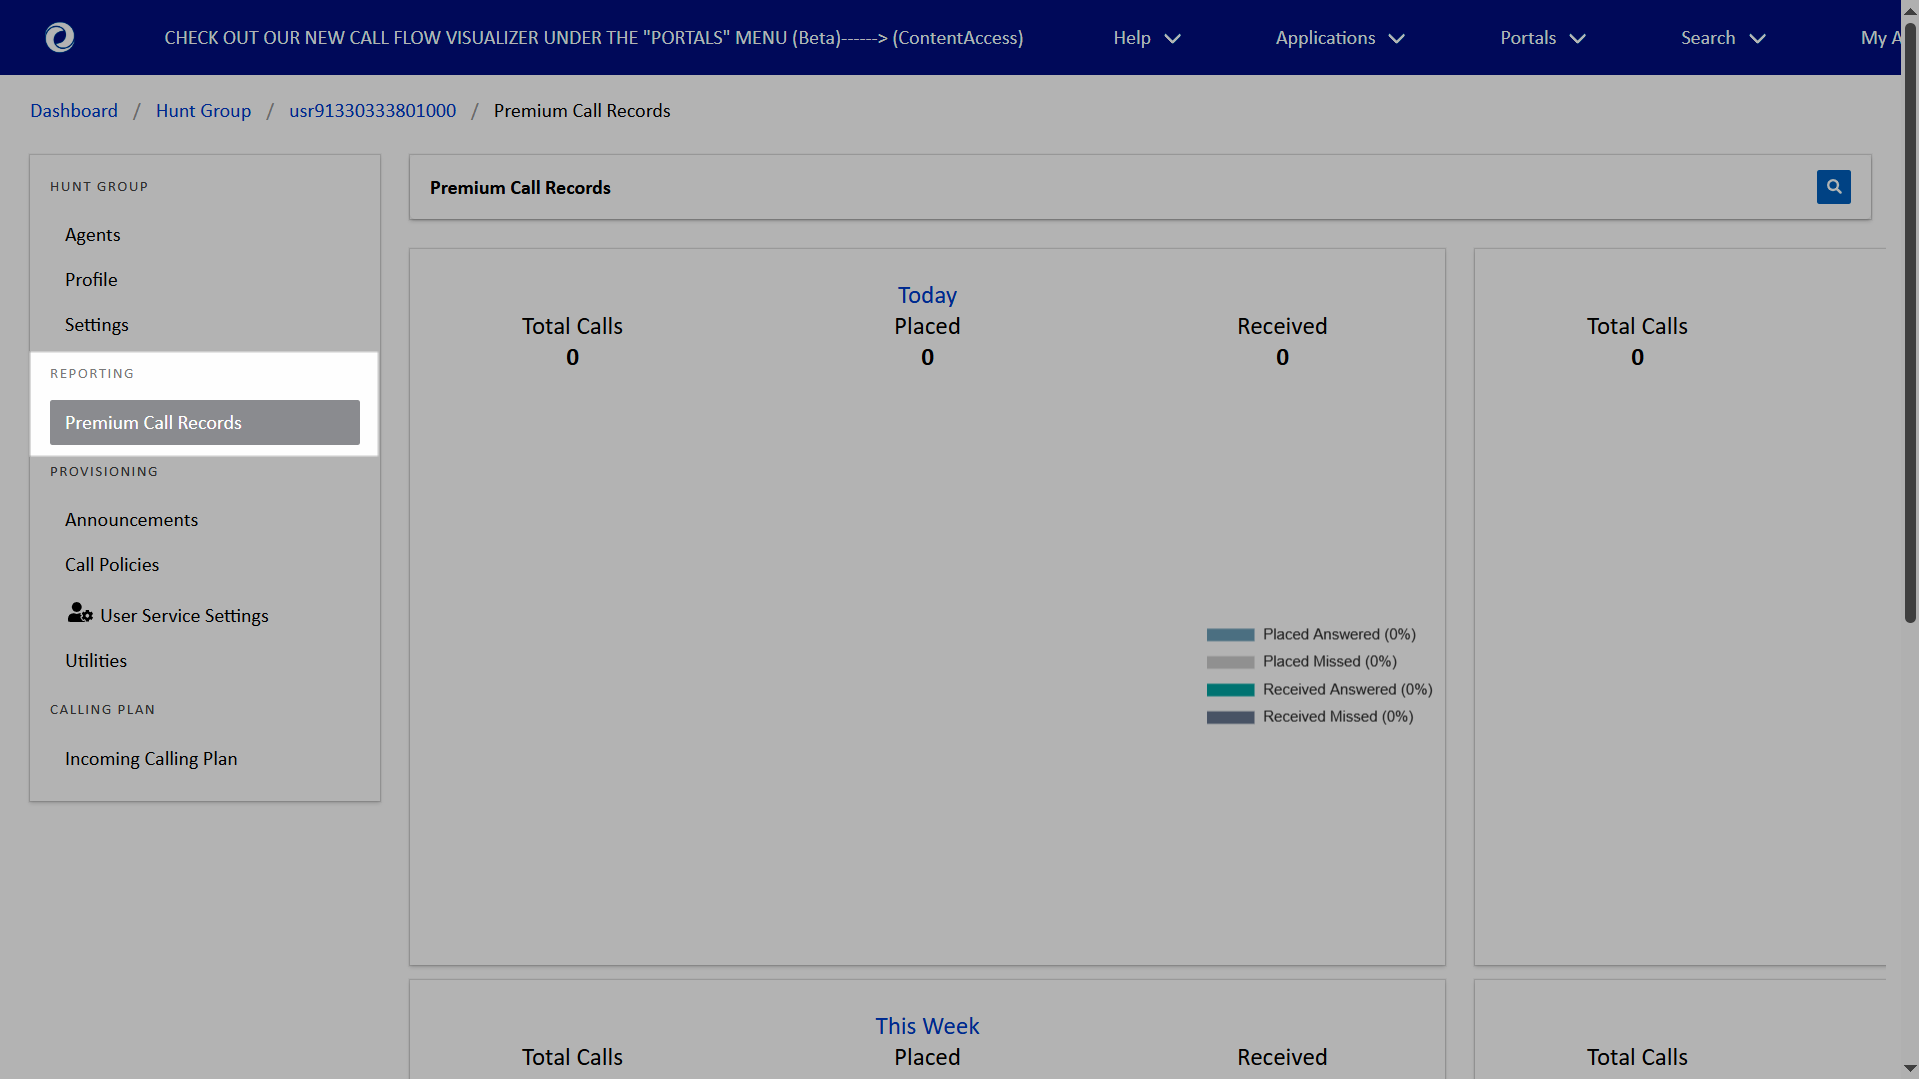
Each graph has a link to the raw, detailed data by clicking on the title of the graph (i.e. Today, Yesterday, etc.)
Select the header of each panel to see a side-by-side view of the selected users. The following is displayed:
- Total calls
- Placed
- Received
Select the Raw Data tab to view the following details:
- Direction
- Called Number
- Calling Number
- Calling Name
- Start Time
- Answer Time
- Release Time
- Call Duration
- Total Duration
- Answer Indicator
- Related Call Id Reason
- Account Code
- Authorization Code
You can filter these results by Placed, Placed Missed, Received, Received Missed, Redirect, Other.
You can export/download the report by selecting the Download icon.