MENU

Introduction
Shared Call Appearance lets multiple phones ring for the same line, shows call status across all devices, and allows users to join active calls.
Configure and modify Shared Call Appearance
Administrators can allocate additional devices or lines to users. To configure and modify a user’s Shared Call Appearance, follow these steps:
- From the dashboard, select Users.
- A list of users assigned to this group/location is displayed. Select the user whose line you’d like to share on another device.
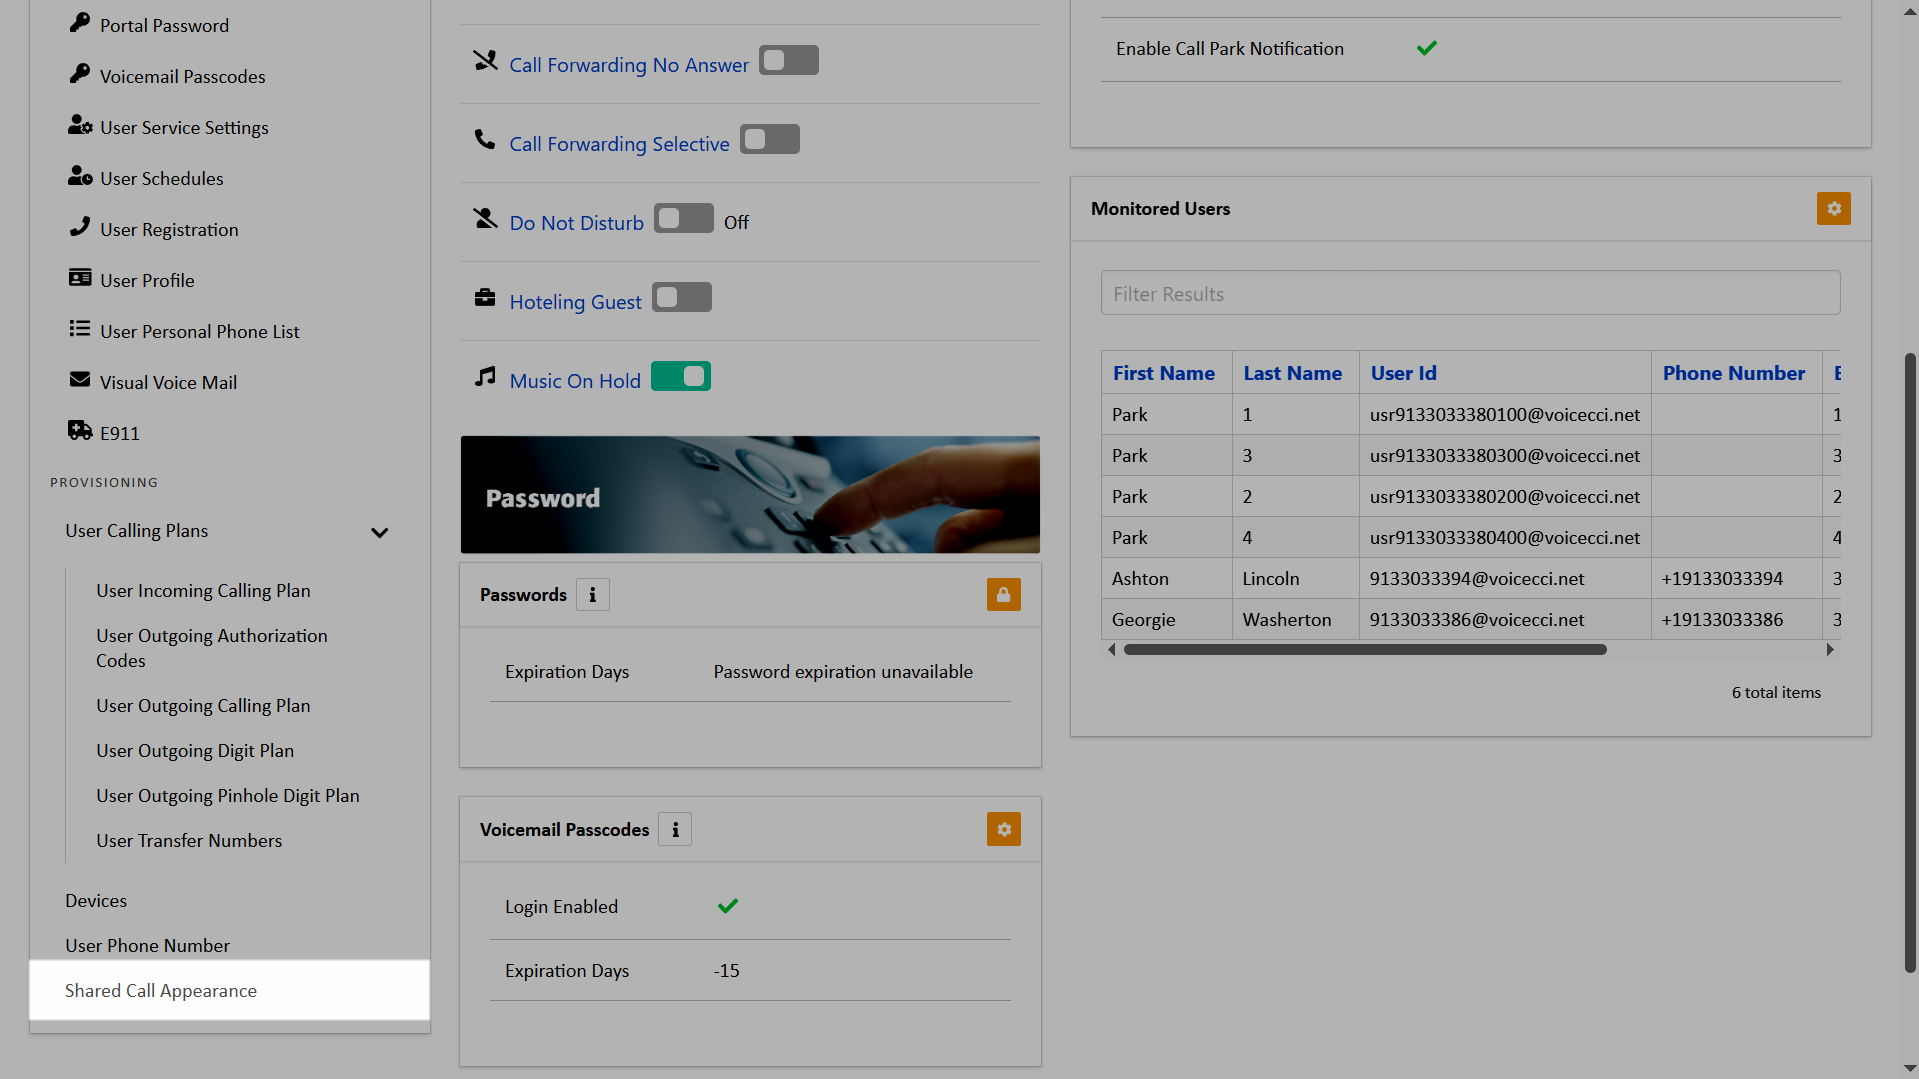
- This brings you to the user menu, where the left navigation refers to the settings available to modify for this user.
- Under Provisioning, select Shared Call Appearance.
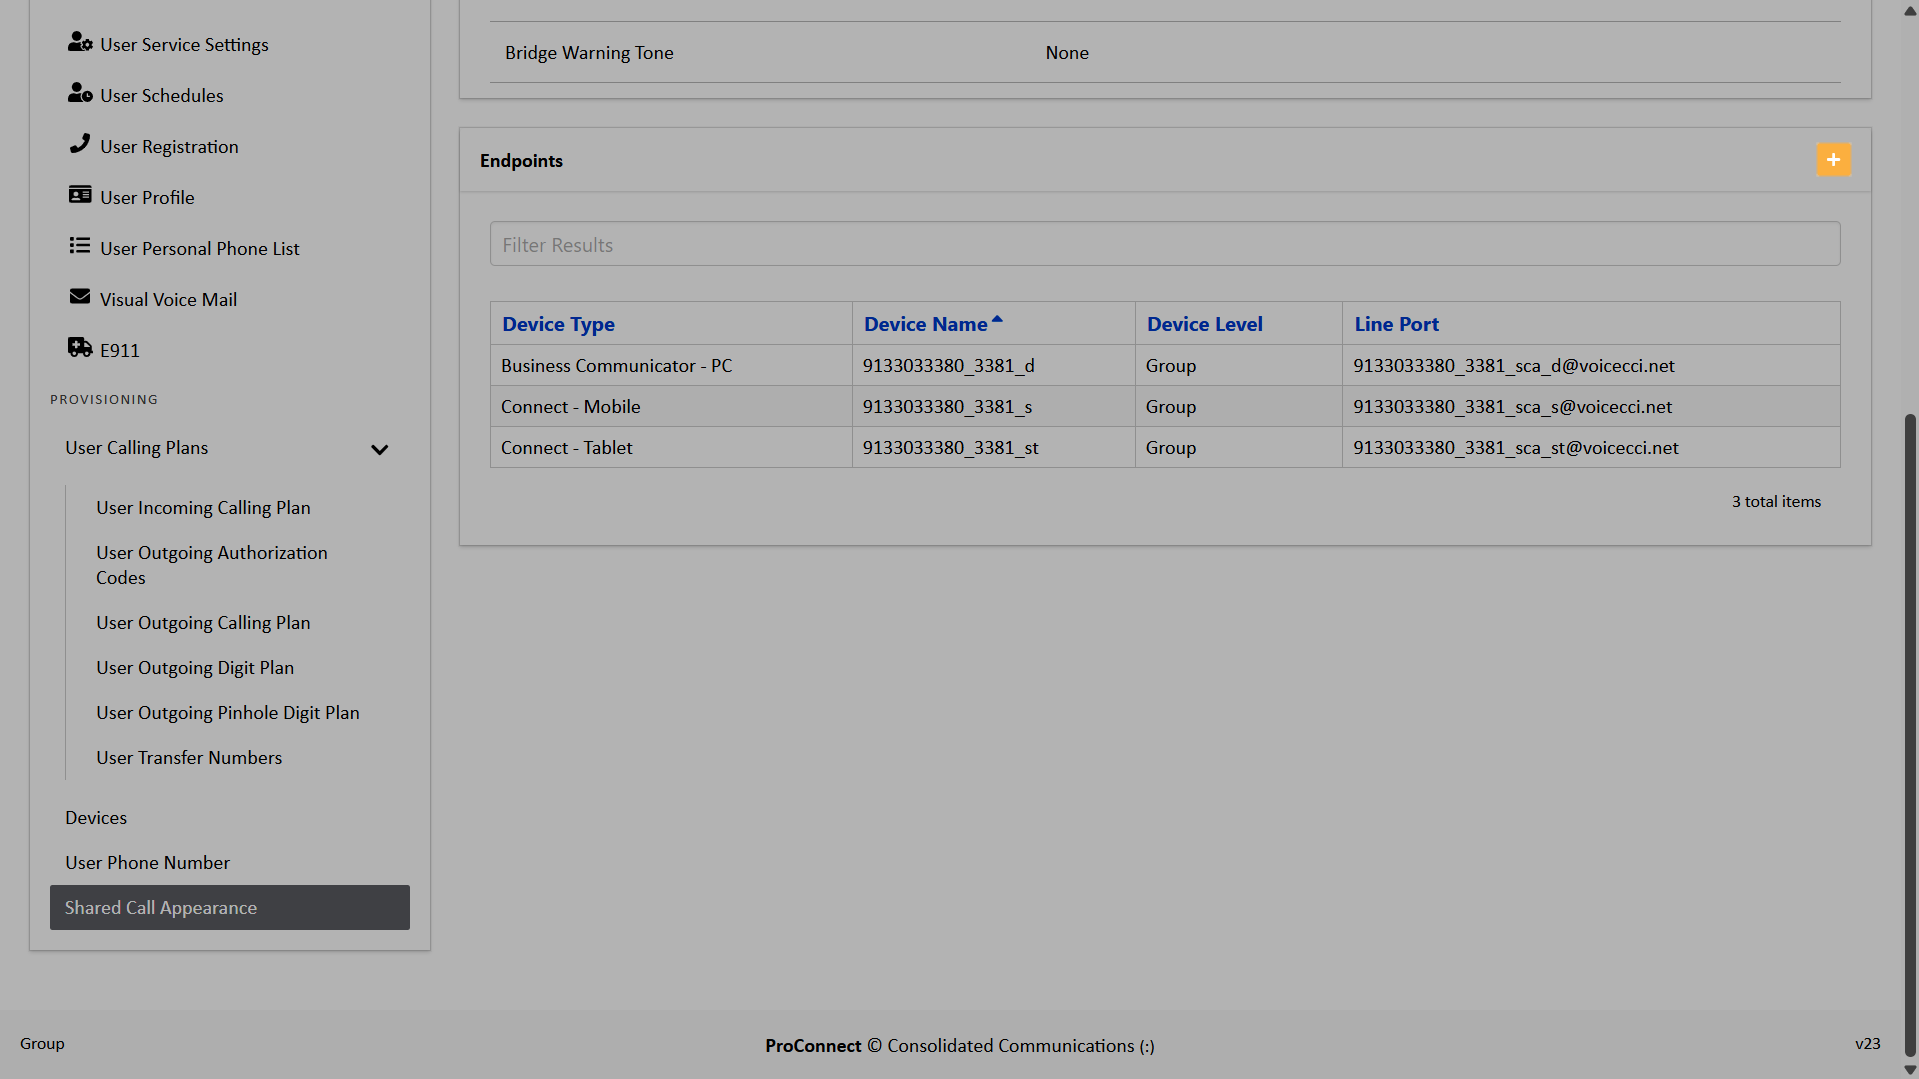
Endpoints
Endpoints are the devices that share the same phone number or extension.
To add an endpoint, follow these steps:
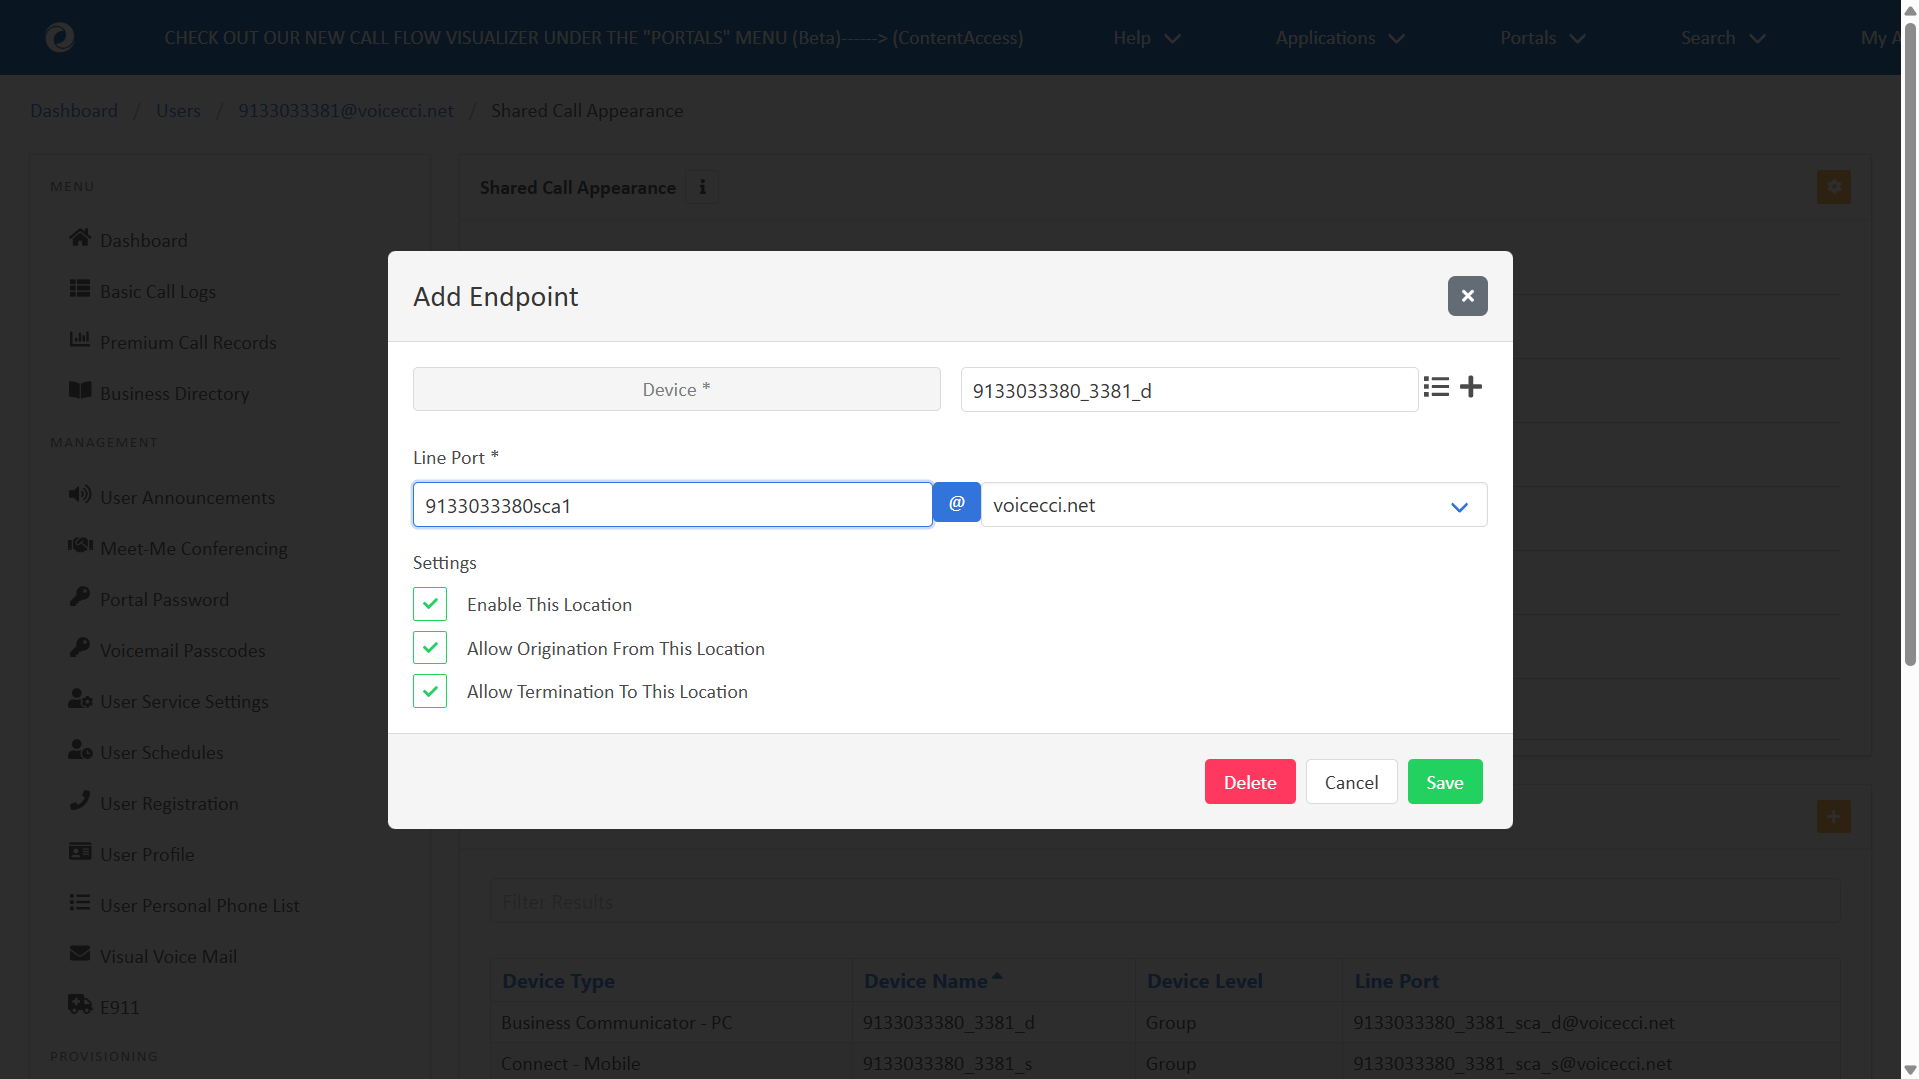
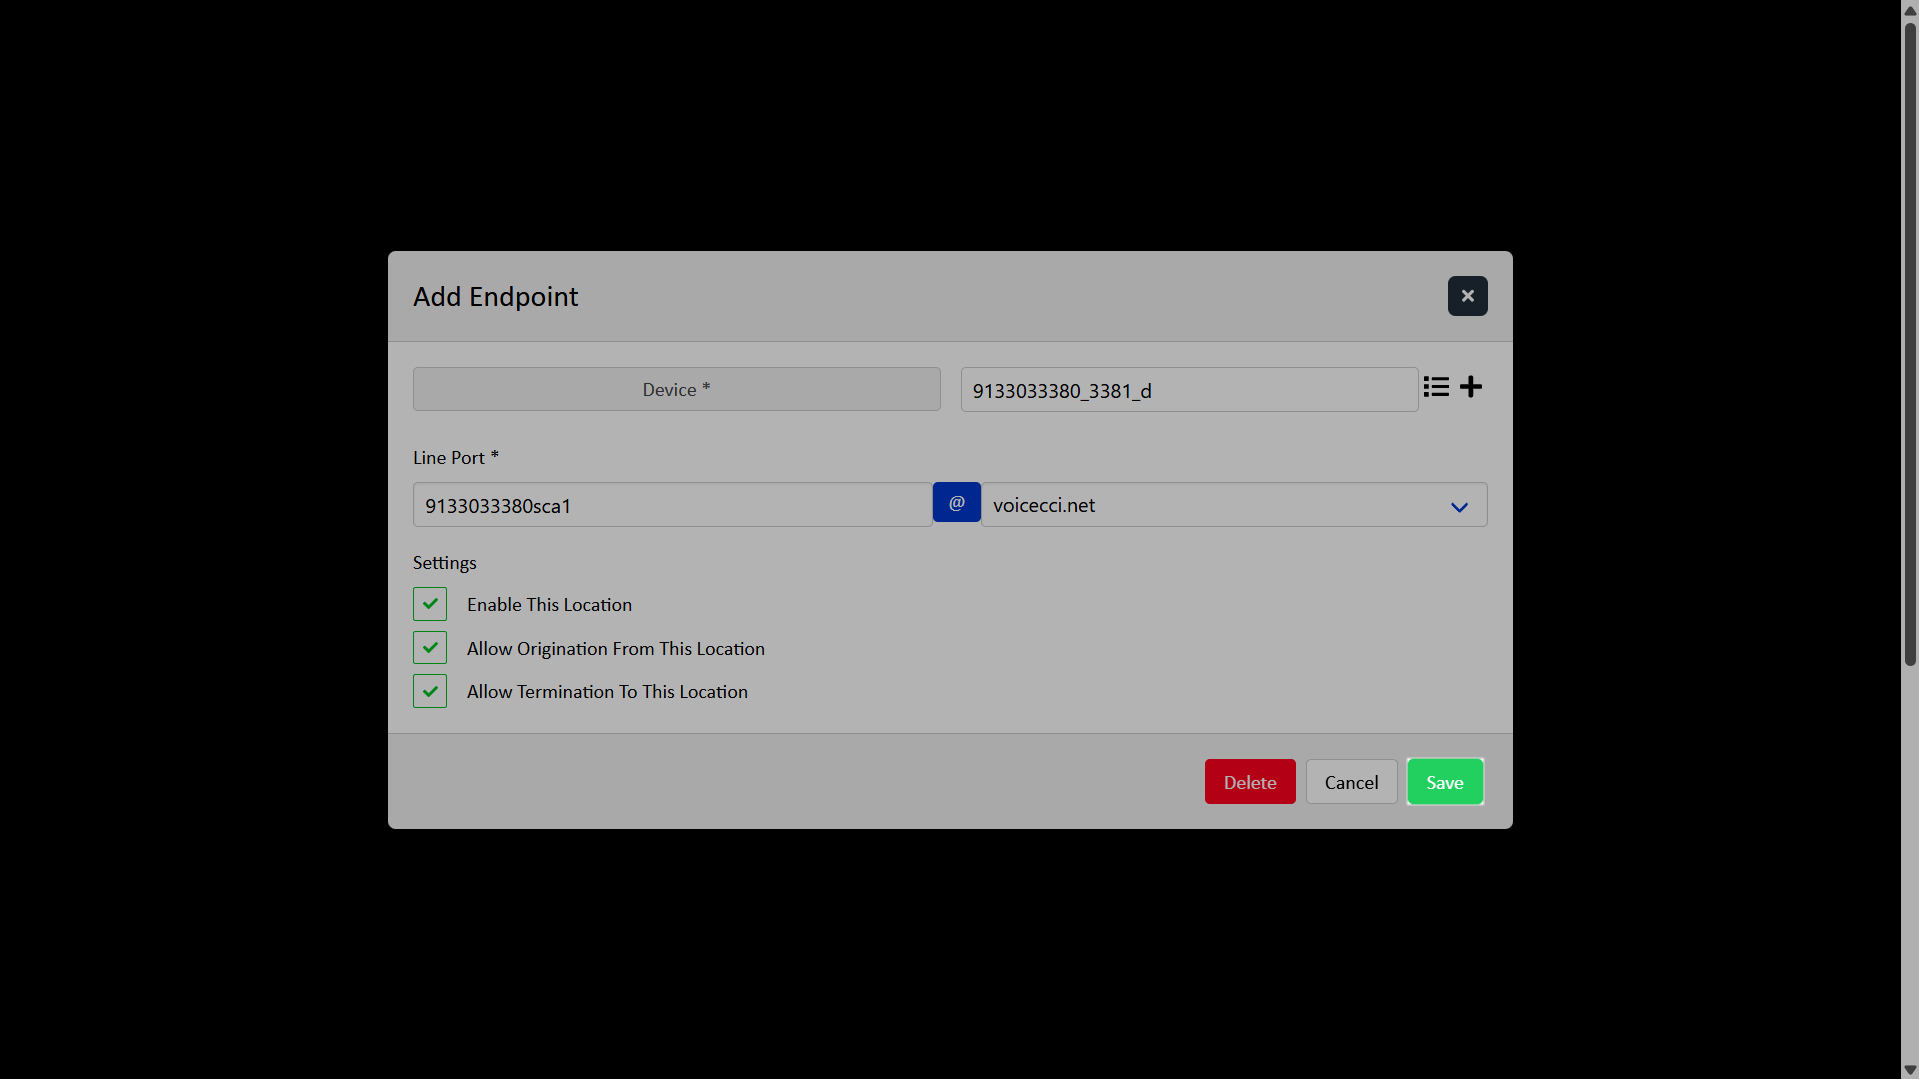
- Click the Add “+” icon.
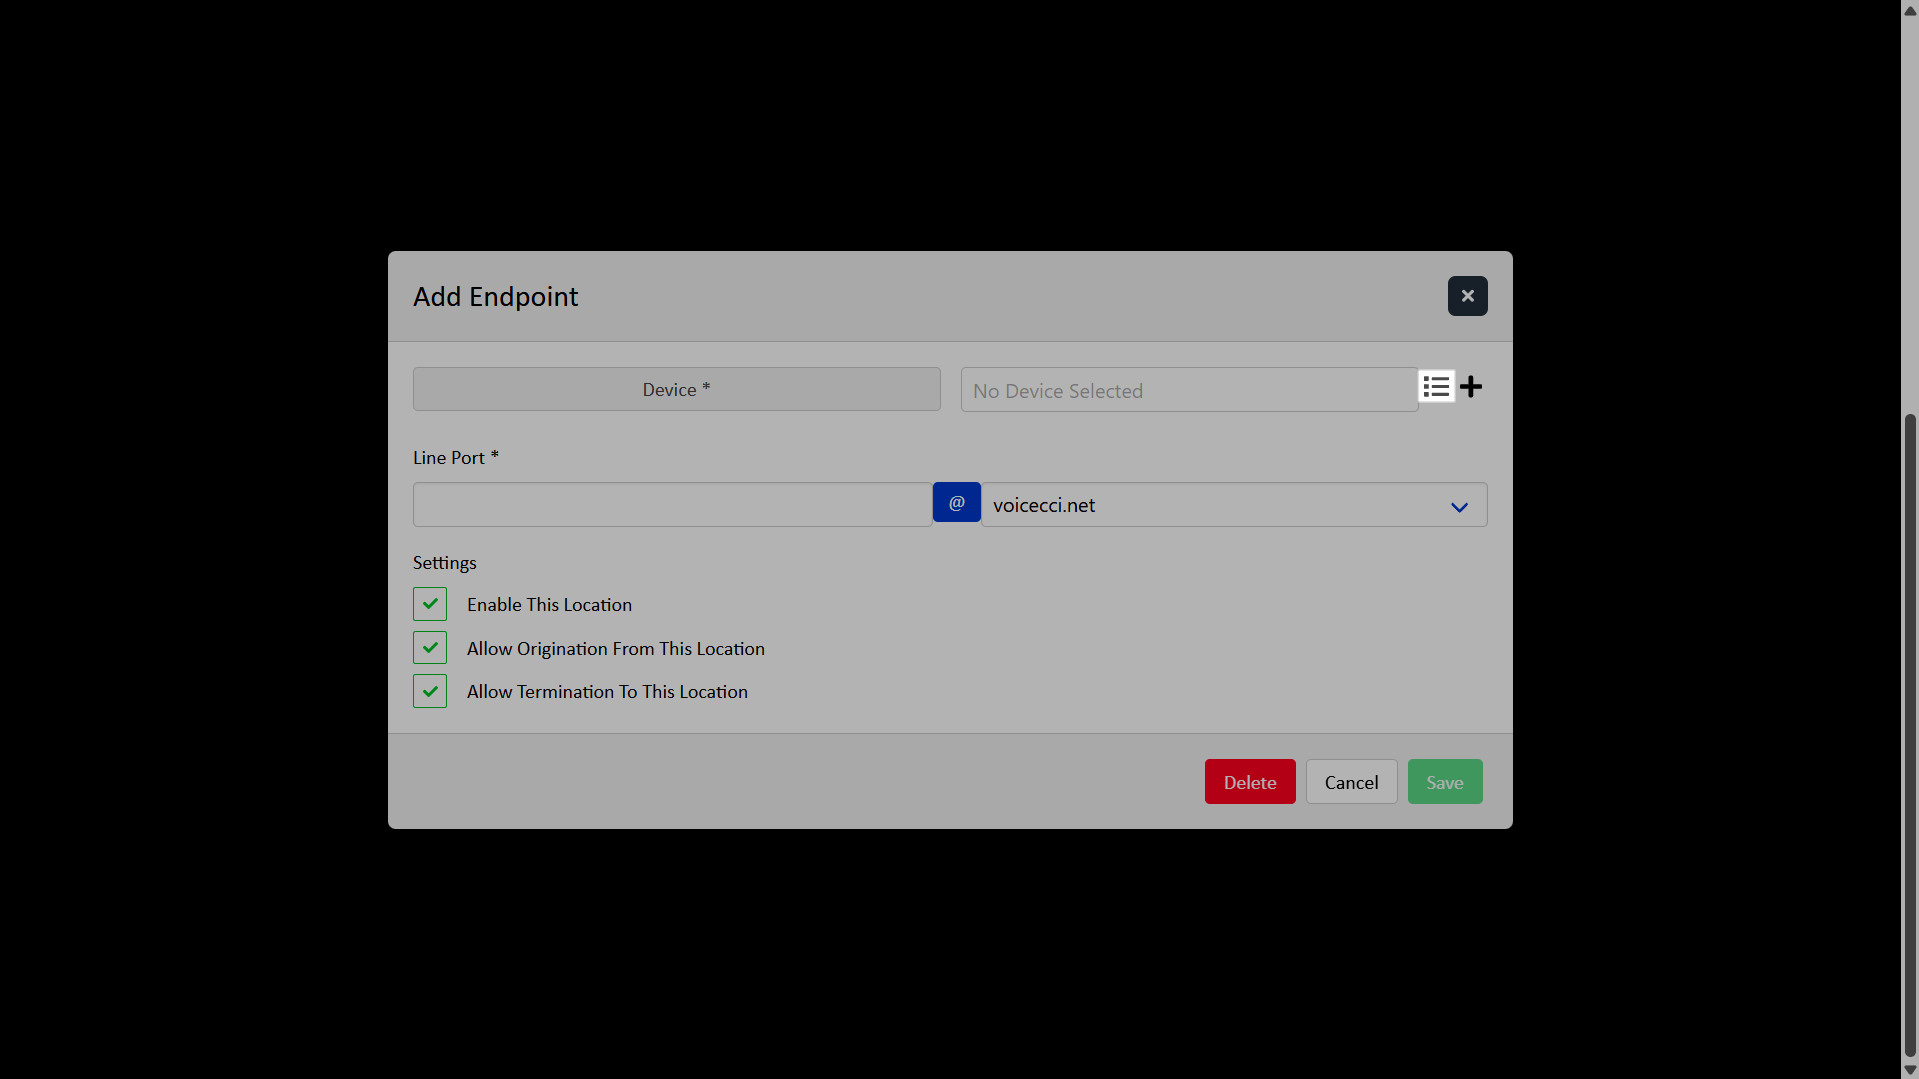
- Click the List icon and select the Device Name for the endpoint you want the shared call appearance to show up on.
- Enter the Line Port using the 10-digit TN of the shared line (the line being shared to the other device), followed by sca1, sca2, sca3, etc. For example: 6035551212_sca1
- Check to configure all options under Settings.
- Click Save.
- To finish adding the shared call appearance, you may need to reboot the device that the line is being shared to.
Note: The list includes all devices in the group. The line cannot be shared across groups. Please contact ProConnect support if the device you want to share the line on is not currently assigned to a user and needs to be added to the group.
If the user does not have a 10-digit telephone number, use the format: GroupID_EXT_sca#. For example: ZZZ1900111-01_5555_sca1
Note: The Line Port ID must be unique across the platform. If a Line Port ID is already in use, the system returns an error.

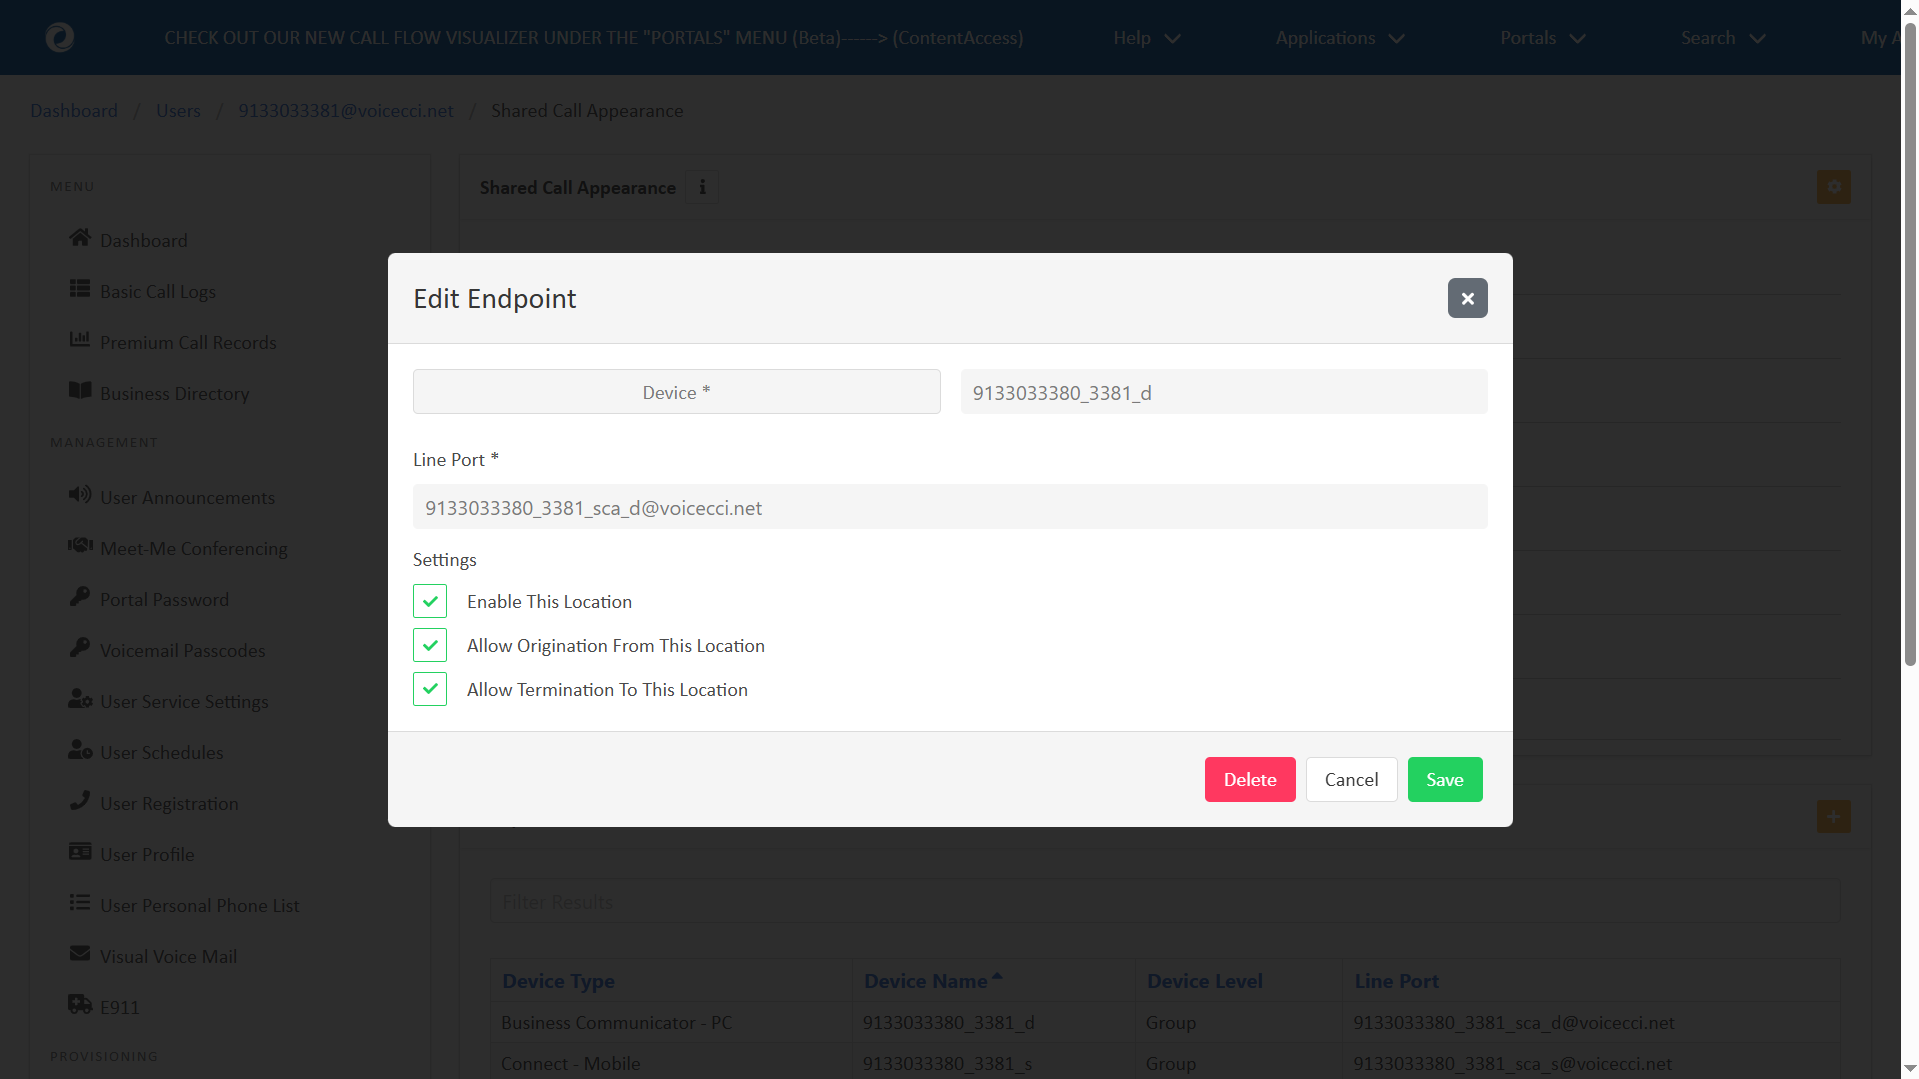
To edit an existing endpoint, follow these steps:
- Select the desired endpoint from the list.
- Modify as desired.
- Click Save.
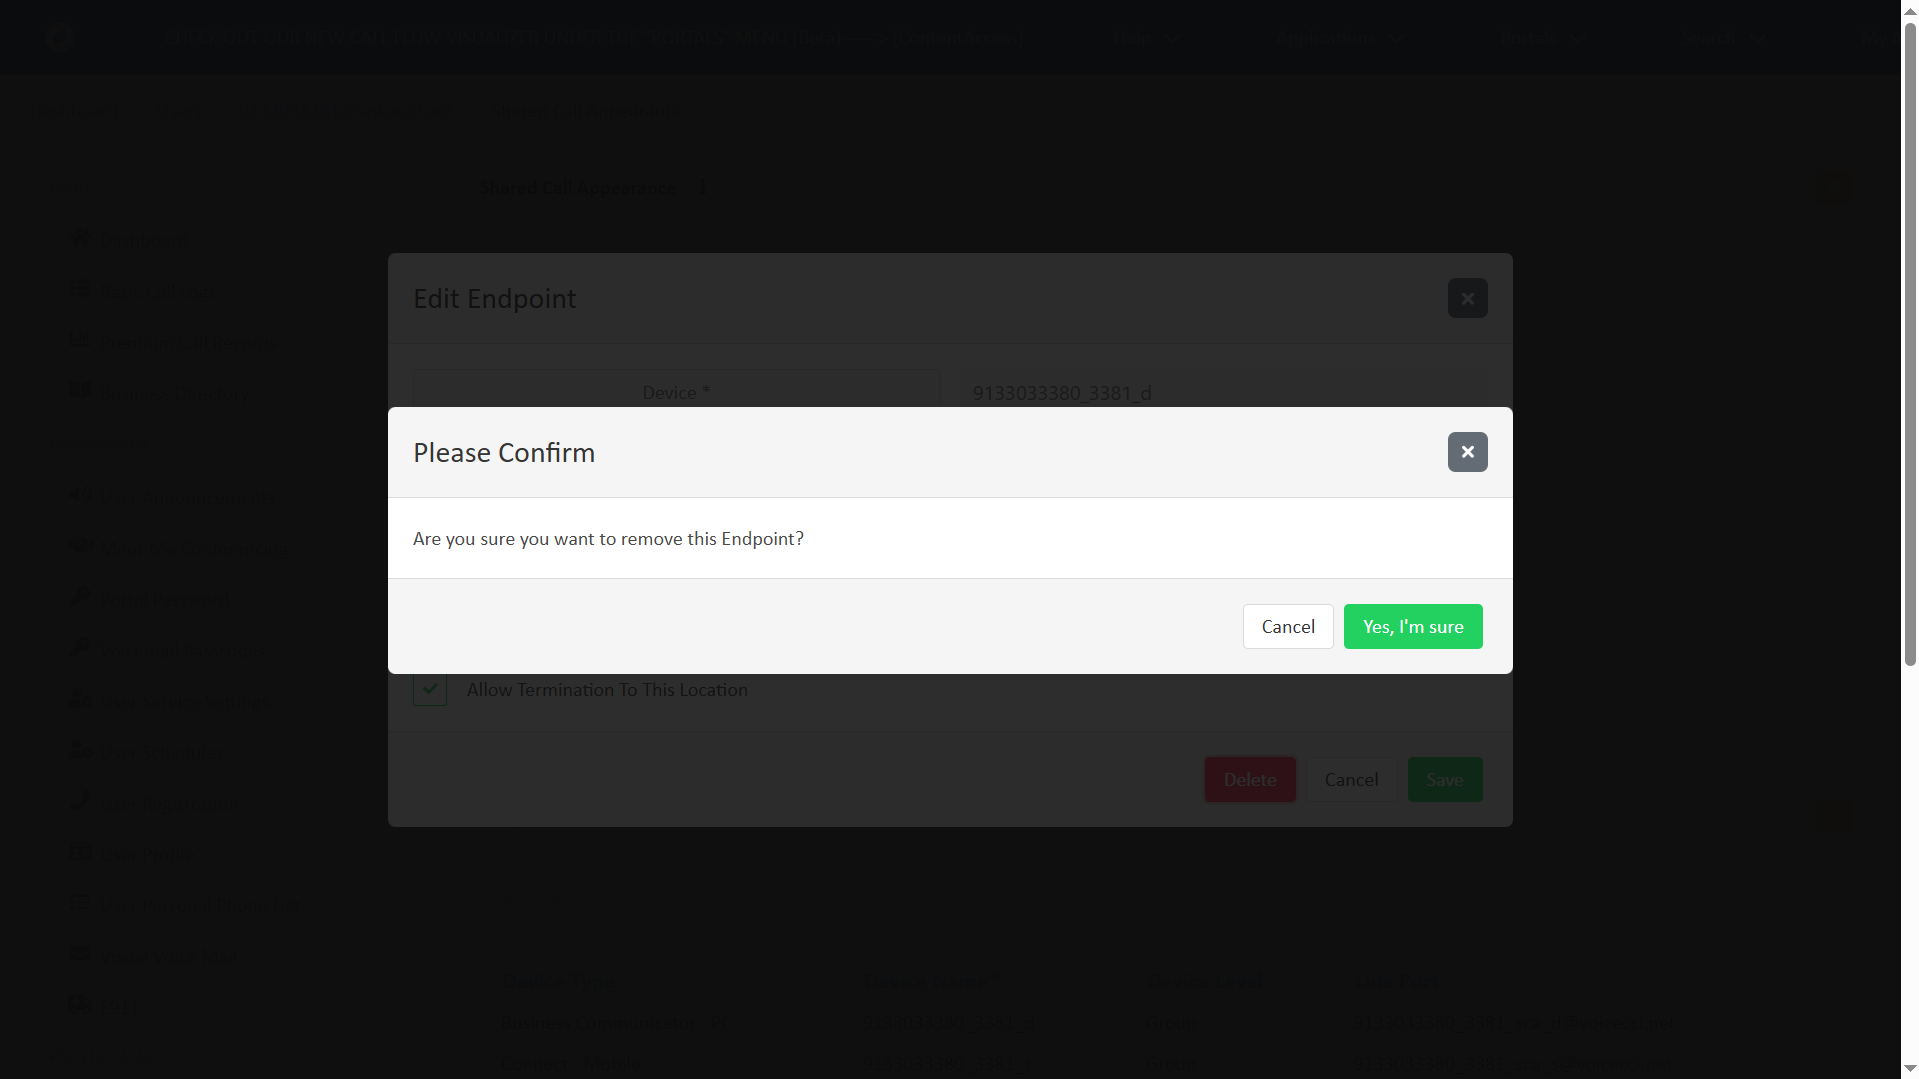
Delete a Shared Call Appearance
To delete a shared call appearance, follow these steps:
- Select the desired endpoint from the list.
- Click Delete.
- Click Yes, I’m sure to confirm your deletion.