Introduction
Assign Numbers allows you to view and activate the phone numbers associated with your organization. You can quickly activate or deactivate individual numbers or entire ranges as needed, keeping your number inventory organized and up to date.
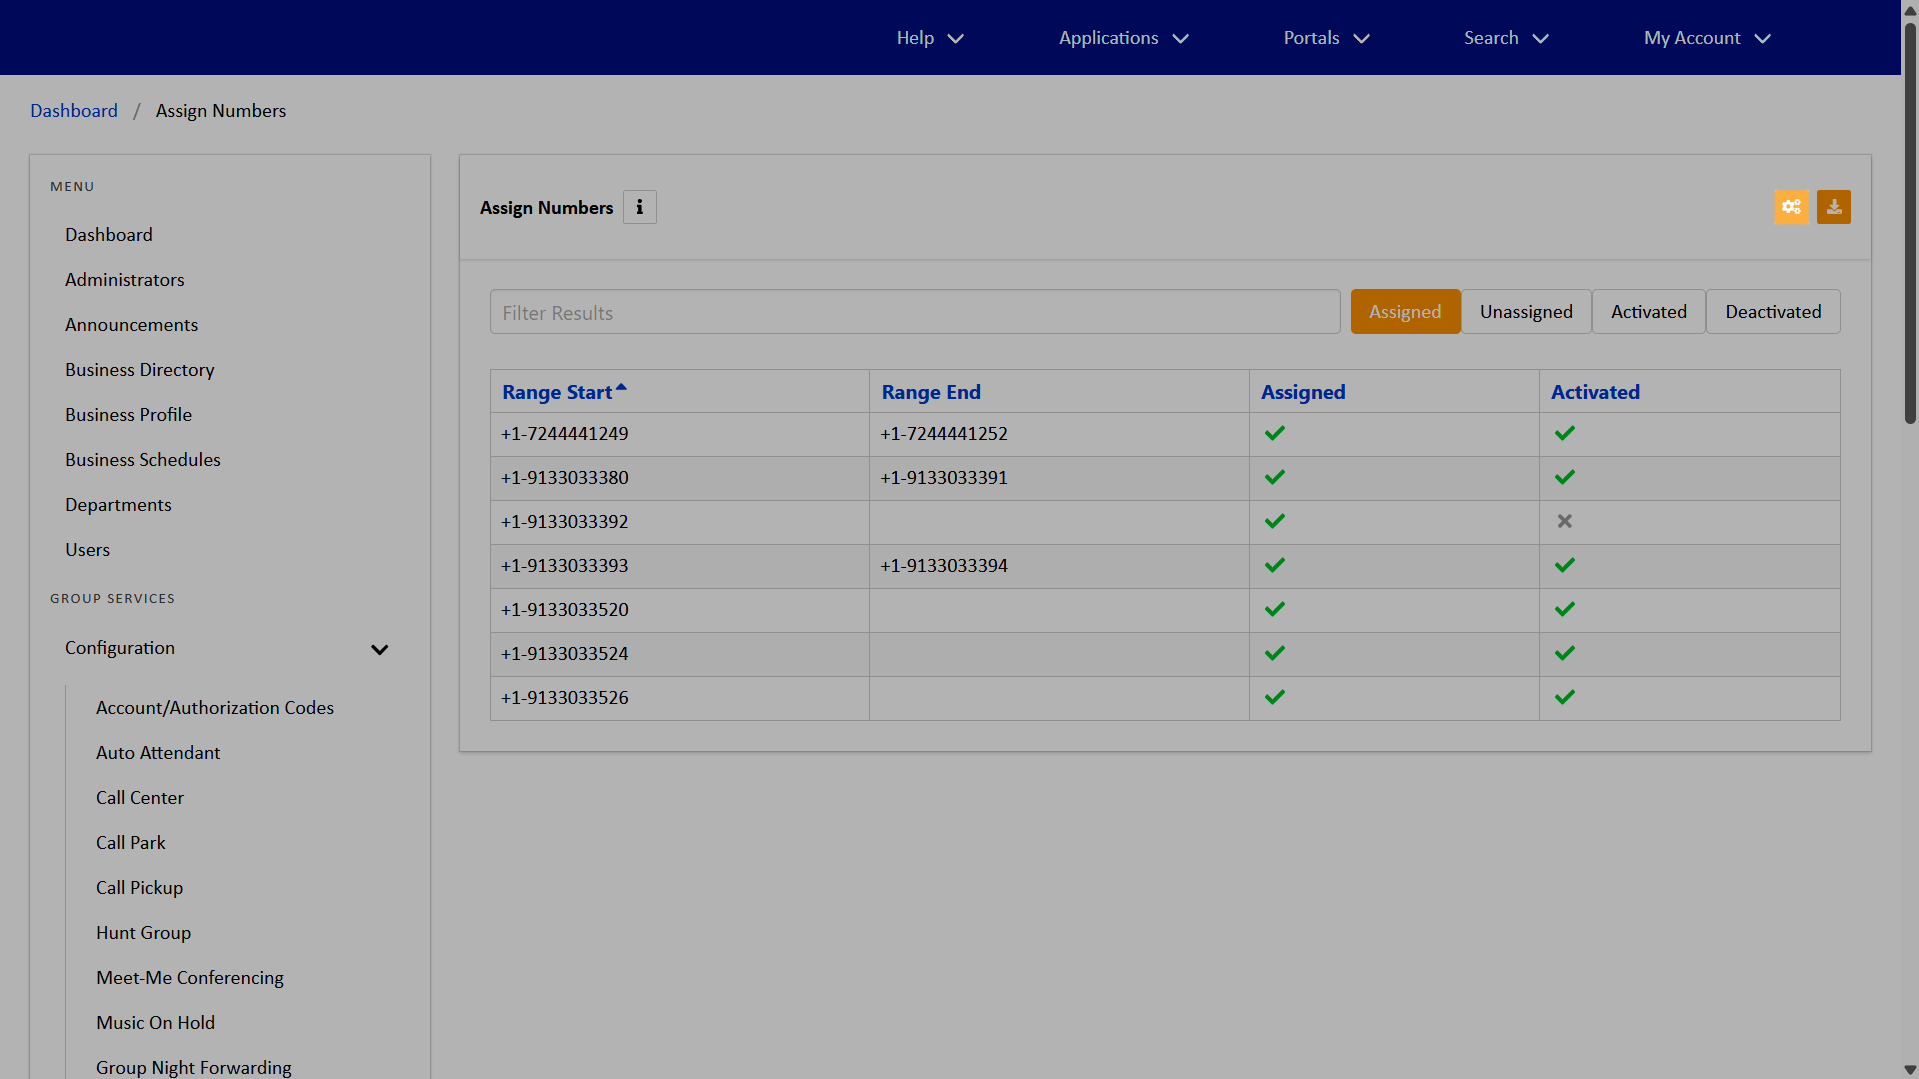
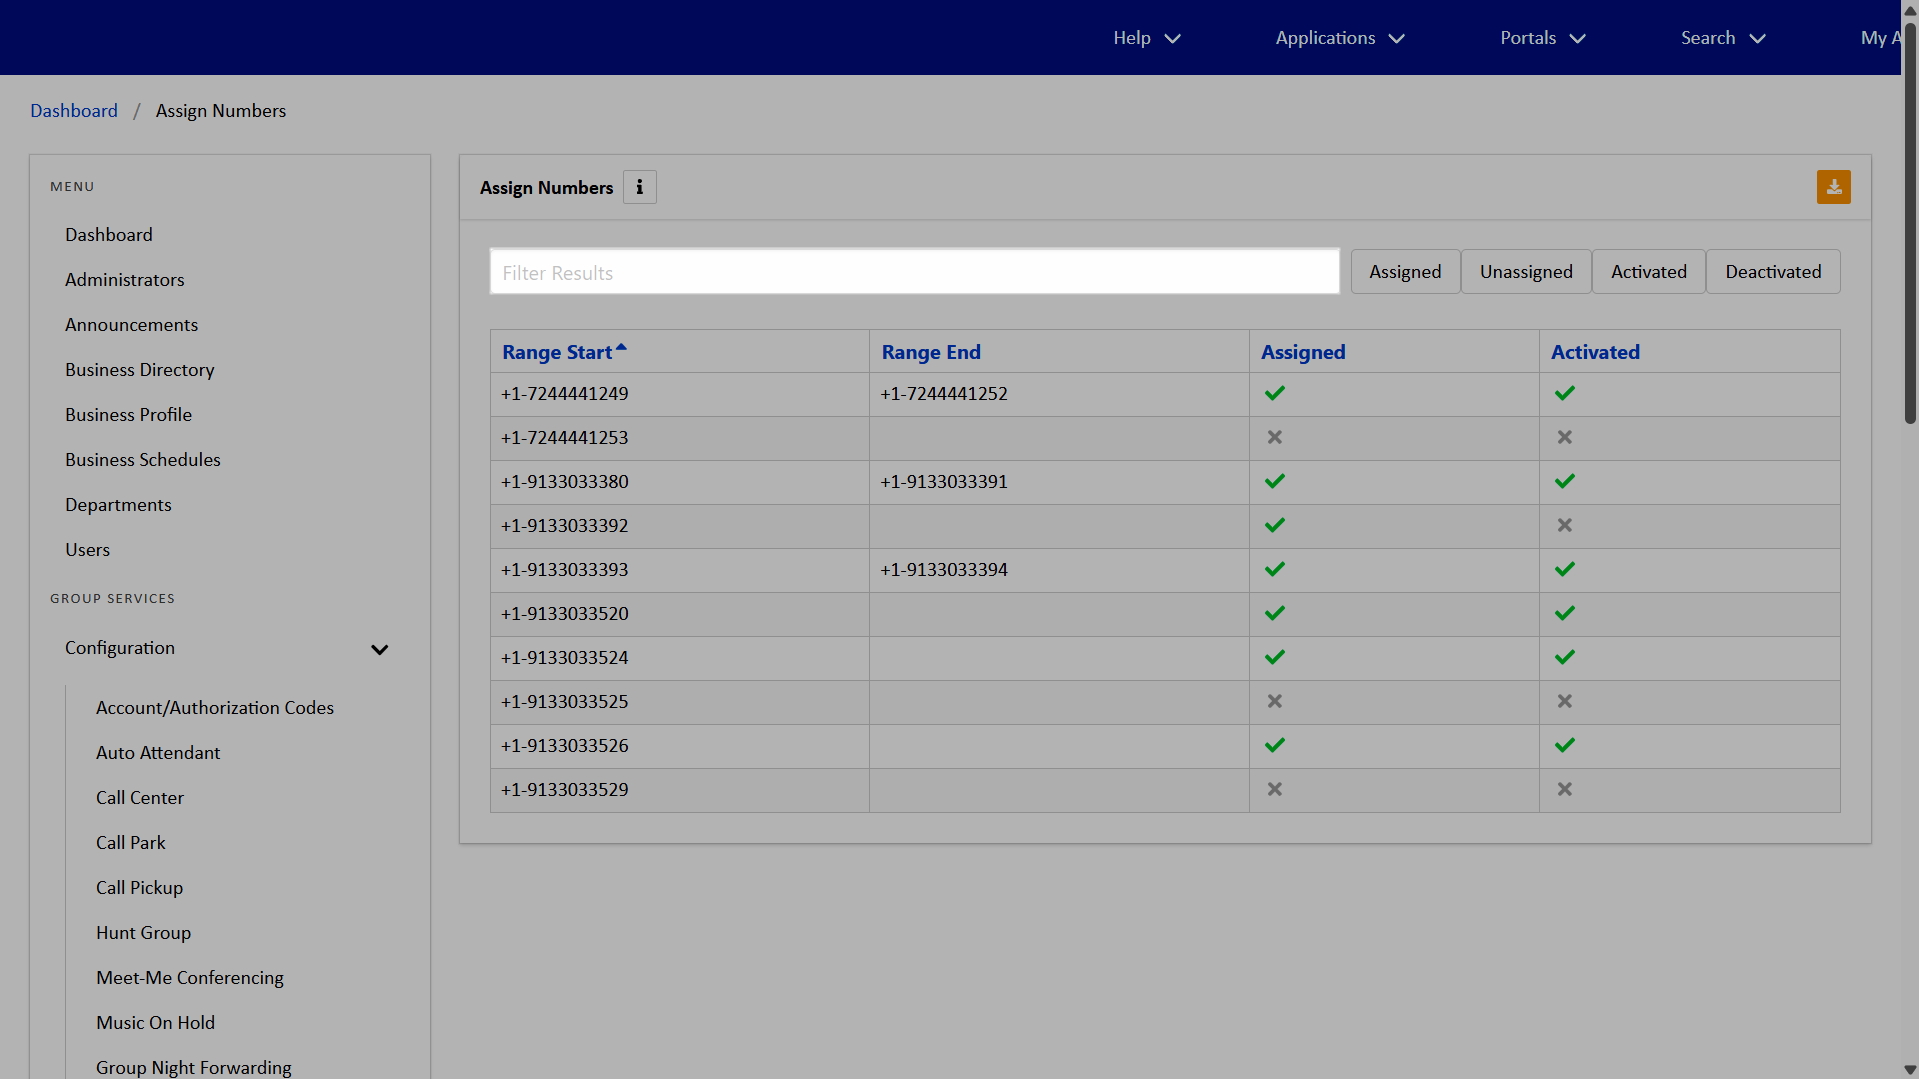
View assigned numbers
Administrators can view and filter assigned numbers. To view and filter assigned numbers, follow these steps:
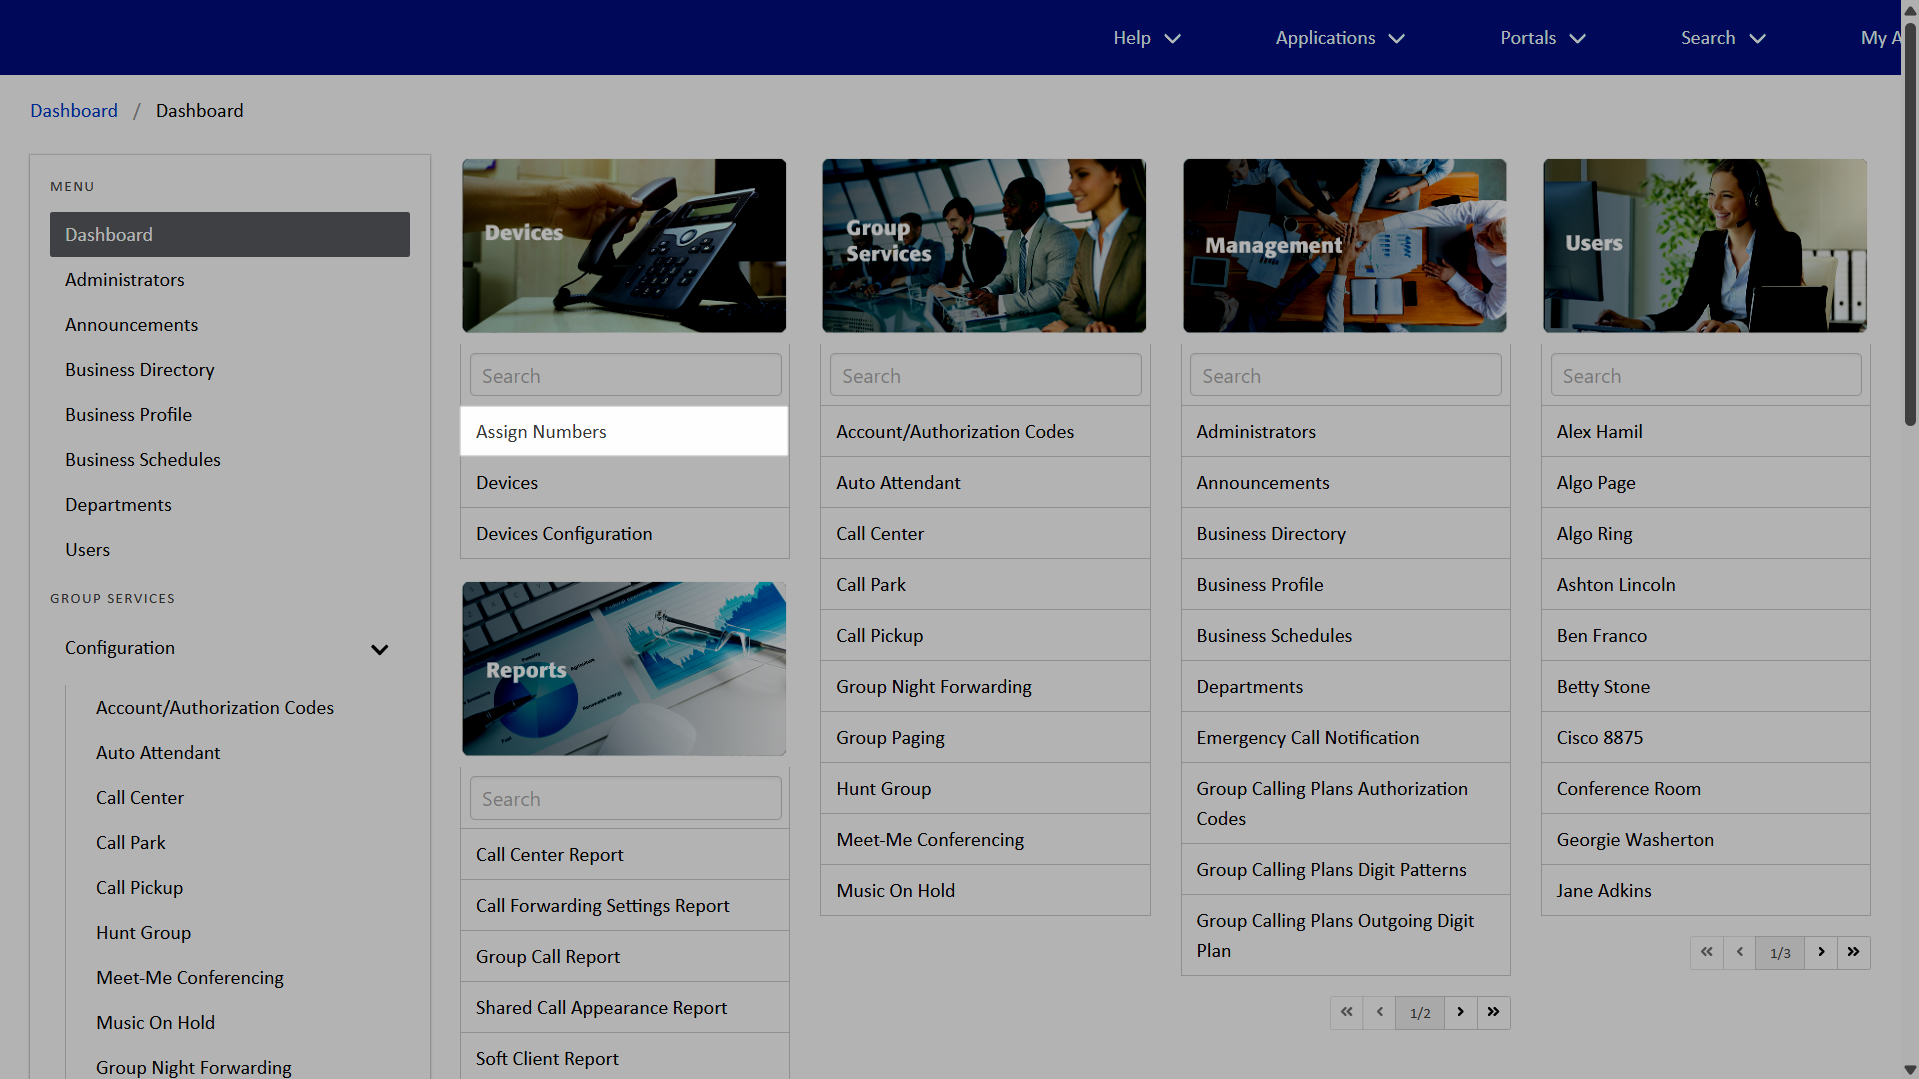
- From the dashboard, select Assign Numbers under Devices.
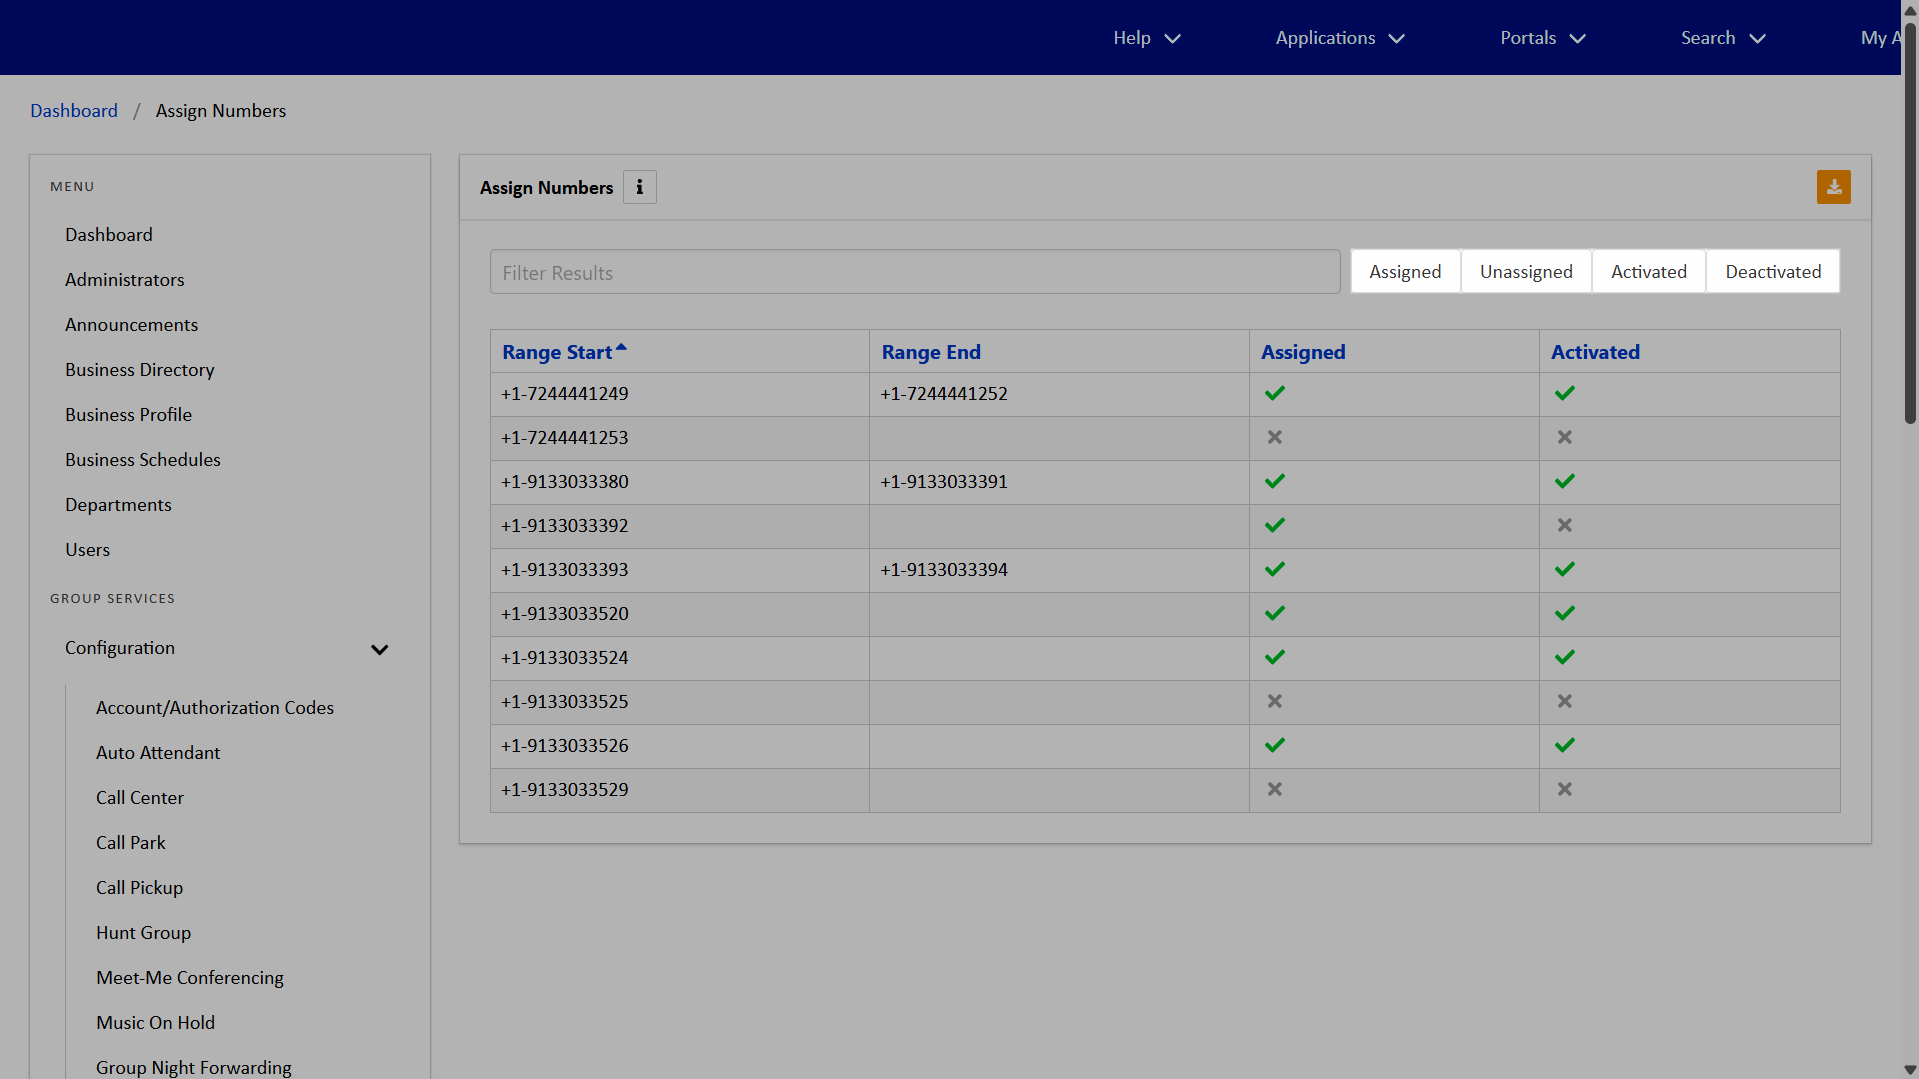
- To filter numbers, use the Filter Results field to search and filter.
- You can also sort numbers by Assigned, Unassigned, Activated, and Deactivated.
Activate and deactivate numbers
Administrators can activate or deactivate individual numbers, a range of numbers, or multiple numbers at once using bulk edit. Note: If your admin account doesn't have access to activate numbers, please contact Fidium Support.
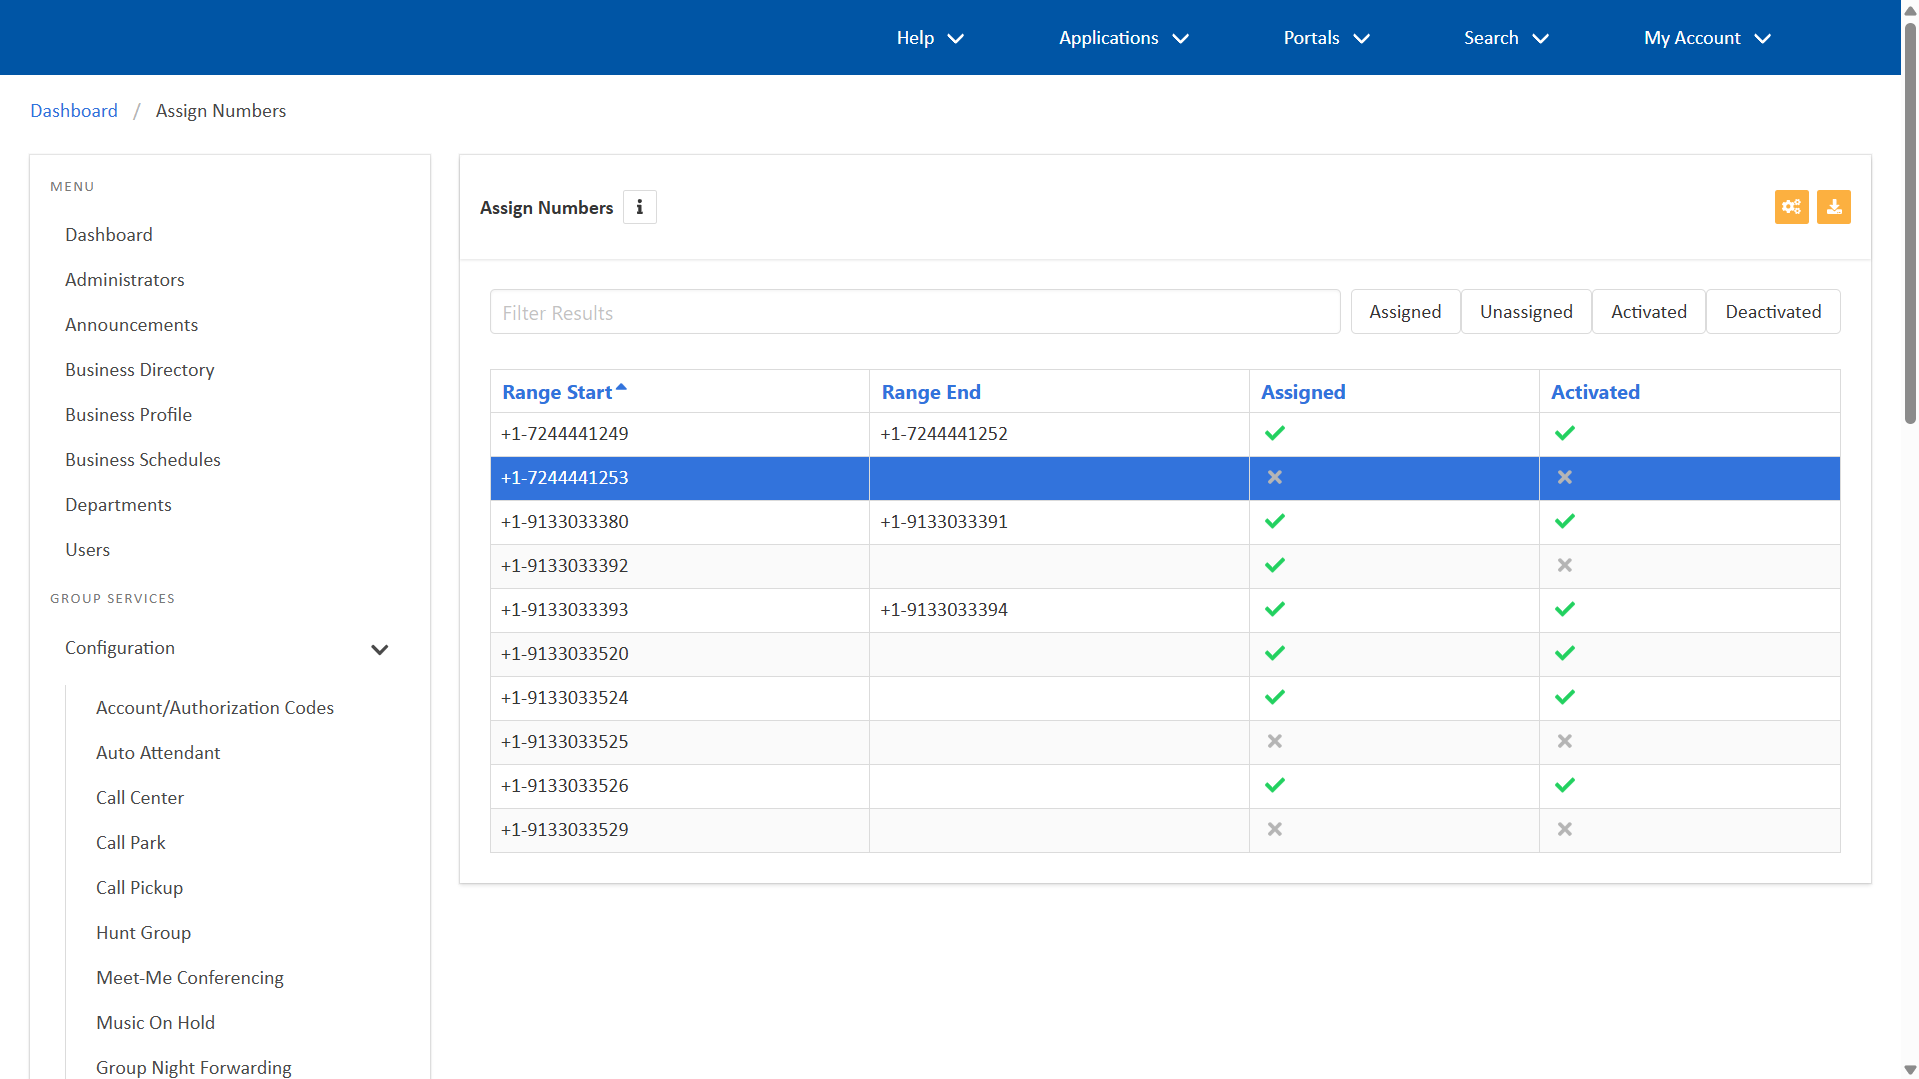
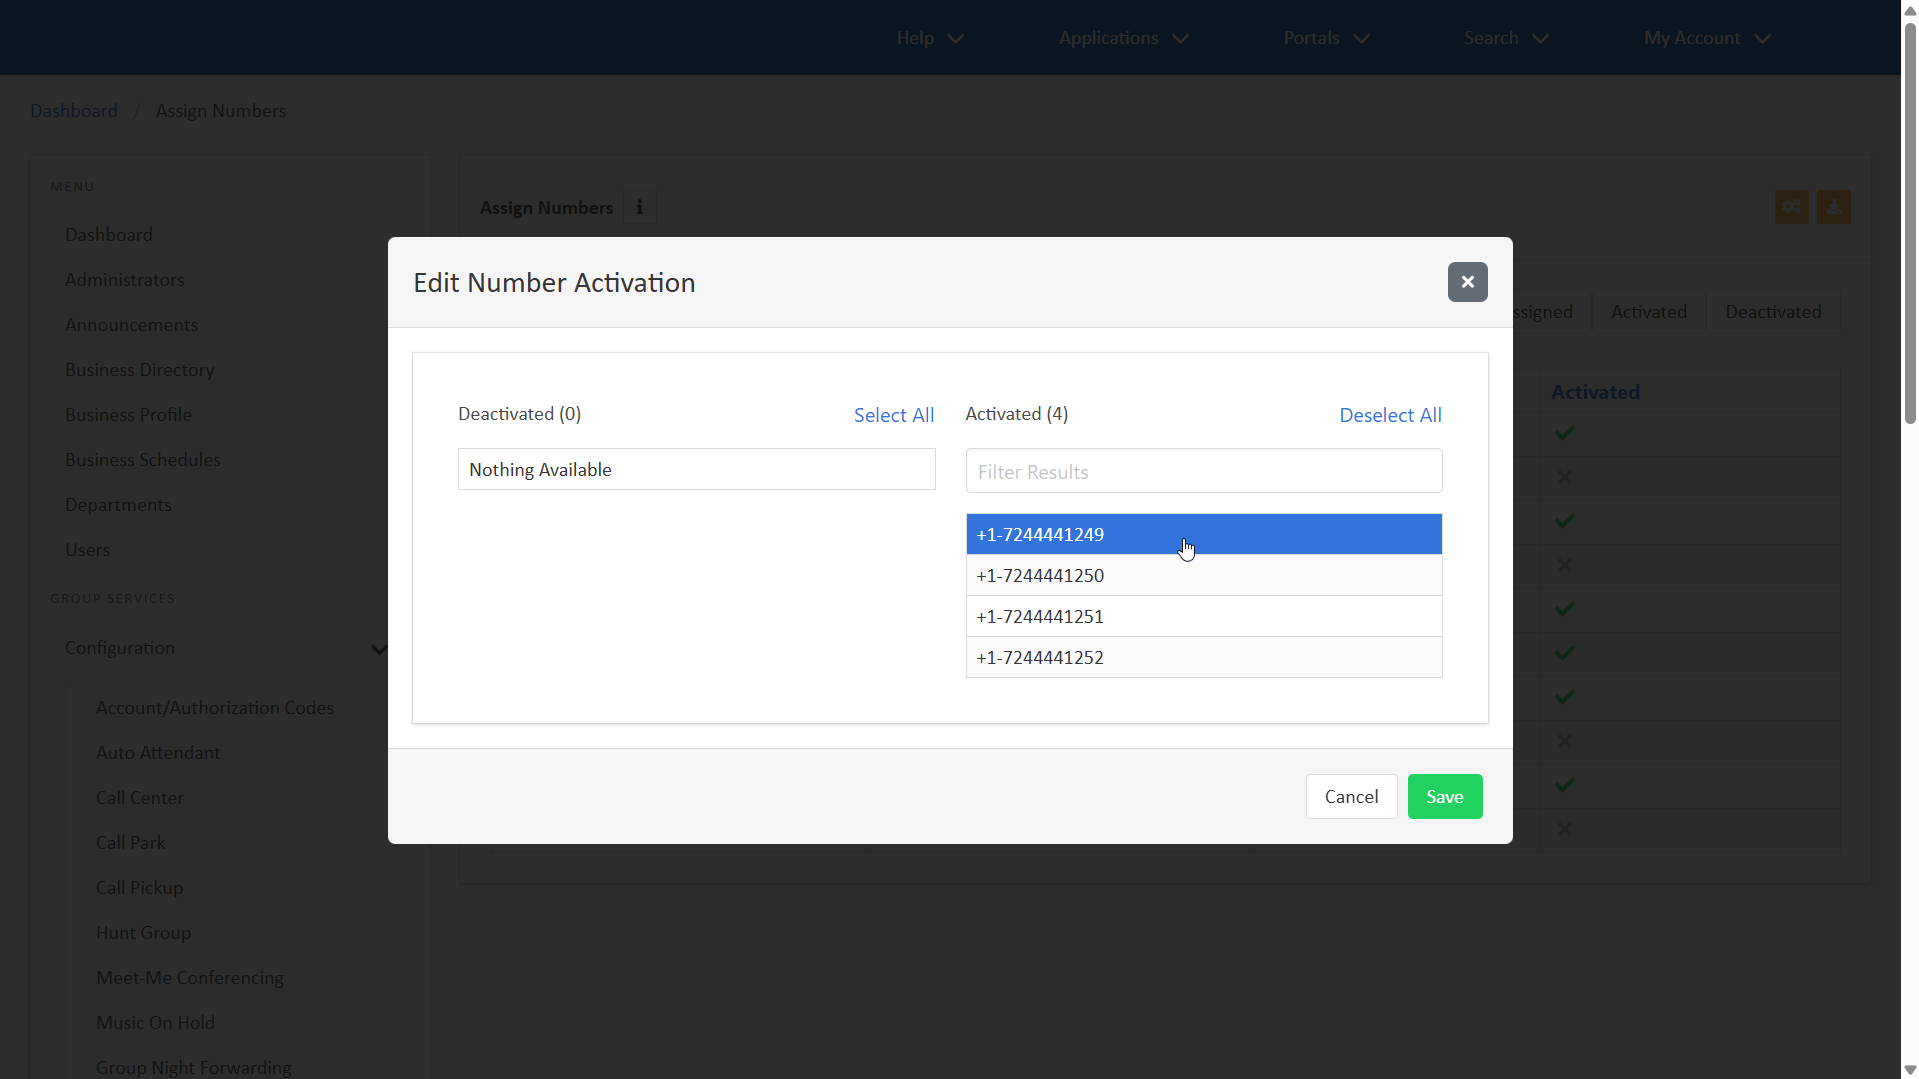
Activate and deactivate an individual or a range of numbers
To activate and deactivate an individual number or a range of numbers, follow these steps:
- From the dashboard, select Assign Numbers under Devices.
- Within Assign Numbers, select the row with the number(s) you’d like to modify.
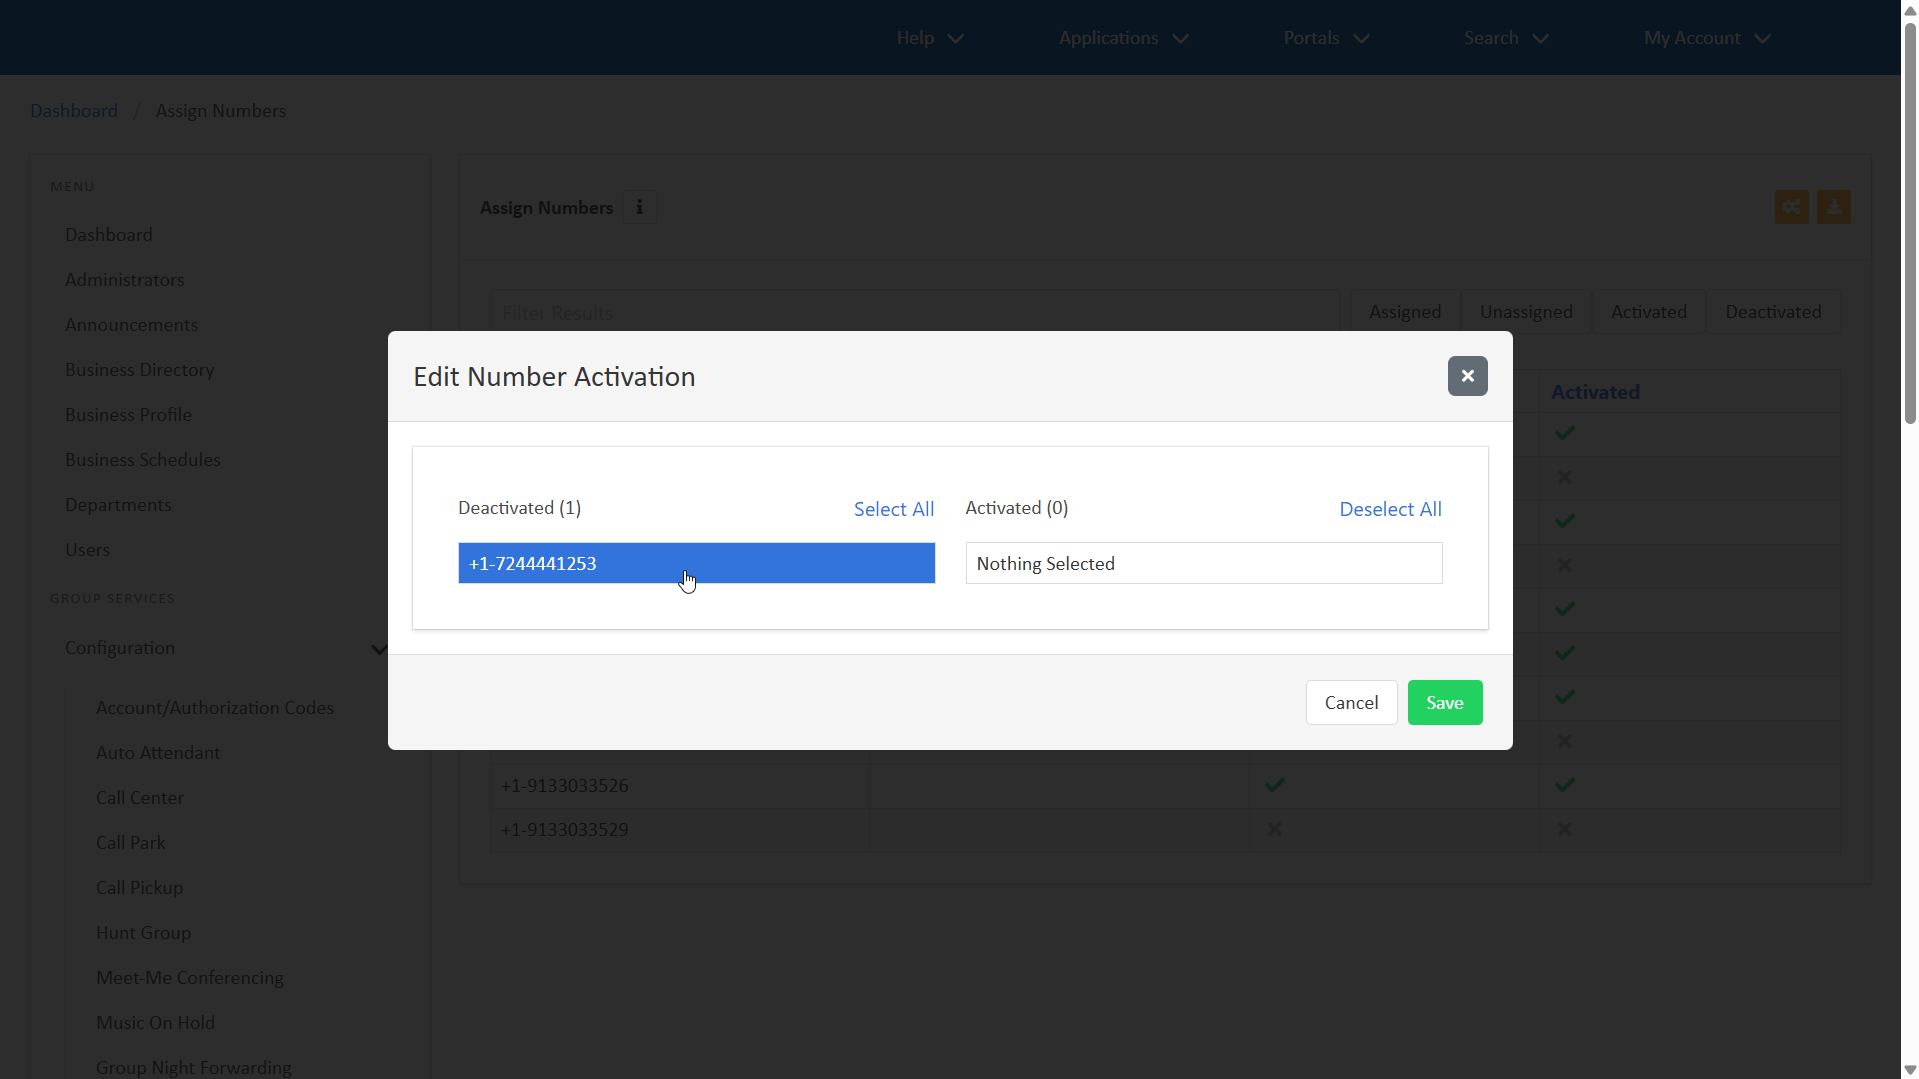
- Activate numbers by selecting the number(s) from the Deactivated list. To move all deactivated numbers to the Activated list, click Select All.
- Deactivate numbers by selecting the number(s) from the Activated list. To remove all activated numbers, click Deselect all.
- Click Save.
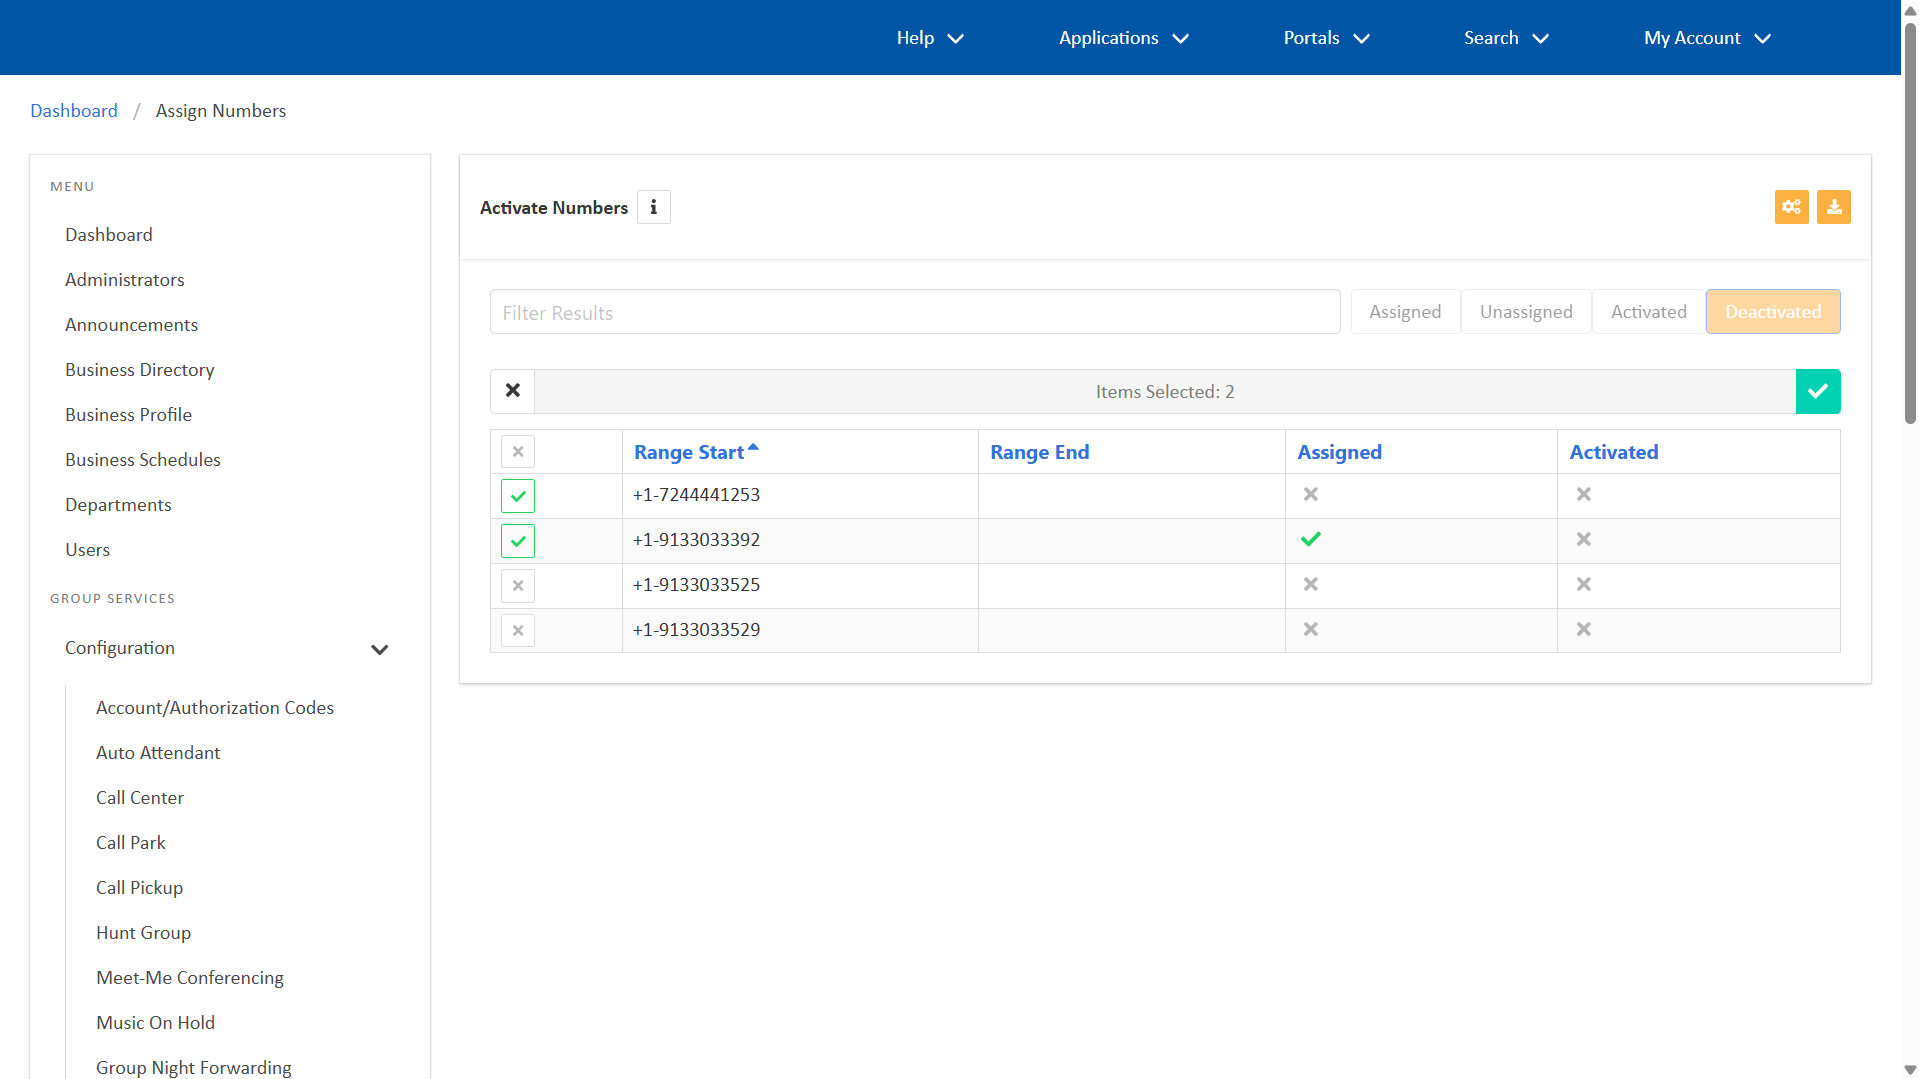
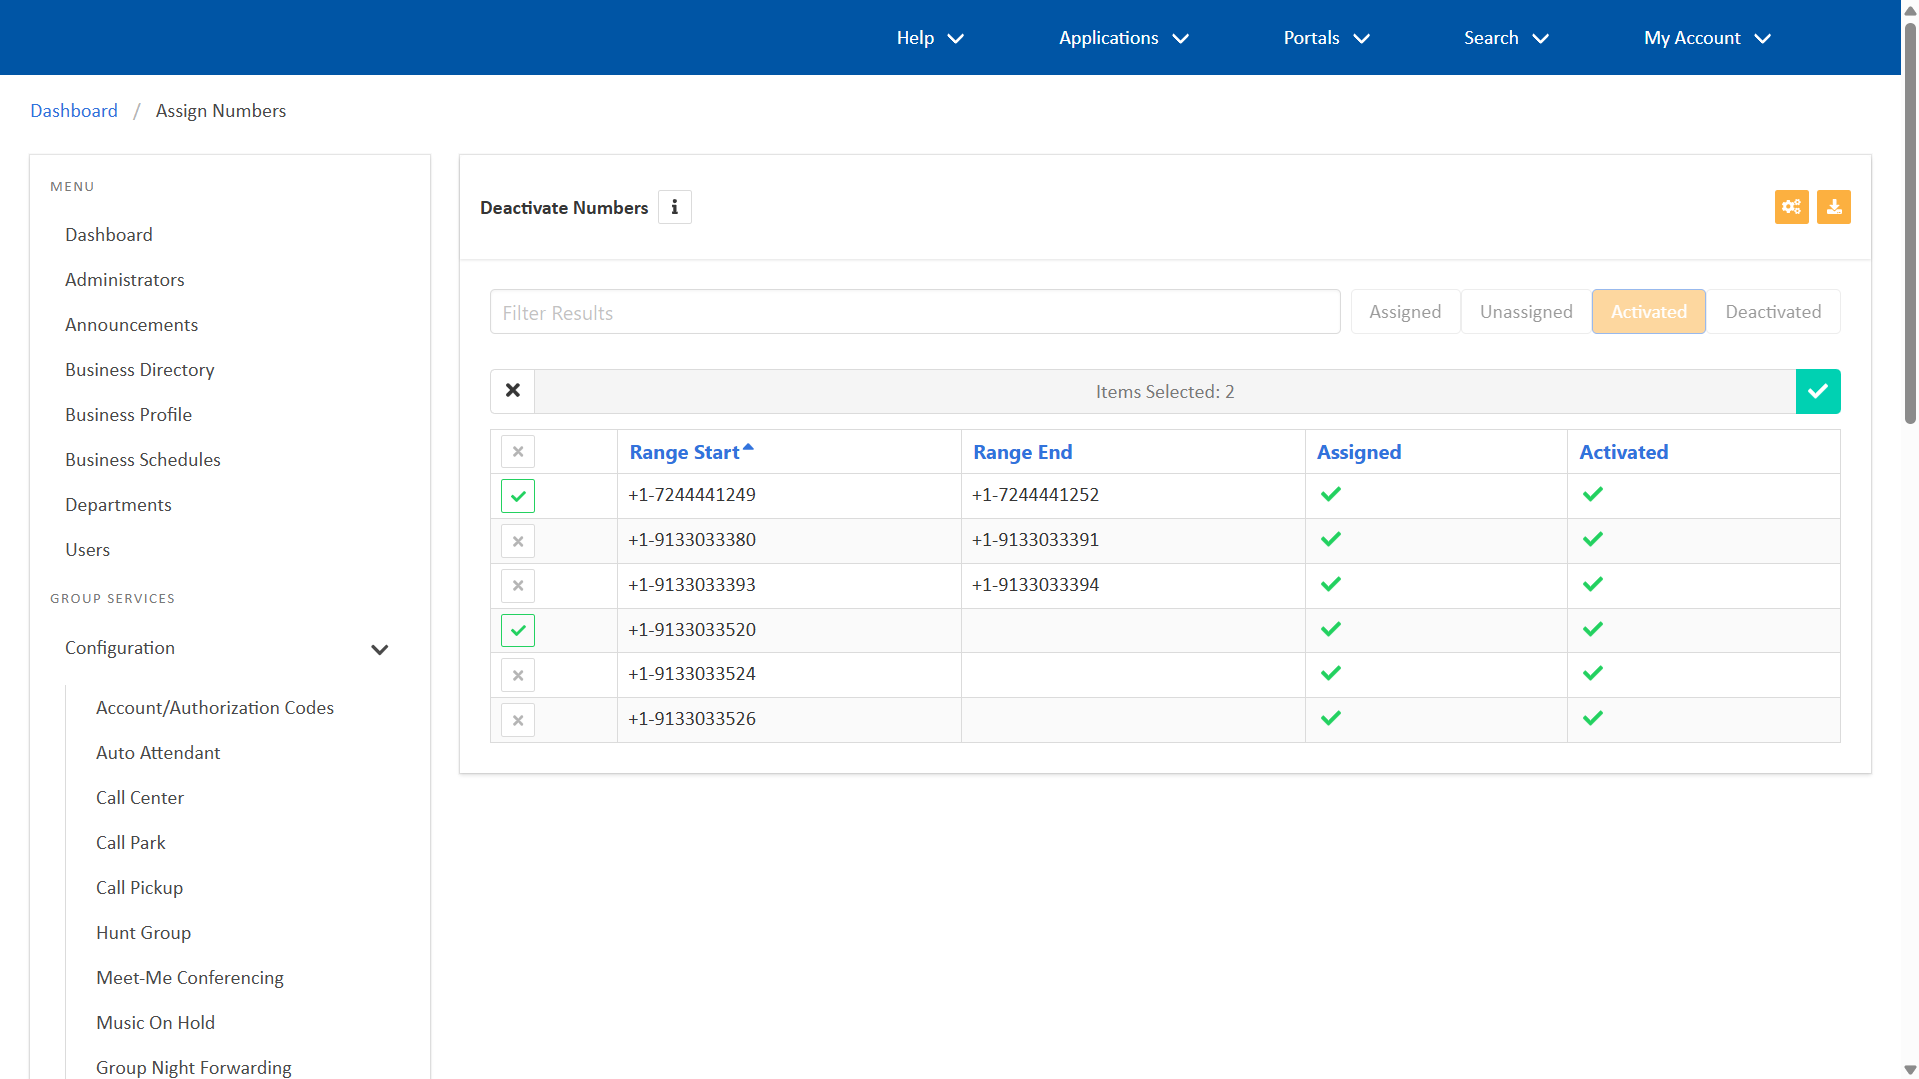
Activate and deactivate numbers in bulk
To activate and deactivate numbers in bulk, follow these steps:
- Within Assign Numbers, click the Bulk Edit icon.
- To activate numbers, select Active Numbers. Select the checkbox for the numbers you’d like to activate. Click the checkmark to save.
- To deactivate numbers, select Deactivate Numbers. Select the checkbox for the numbers you’d like to deactivate. Click the checkmark to save.