MENU

Introduction
Administrators can manage a wide range of user settings to ensure profiles, numbers, calling features, and security credentials remain accurate and up to date. From updating basic profile details and phone numbers to adjusting calling features, voicemail delivery, and password credentials, these tools give administrators full control over each user’s configuration.
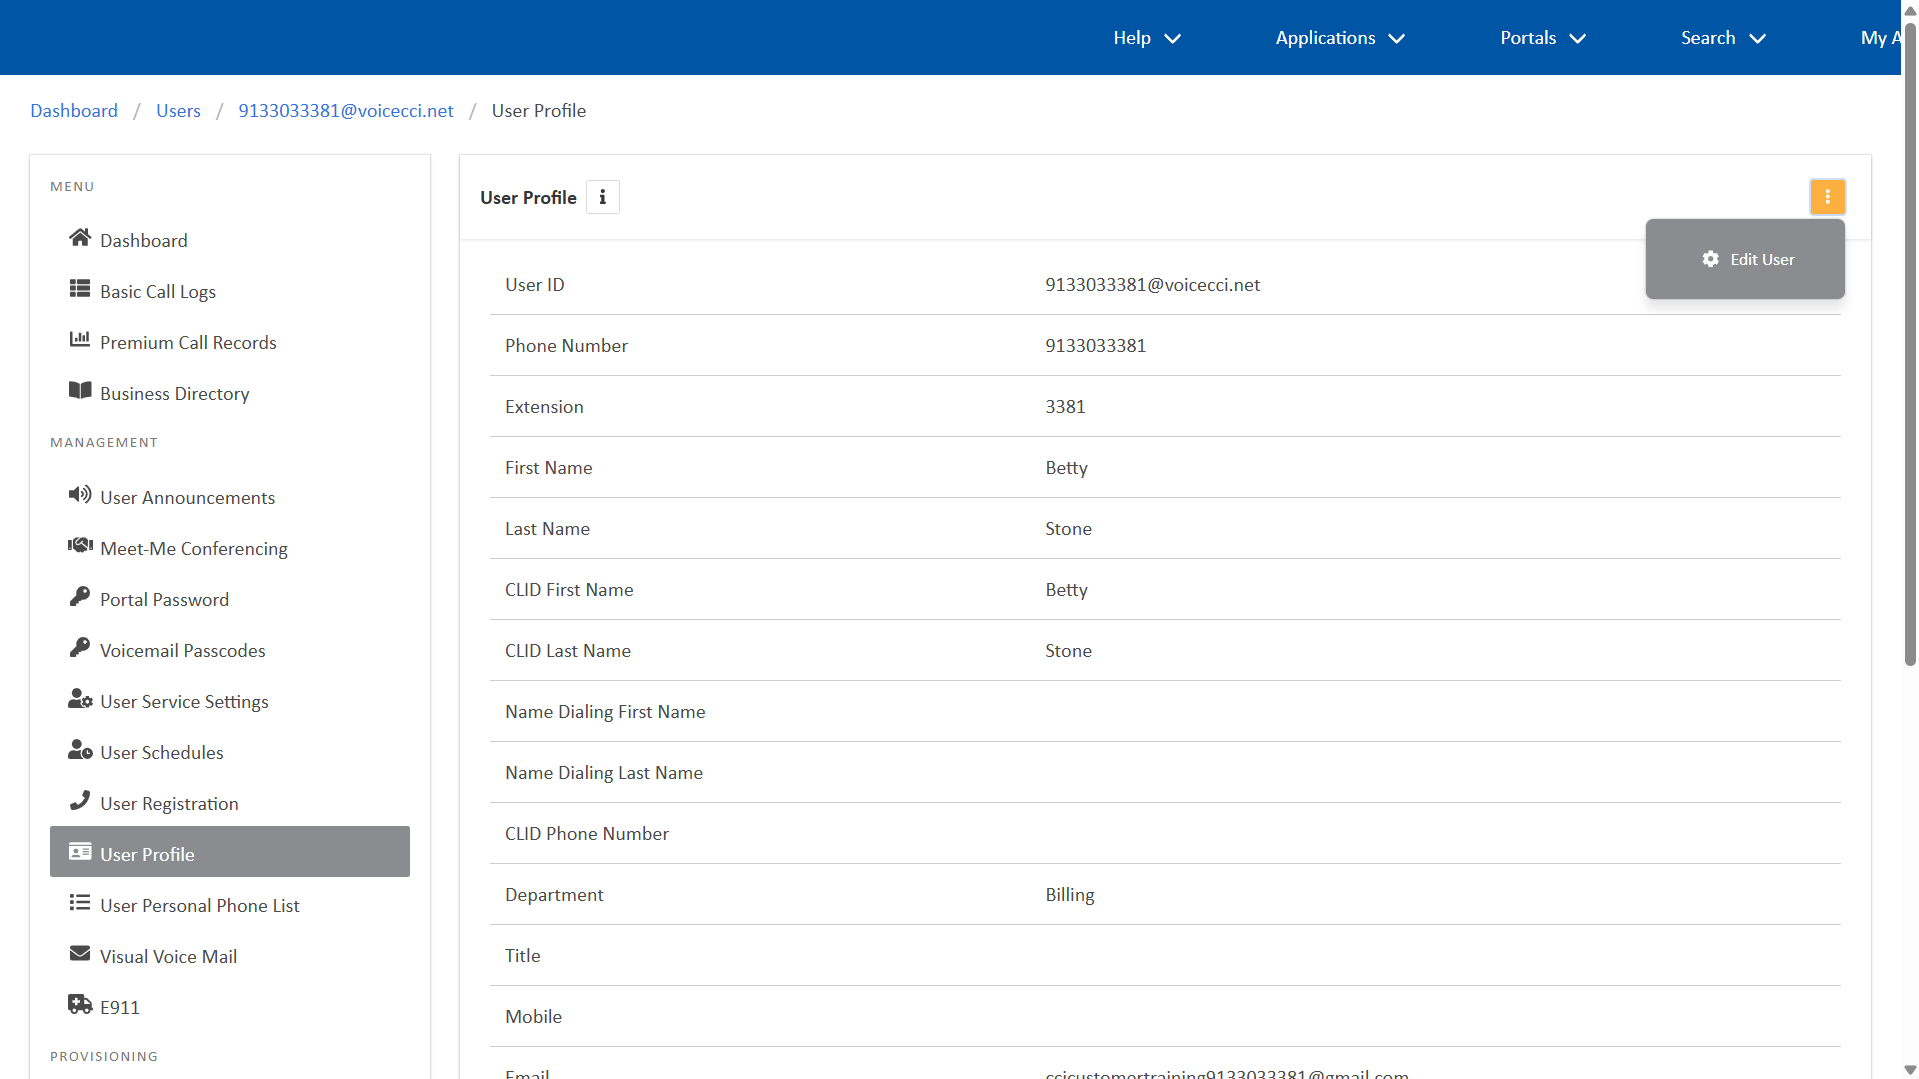
Update a user profile
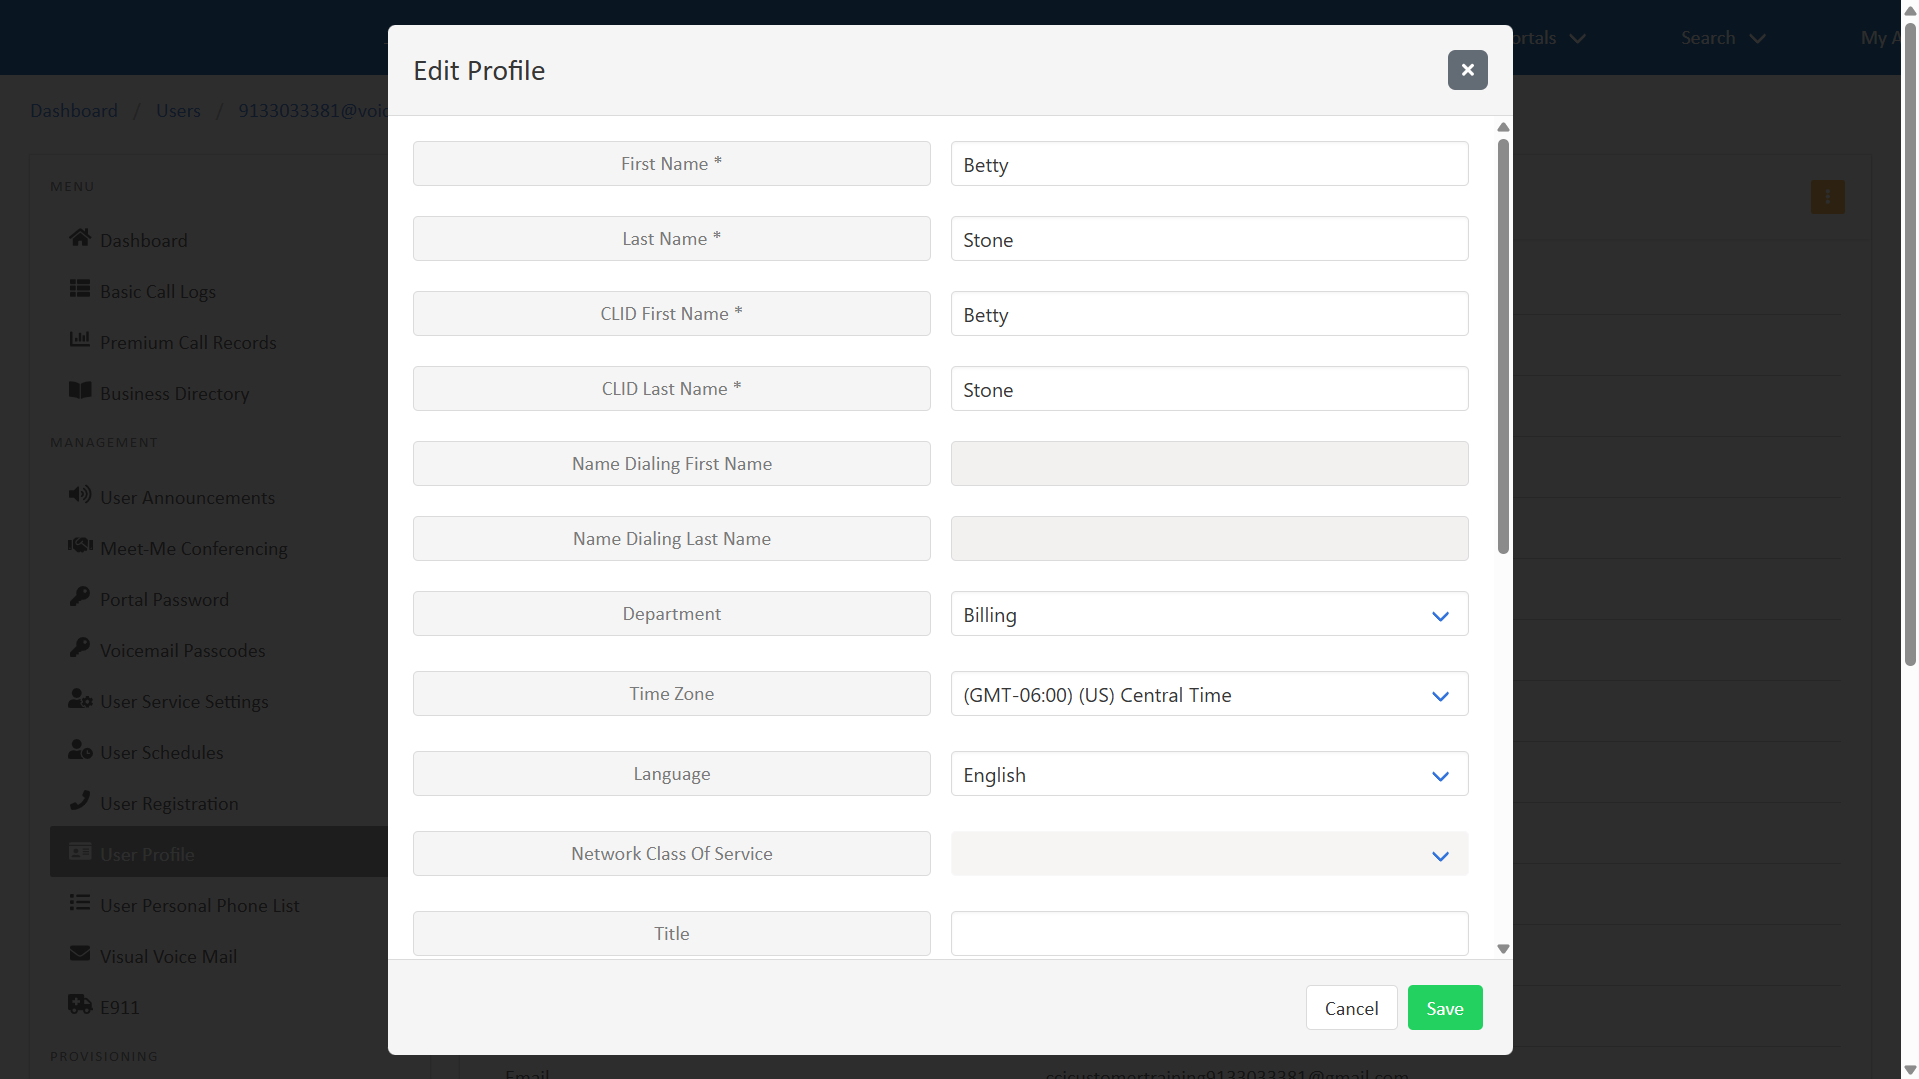
Administrators can update an existing user’s profile. This is especially beneficial when a new user replaces an existing one and uses the same phone. To modify a user profile, follow these steps:
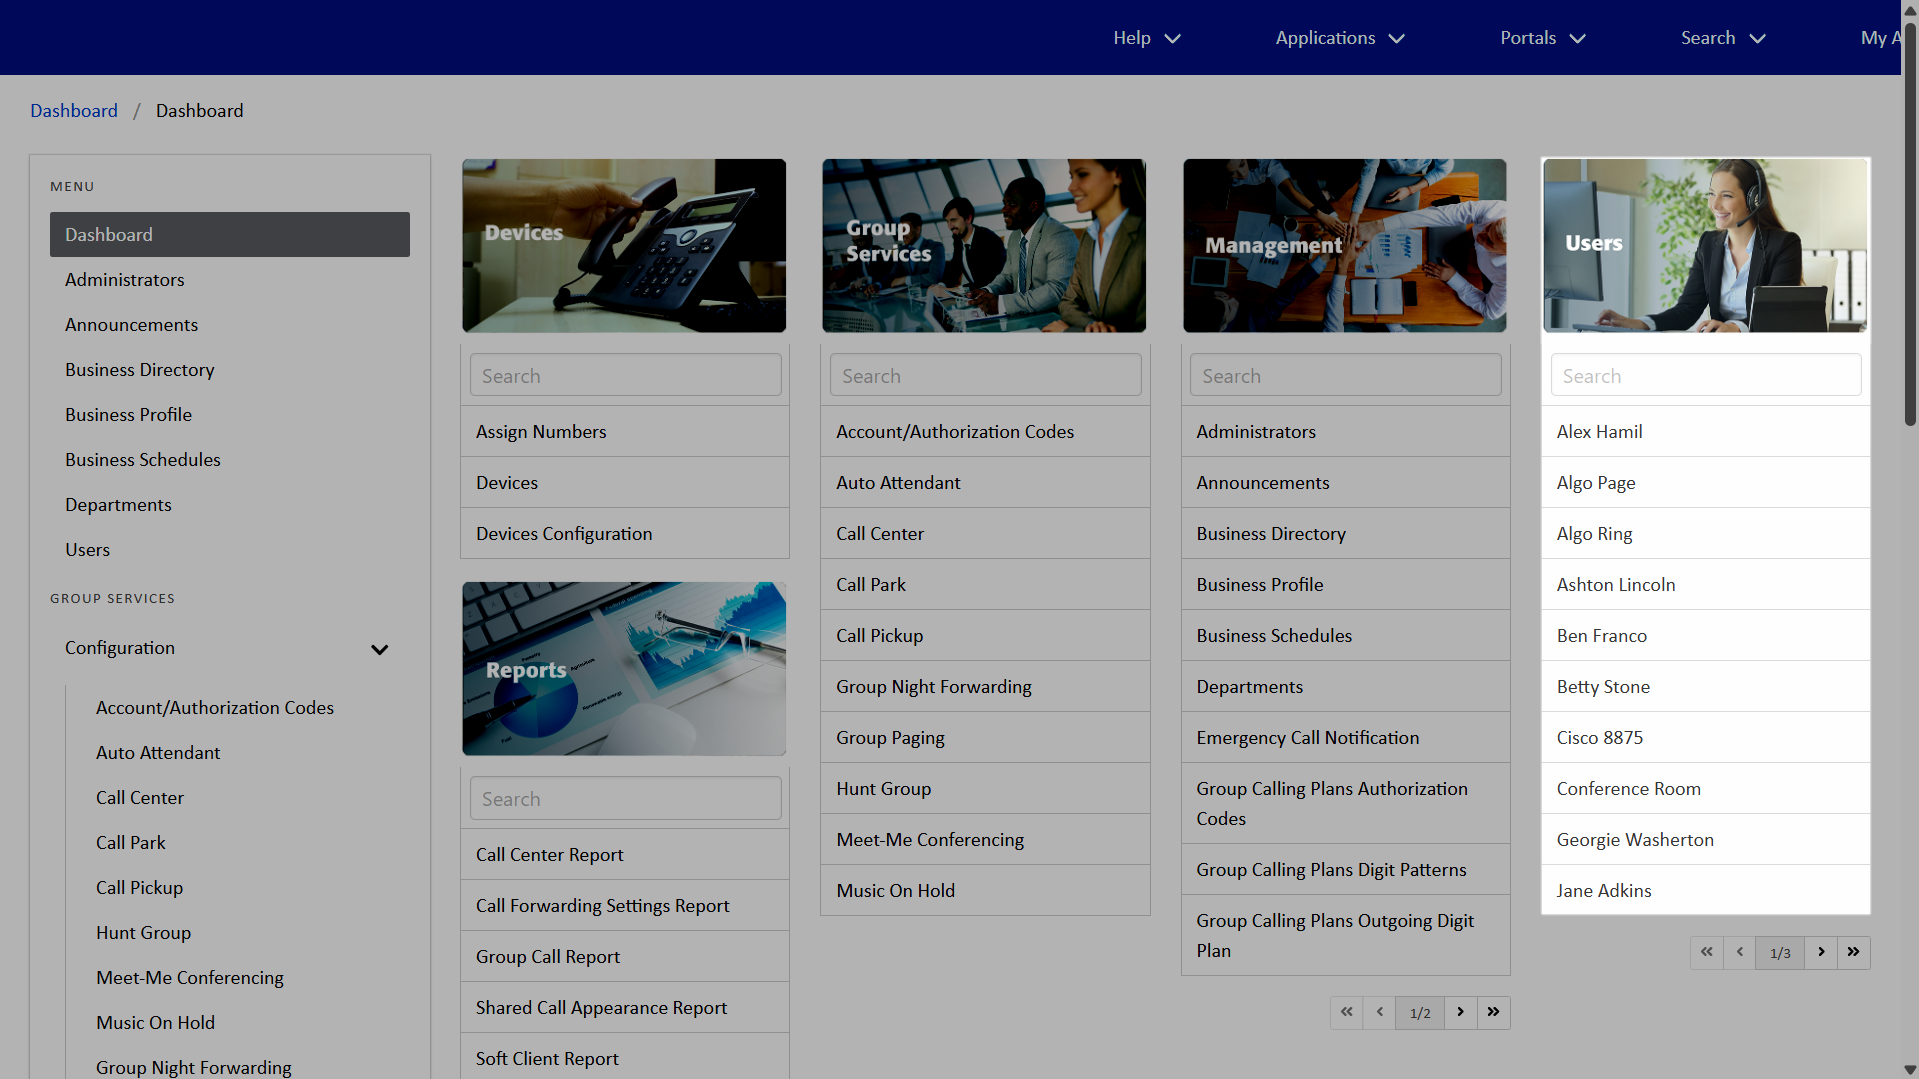
- From the dashboard, under Users, select your desired user.
- Within the Menu, select User Profile.
- Click the More icon and select Edit User.
- Modify the following fields as desired:
- First Name, Last Name
- CLID First Name, CLID Last Name - The CLID name is only displayed for internal calls.
- Department - Optional. If you don't have Departments set up in the phone system, leave this blank.
- Time Zone - Optional. Uses the group time zone if left blank.
- Pager Number and Mobile Number - Optional
- Email Address – Important: If the previous user has an active Webex account, updating their email address and clicking Save will result in an error. To proceed, you must first disable the user’s IM&P settings. For instructions, see Configure Integrated IMP settings.
Once IM&P is disabled, the previous user’s Webex account can be deleted, and you can update the email address for the new user. Return to the user profile, select Edit, update the email address, and click Save. To create a new Webex account for the user, re-enable IM&P by following the same steps used to disable it.
Note: The Webex directory may take up to 24 hours to update. Depending on your Enterprise configuration, the new user may also need to activate their Webex account using the activation link sent to their email.
- Click Save to save your changes.

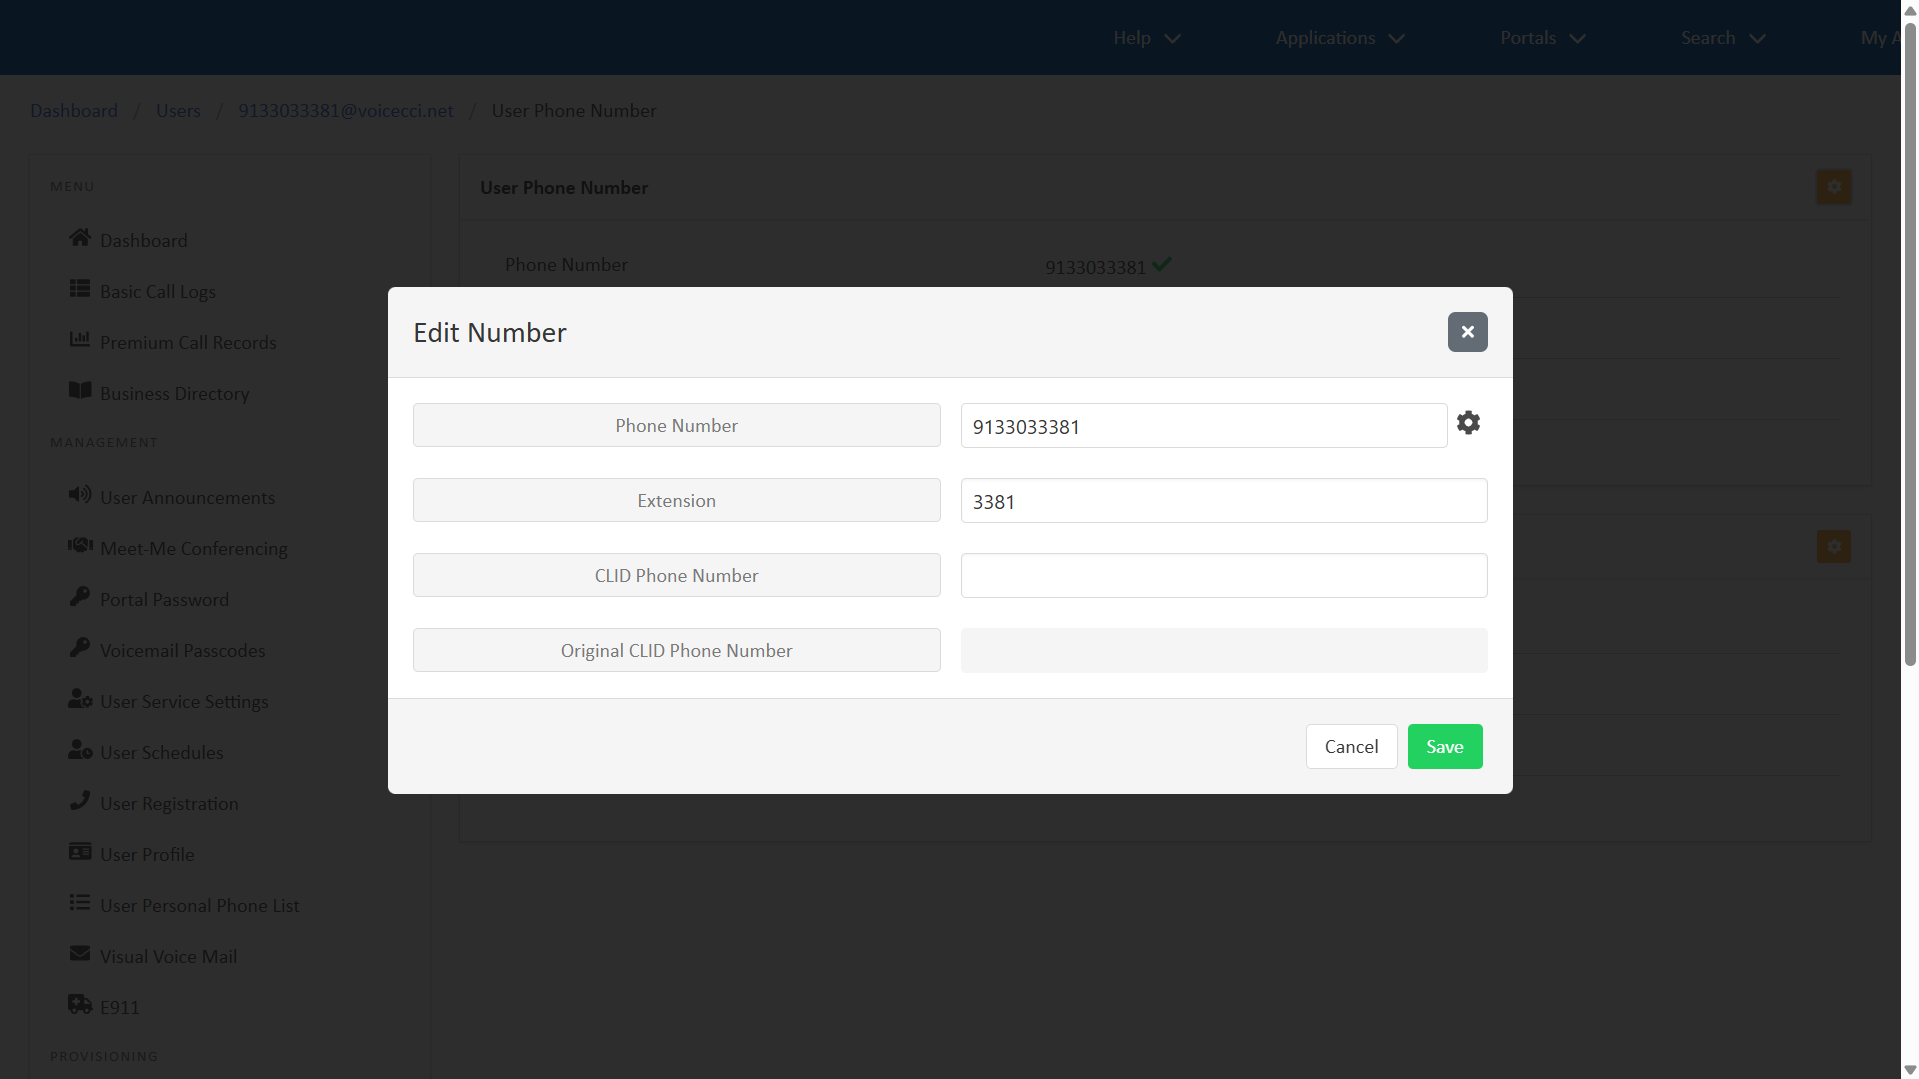
Update a number and/or extension
Administrators can update a user’s number and/or extension. To update a user’s number and/or extension, follow these steps:
- From the dashboard, under Users, select your desired user.
- Within the Menu, select User Phone Number.
- In the User Phone Number section, click the Edit icon.
- Modify the Phone Number and/or Extension as needed. If you’re changing the user’s number, the new number must be activated after it has been assigned. For guidance on activating numbers, refer to the Activate numbers guide.
- To modify the Phone Number, click the gear icon and select an available number.
- To modify an Extension, enter the desired extension in the field. Note: The extension must be unique in the system.
- Click Save.

CAUTION: After changing a user’s phone number, you must verify and update the address associated with the new number. This ensures accurate information for emergency calls. Refer to the following section for instructions on reviewing and updating a user’s emergency address.
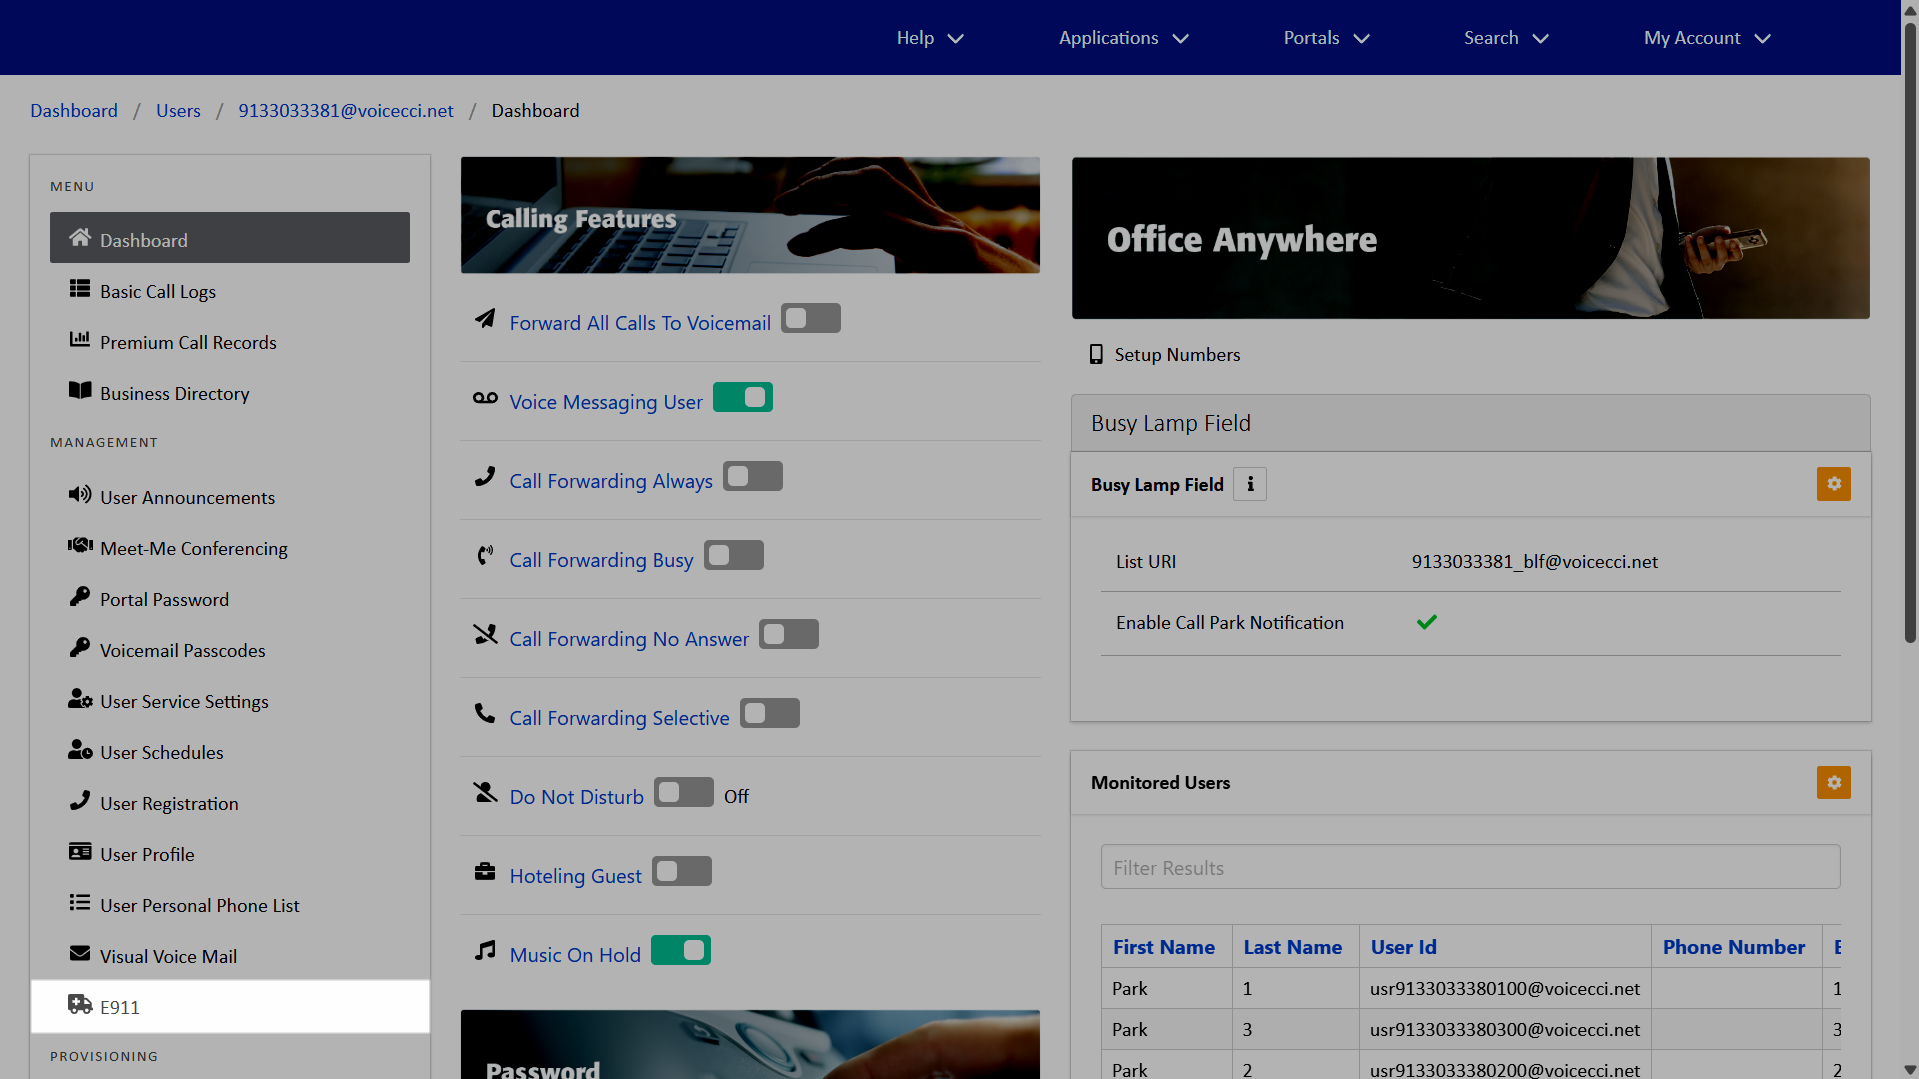
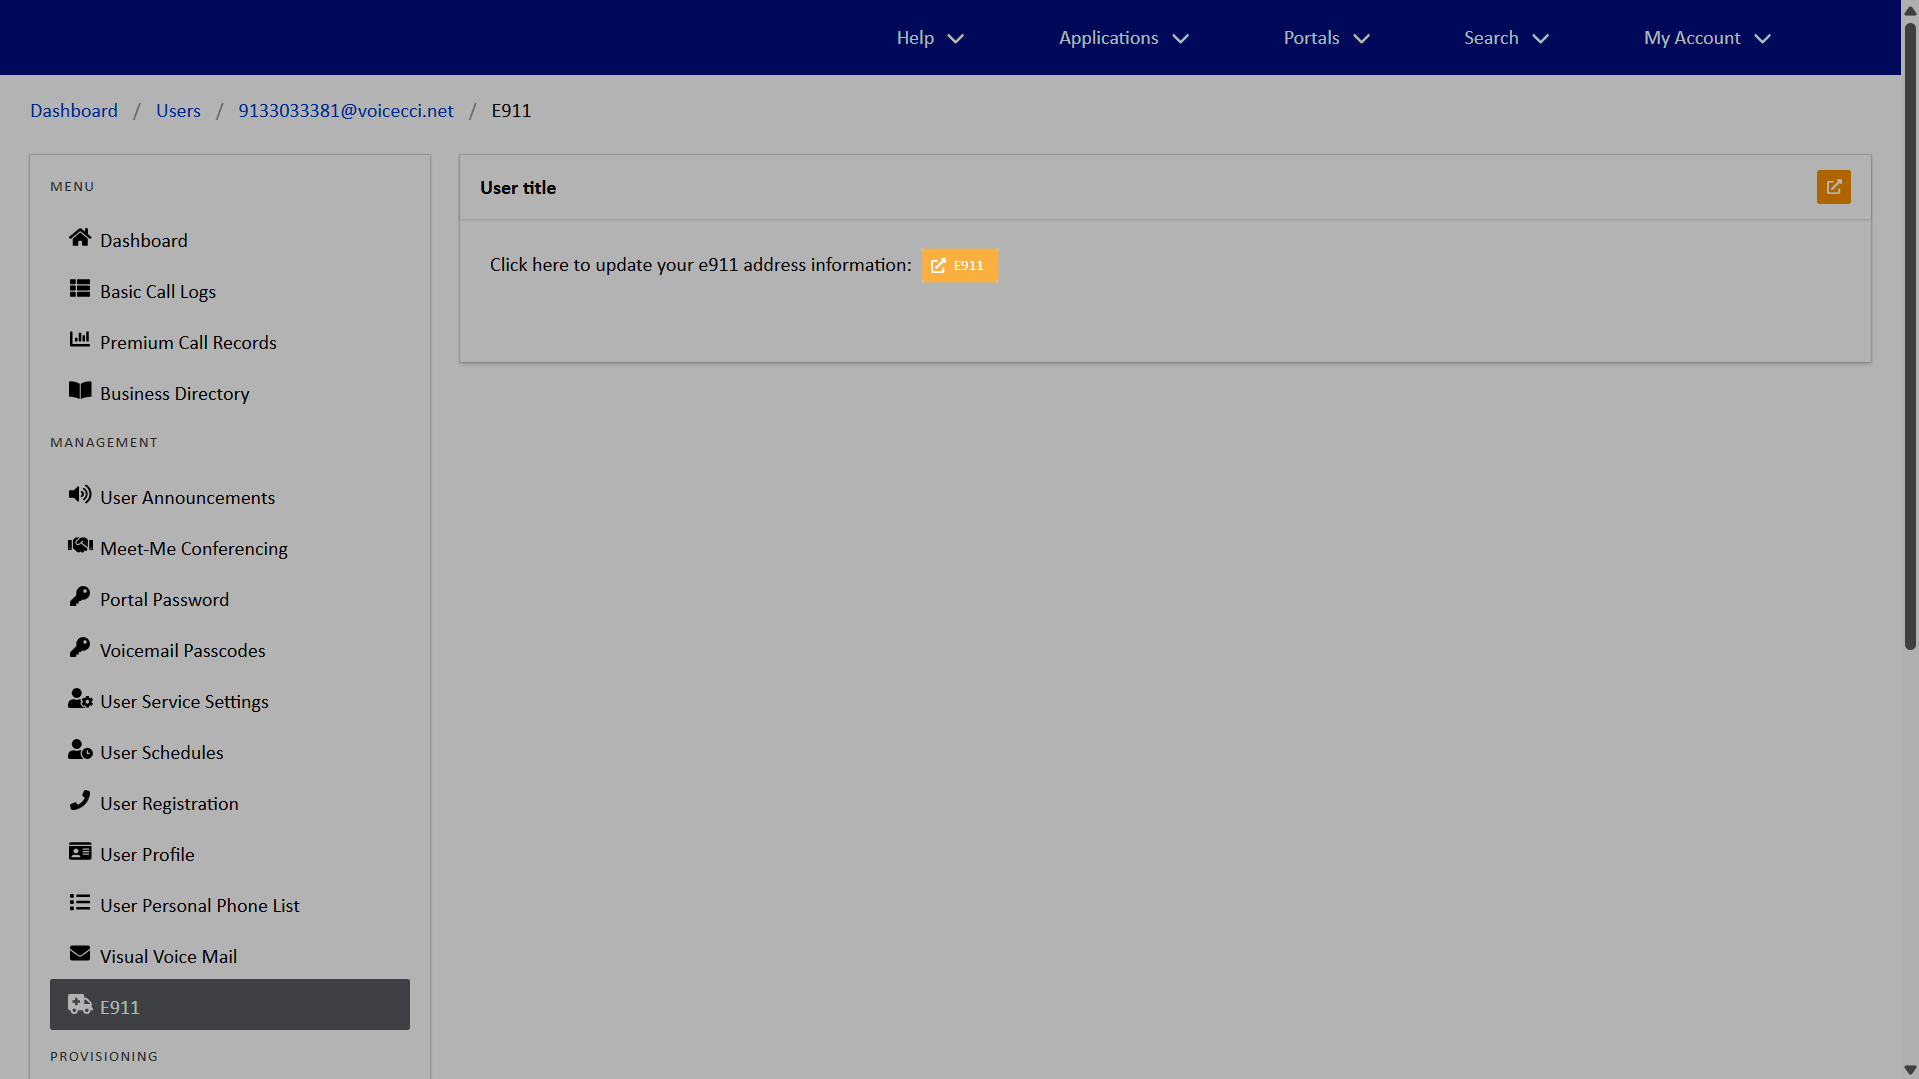
Update user E911 information
Enhanced 911 (E911) ensures emergency responders receive accurate location information when a 911 call is placed, helping them reach callers quickly and safely. To update a user’s E911 settings, follow these steps:
- From the dashboard, under Users, select your desired user.
- Within the Menu, select E911.
- Click the Open E911 icon.
- Review and update your address information as needed. Fields marked with an asterisk are required.
- When complete, click Update Address.
Note: Click the Update Address button only once.


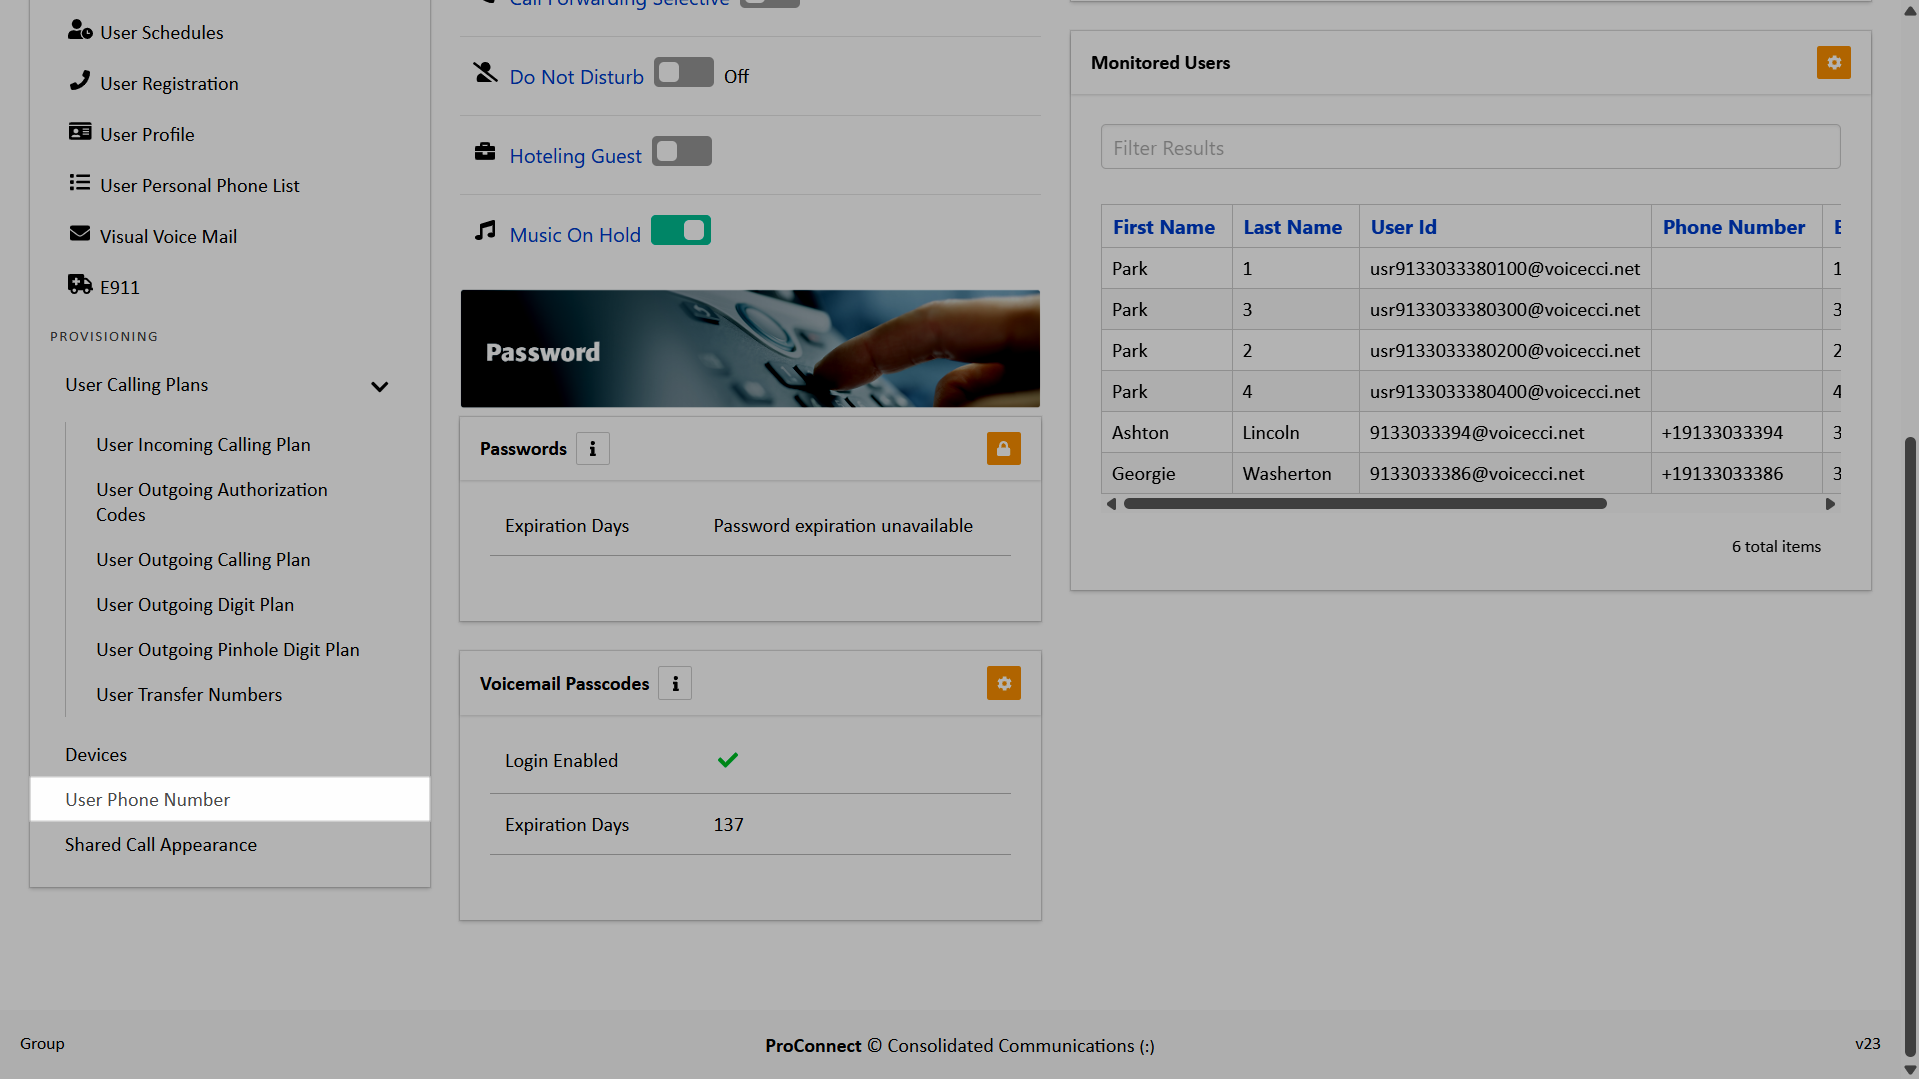
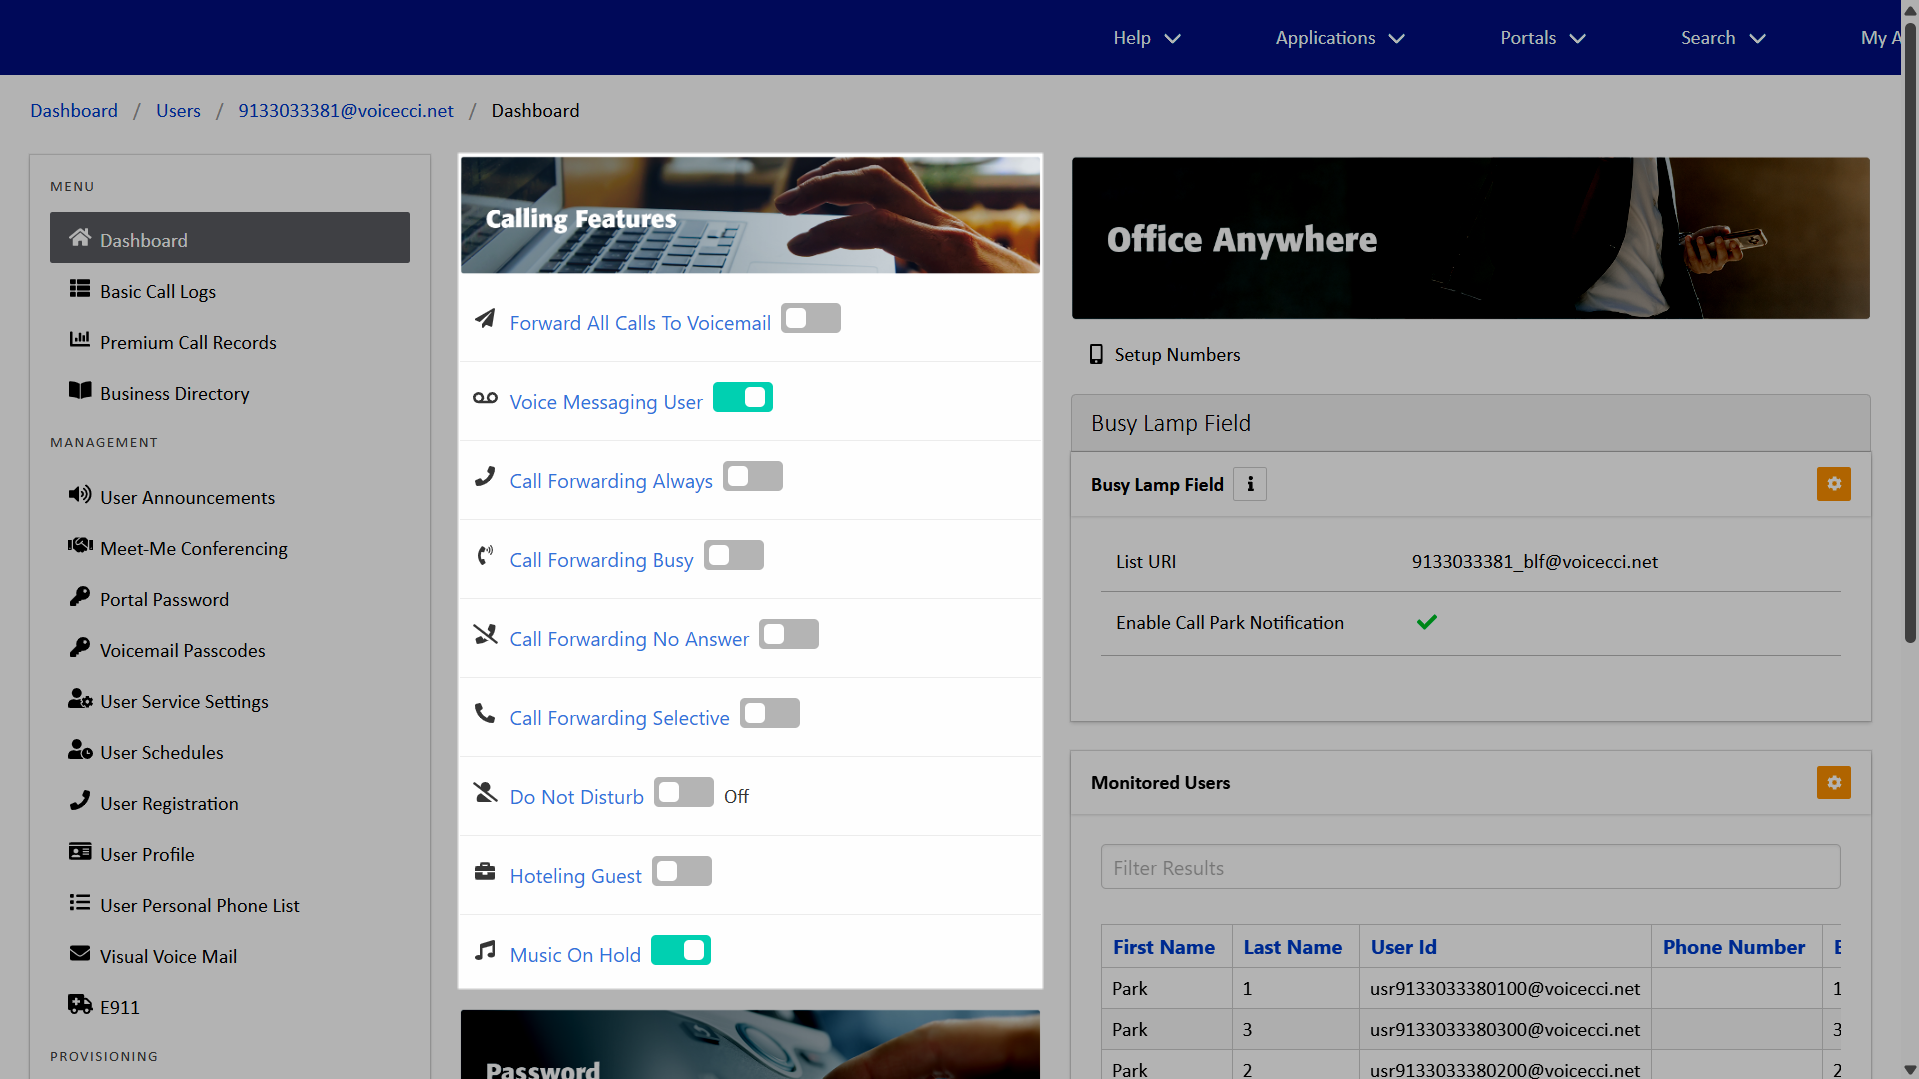
Manage user calling features
It is recommended that Administrators turn off any call forwarding settings from the previous user. To manage user calling features, follow these steps:
- From the dashboard, under Users, select your desired user.
- Within the Menu, select Dashboard.
- In the Calling Features section, modify the feature as desired using the toggle.
- When toggling on any of the Calling Forwarding features, additional activation and Forward To information is required. You can also remove or update the Forward To number assigned by a previous user.
- If necessary, click Save.


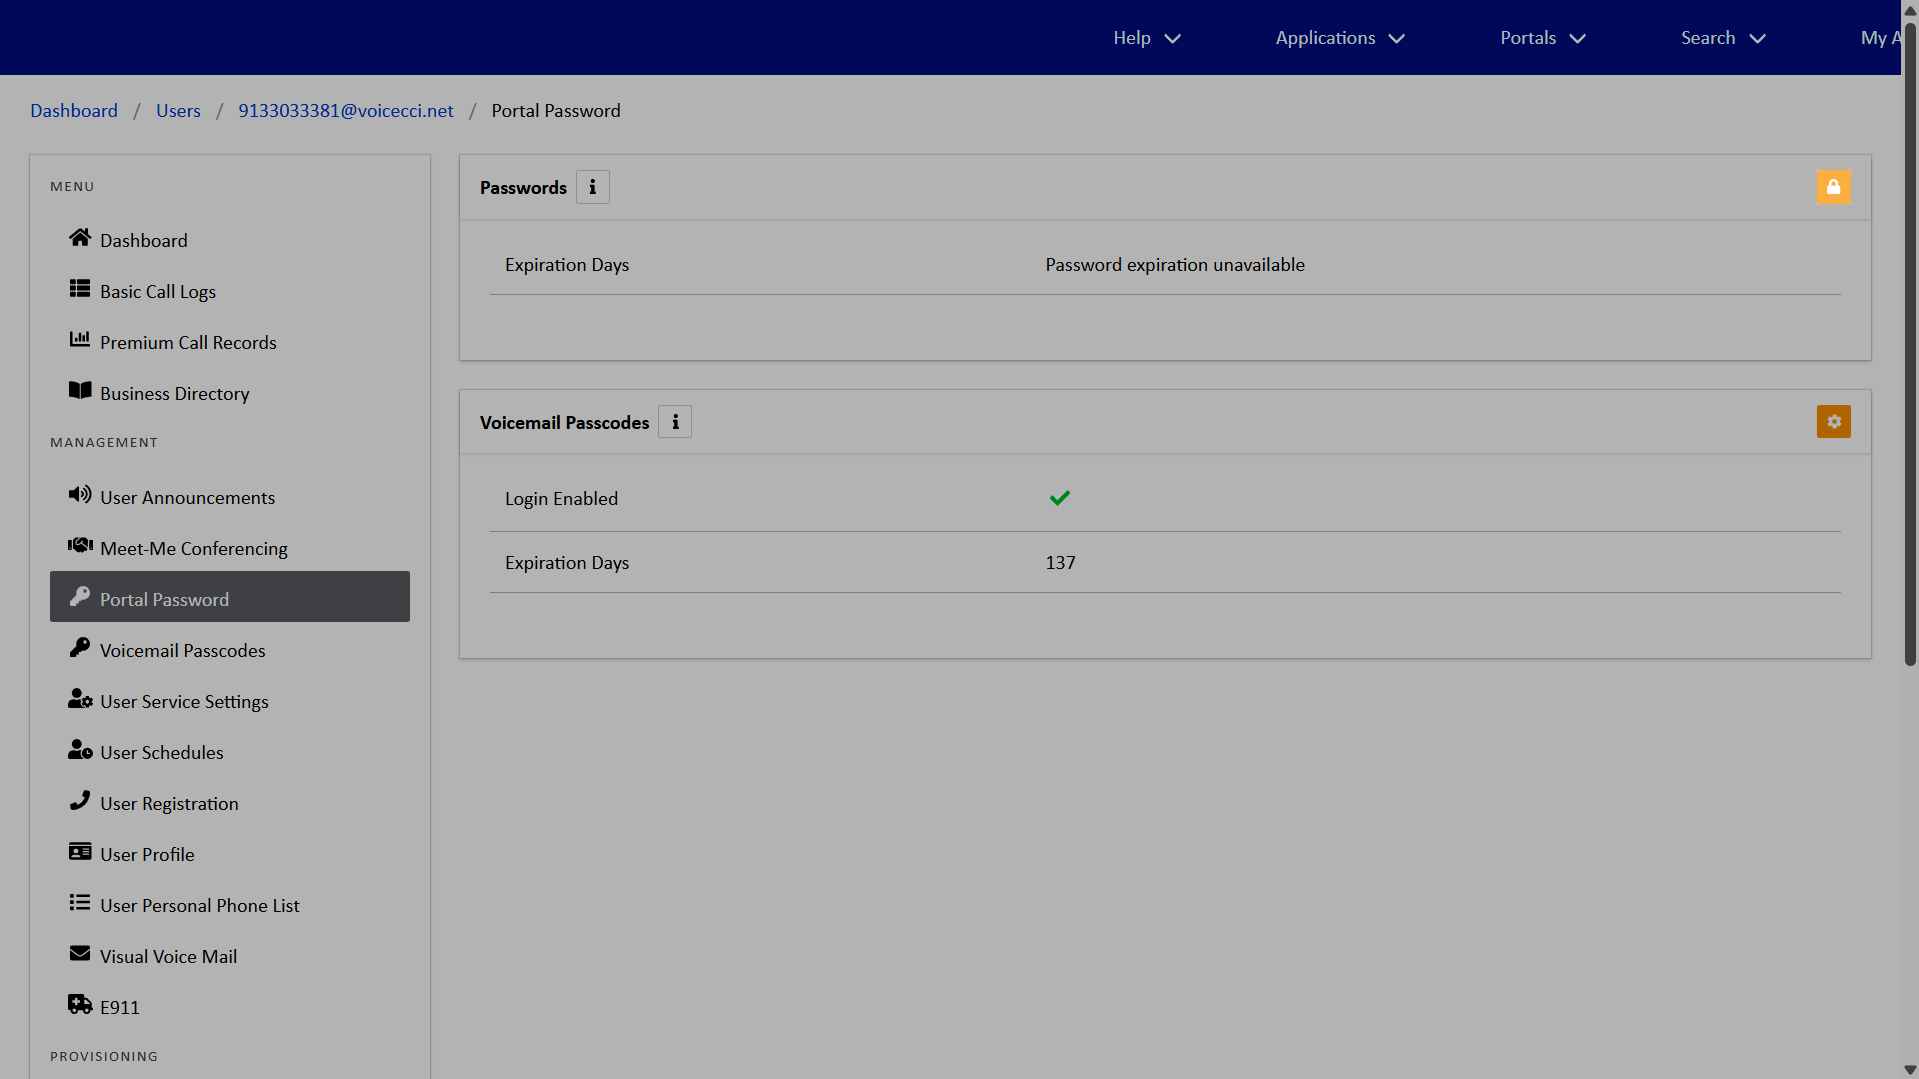
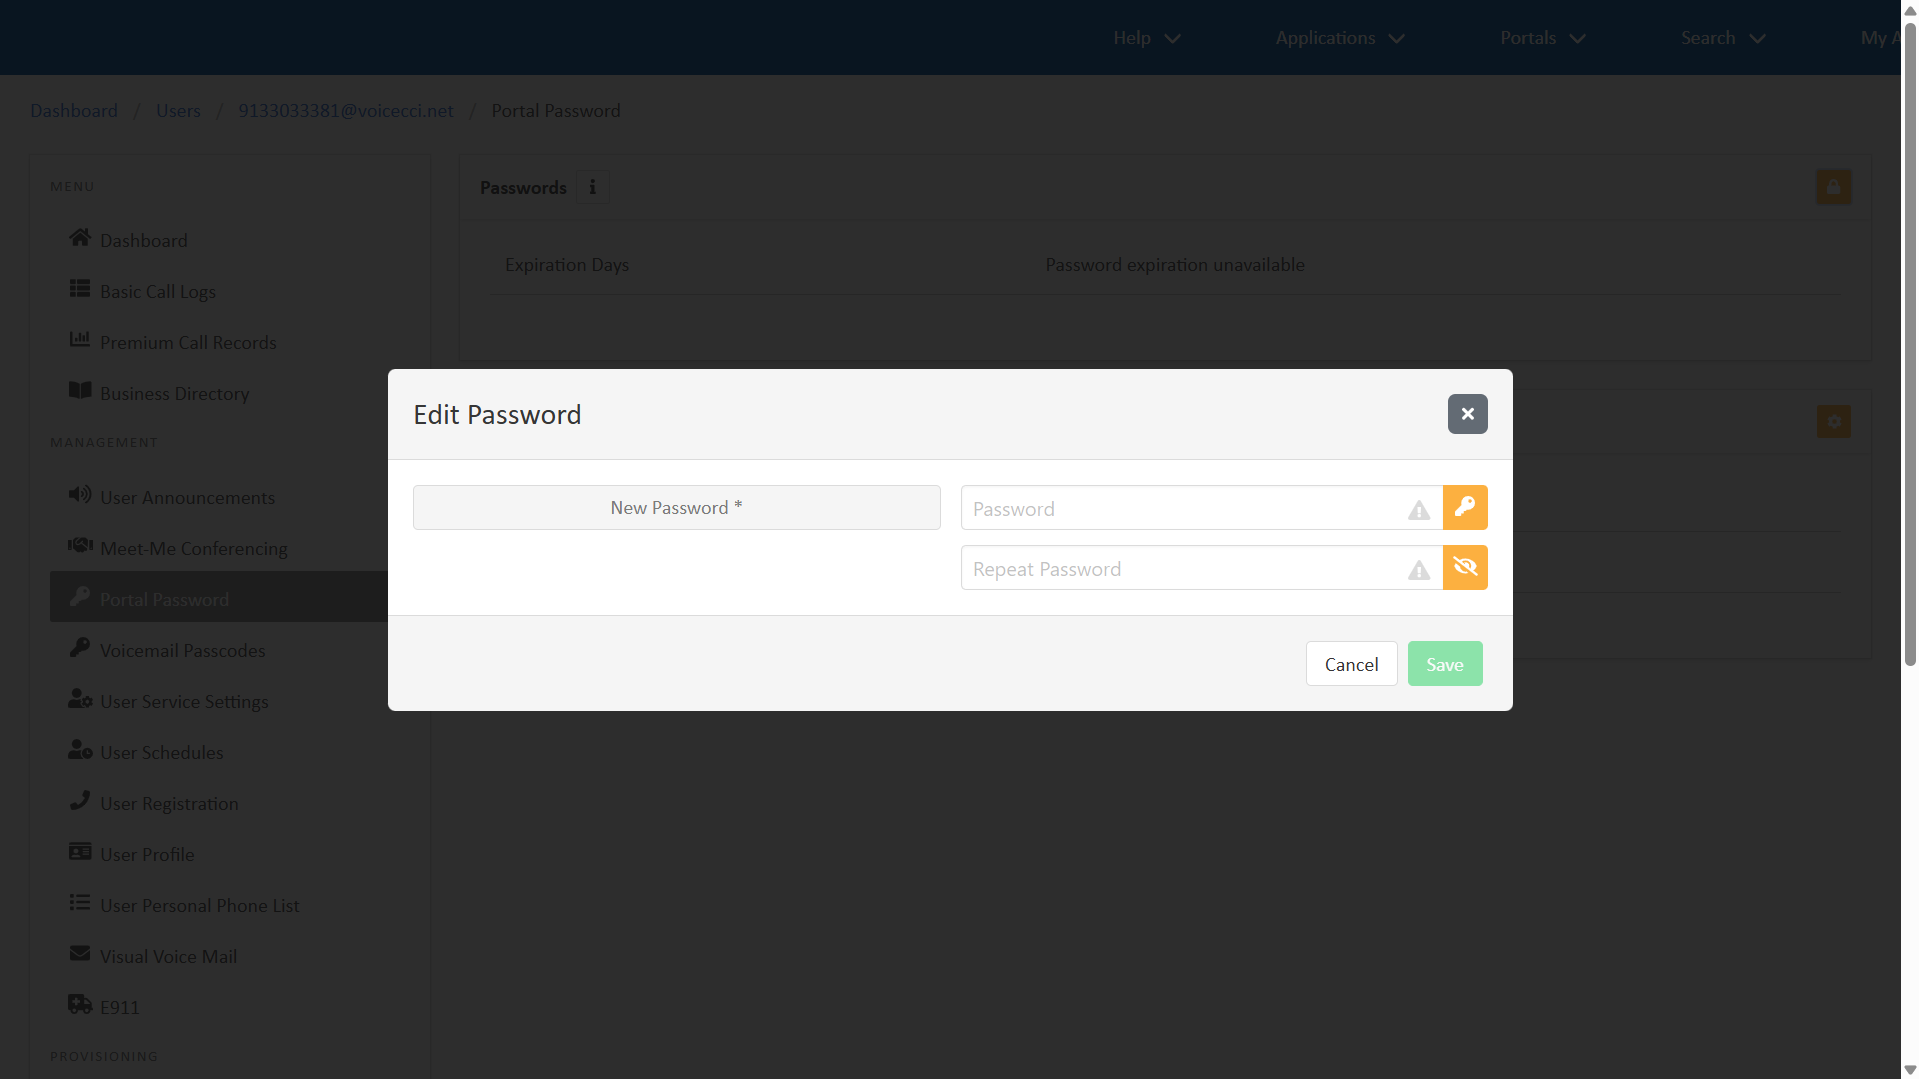
Reset a portal password
Administrators can reset a user’s portal password if the user has forgotten it or if the user has changed. Portal passwords are used to log in and access the end user portal and system-assigned applications, such as Webex App. To reset a user’s portal password, follow these steps:
- From the dashboard, under Users, select your desired user.
- Within the Menu, select Portal Password.
- Click the Edit Password icon.
- Enter a new Password, or use the Generate Password icon to create a compliant password automatically. Confirm the password by entering it in the Repeat Password field. If a system-generated password is used, the confirmation field populates automatically.
- 1 uppercase character
- 1 lowercase character
- 1 number
- 1 non-alphanumeric character
- Make note of the new password and click Save.

Note: If you are entering your own password, the new one must be at least six characters long and contain:
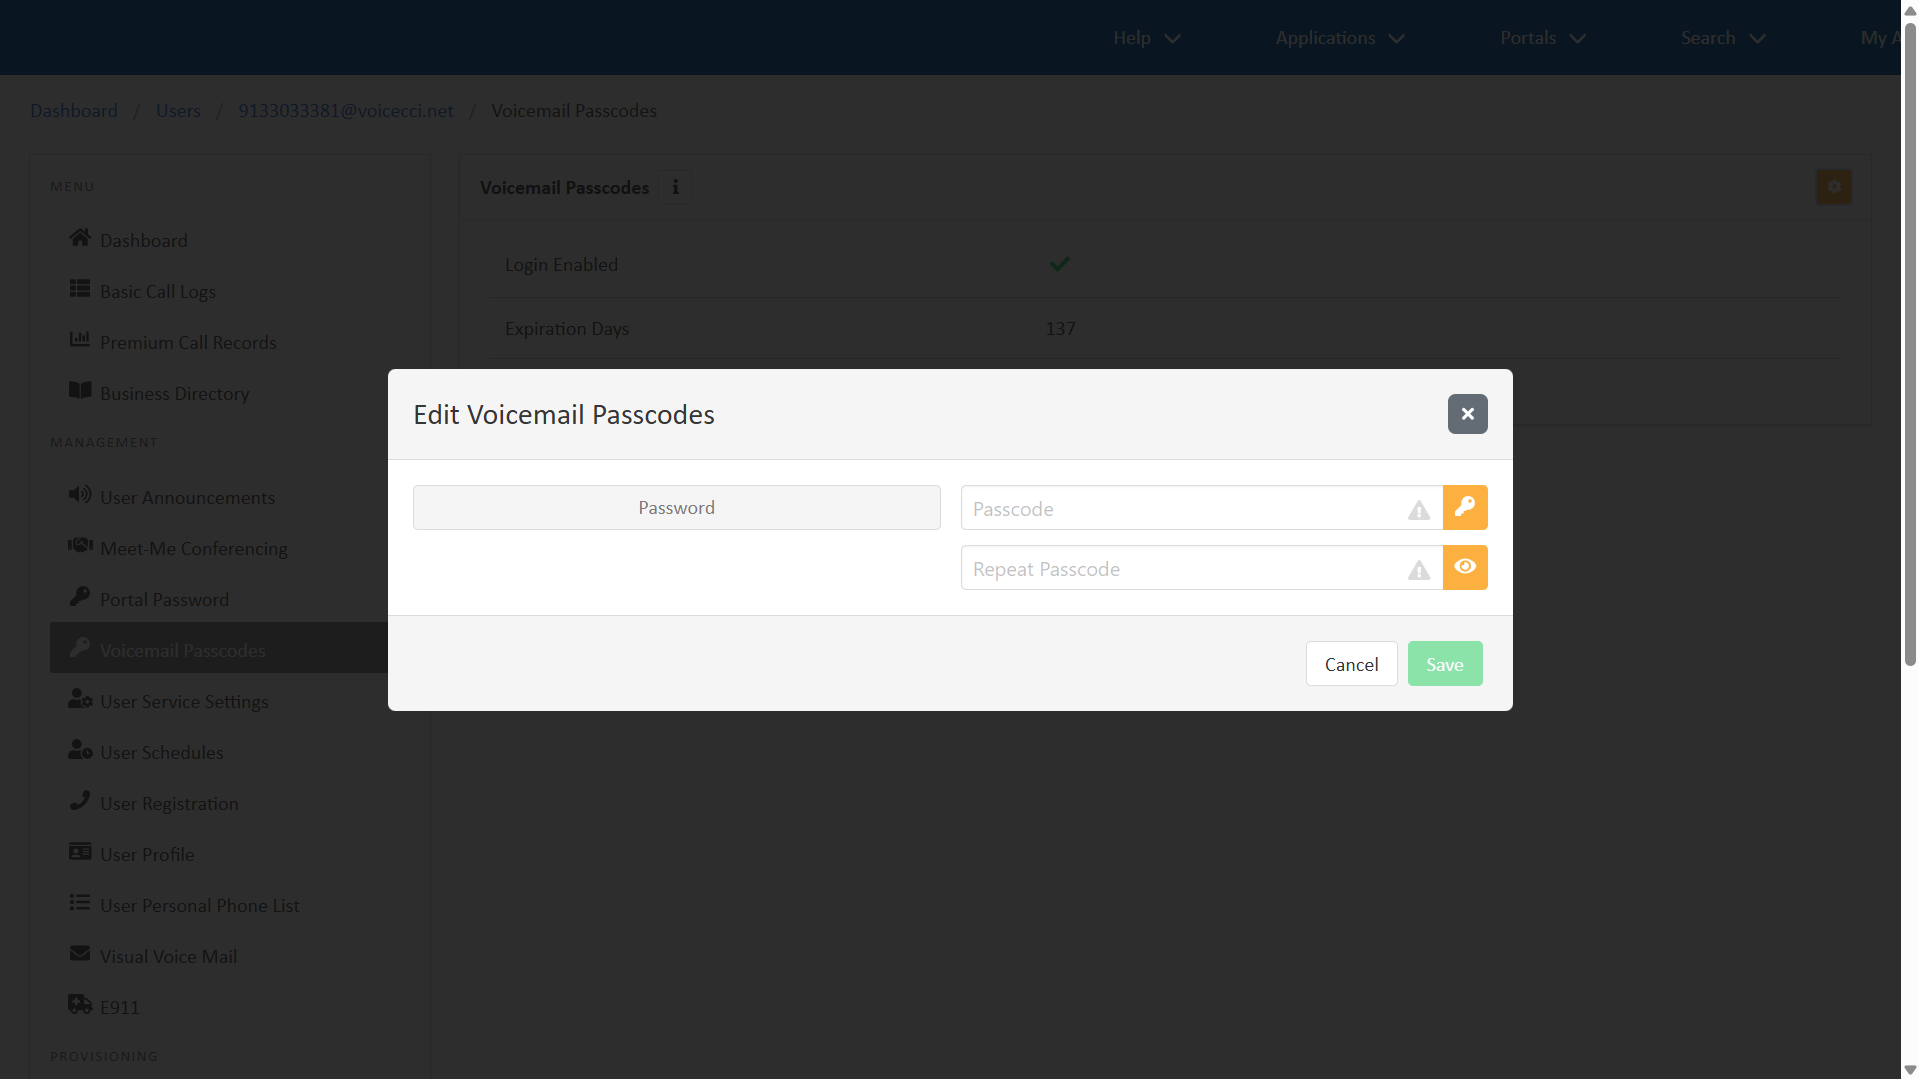
Reset a voicemail passcode
Administrators can reset a user’s voicemail passcode if the user has forgotten it or if the user has changed. Voicemail passcodes are used to access the user’s voicemail messages and greetings through the voice portal. To reset a user’s voicemail passcode, follow these steps:
- From the dashboard, under Users, select your desired user.
- Within the Menu, select Voicemail Passcodes.
- Click the Edit icon.
- Enter a new Passcode, or use the Generate Password icon to create a compliant passcode automatically. Confirm the passcode by entering it in the Repeat Passcode field. If a system-generated passcode is used, the confirmation field populates automatically.
- Be the user’s own extension or phone number
- Be the user’s own extension or phone number reversed
- Contain the same digit more than 5 times in a row
- Contain more than 4 sequentially ascending or descending digits
- Be the last passcode
- Be the last passcode reversed
- Make note of the new passcode and click Save.

Note: If you are entering your own passcode, the new one must be at least six characters and no more than 10 characters long, and CANNOT:
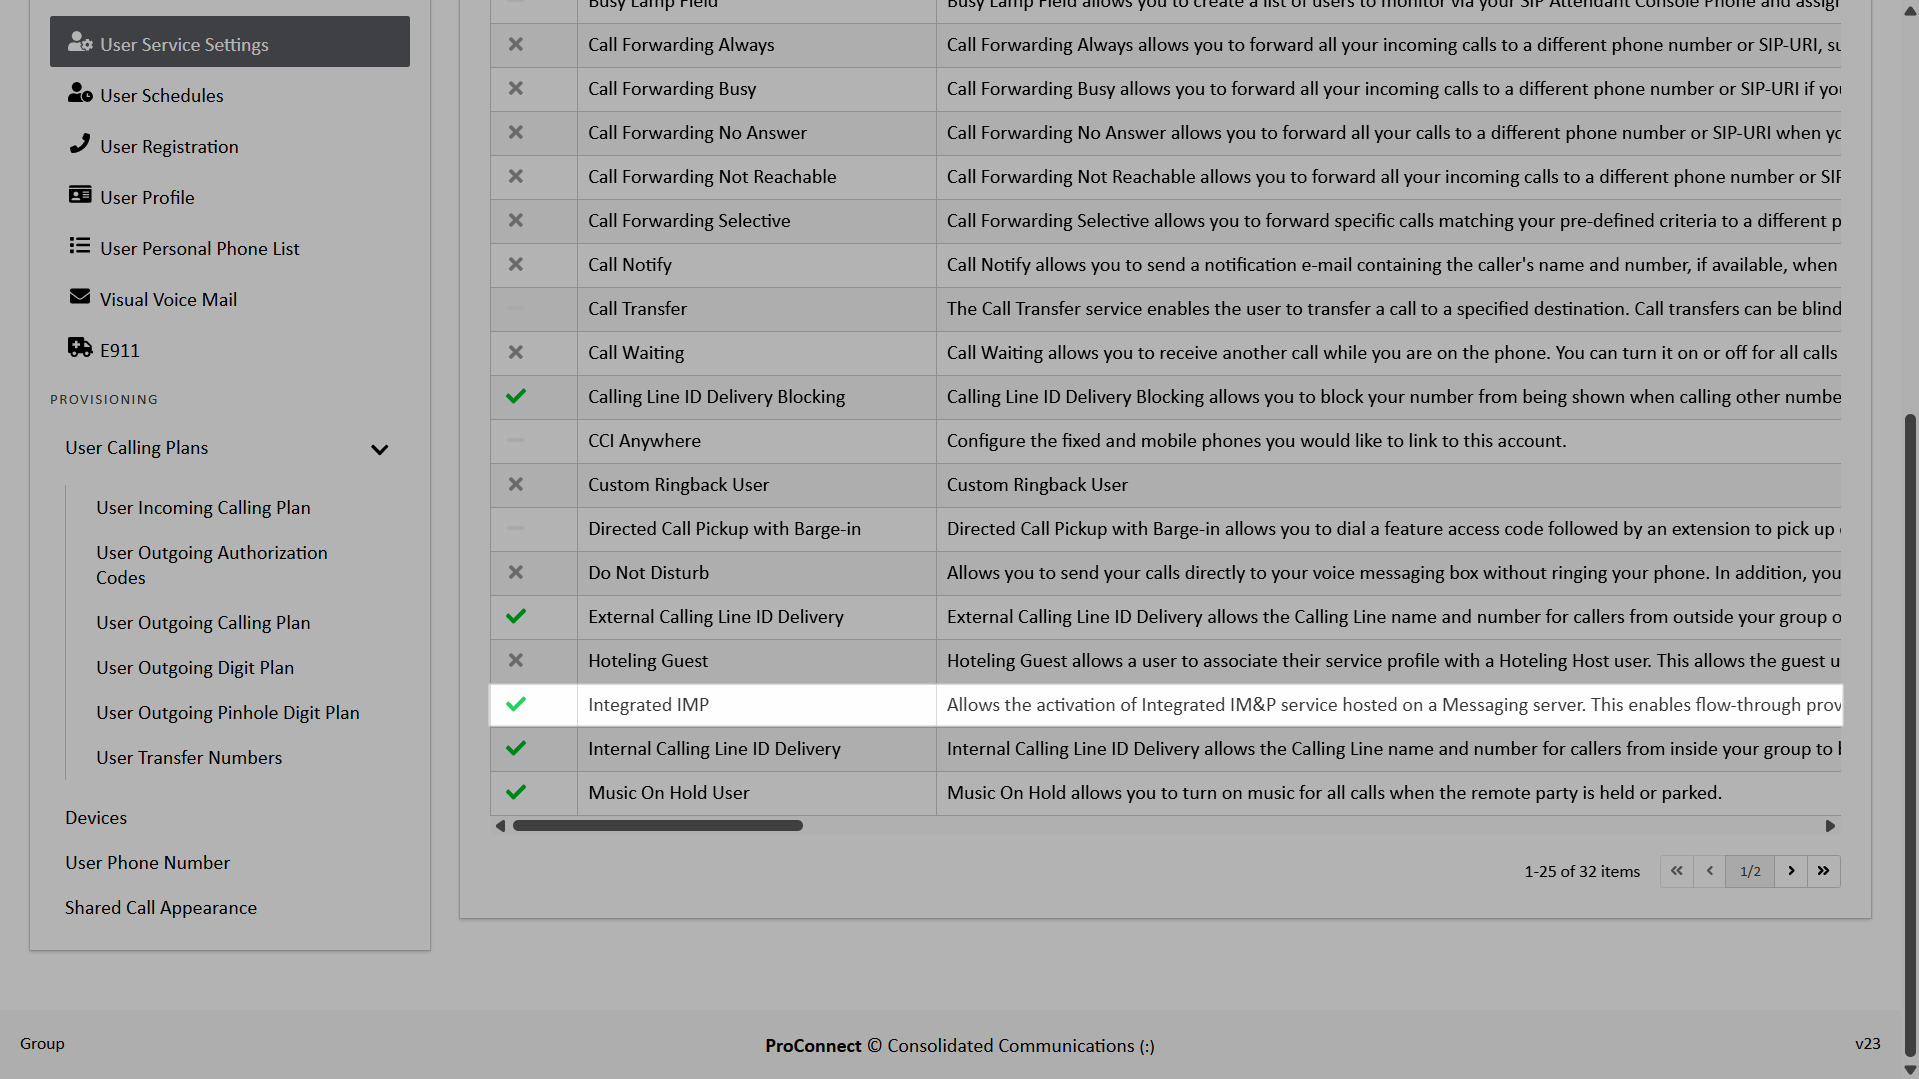
Configure Integrated IMP settings
Administrators can configure Integrated IMP (Integrated Messaging and Presence) settings for a user. Integrated IMP enables the Integrated IM&P service hosted on a Messaging server which supports flow-through provisioning directly into that server. To configure Integrated IMP settings, follow these steps:
- From the dashboard, under Users, select your desired user.
- Within the Menu, select User Service Settings.
- From the list, select Integrated IMP.
- Click the Edit icon.
- Use the checkbox next to Enable Integrated IMP to enable or disable this feature. Note: If you are updating a user’s email address with an active Webex account, you must disable the Enable Integrated IMP feature before updating the email address.
- Click Save.