
1.
Manage Call Notify
Call Notify contacts you by email when incoming calls match your pre-defined criteria. Criteria can include a list of up to 12 phone numbers, a specified time schedule, or a holiday schedule. Criteria can also be combined — for example, an incoming call from a specific number during business hours on a weekday.
2.
Configure Call Notify
To configure Call Notify, follow these steps:
- From the dashboard menu, click User Service Settings.
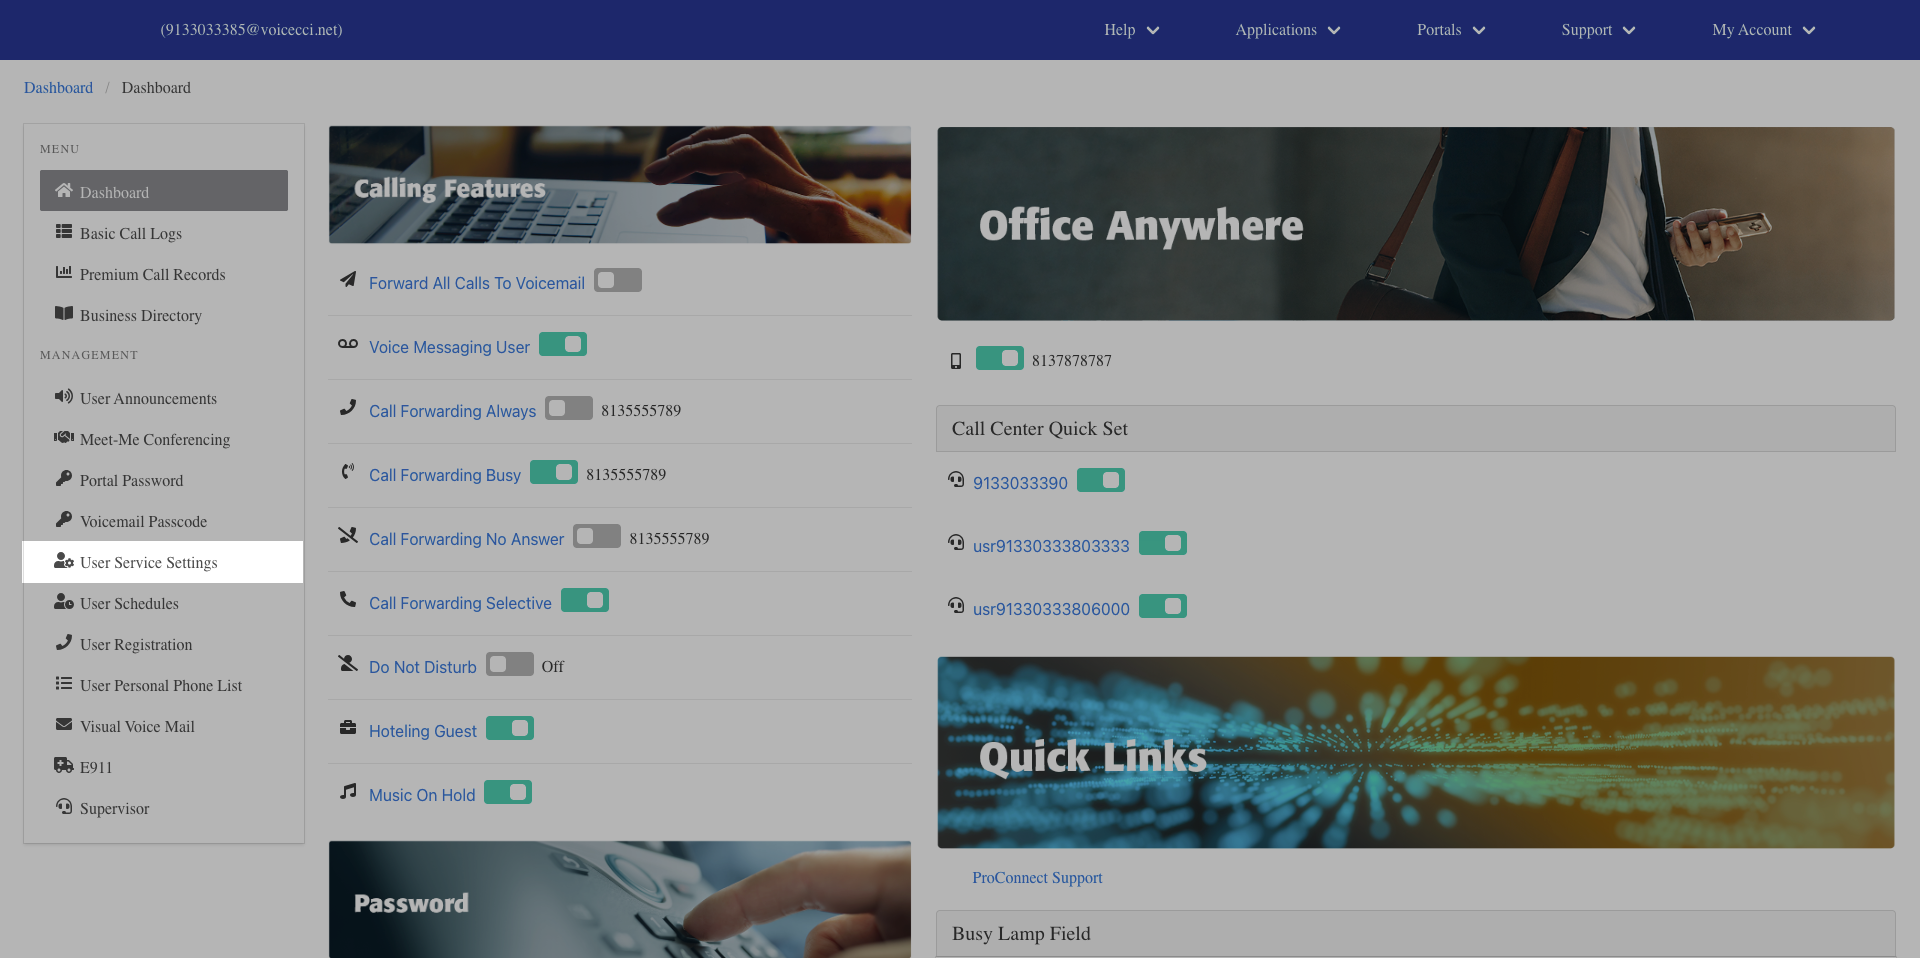
- On the Services page, click Call Notify.
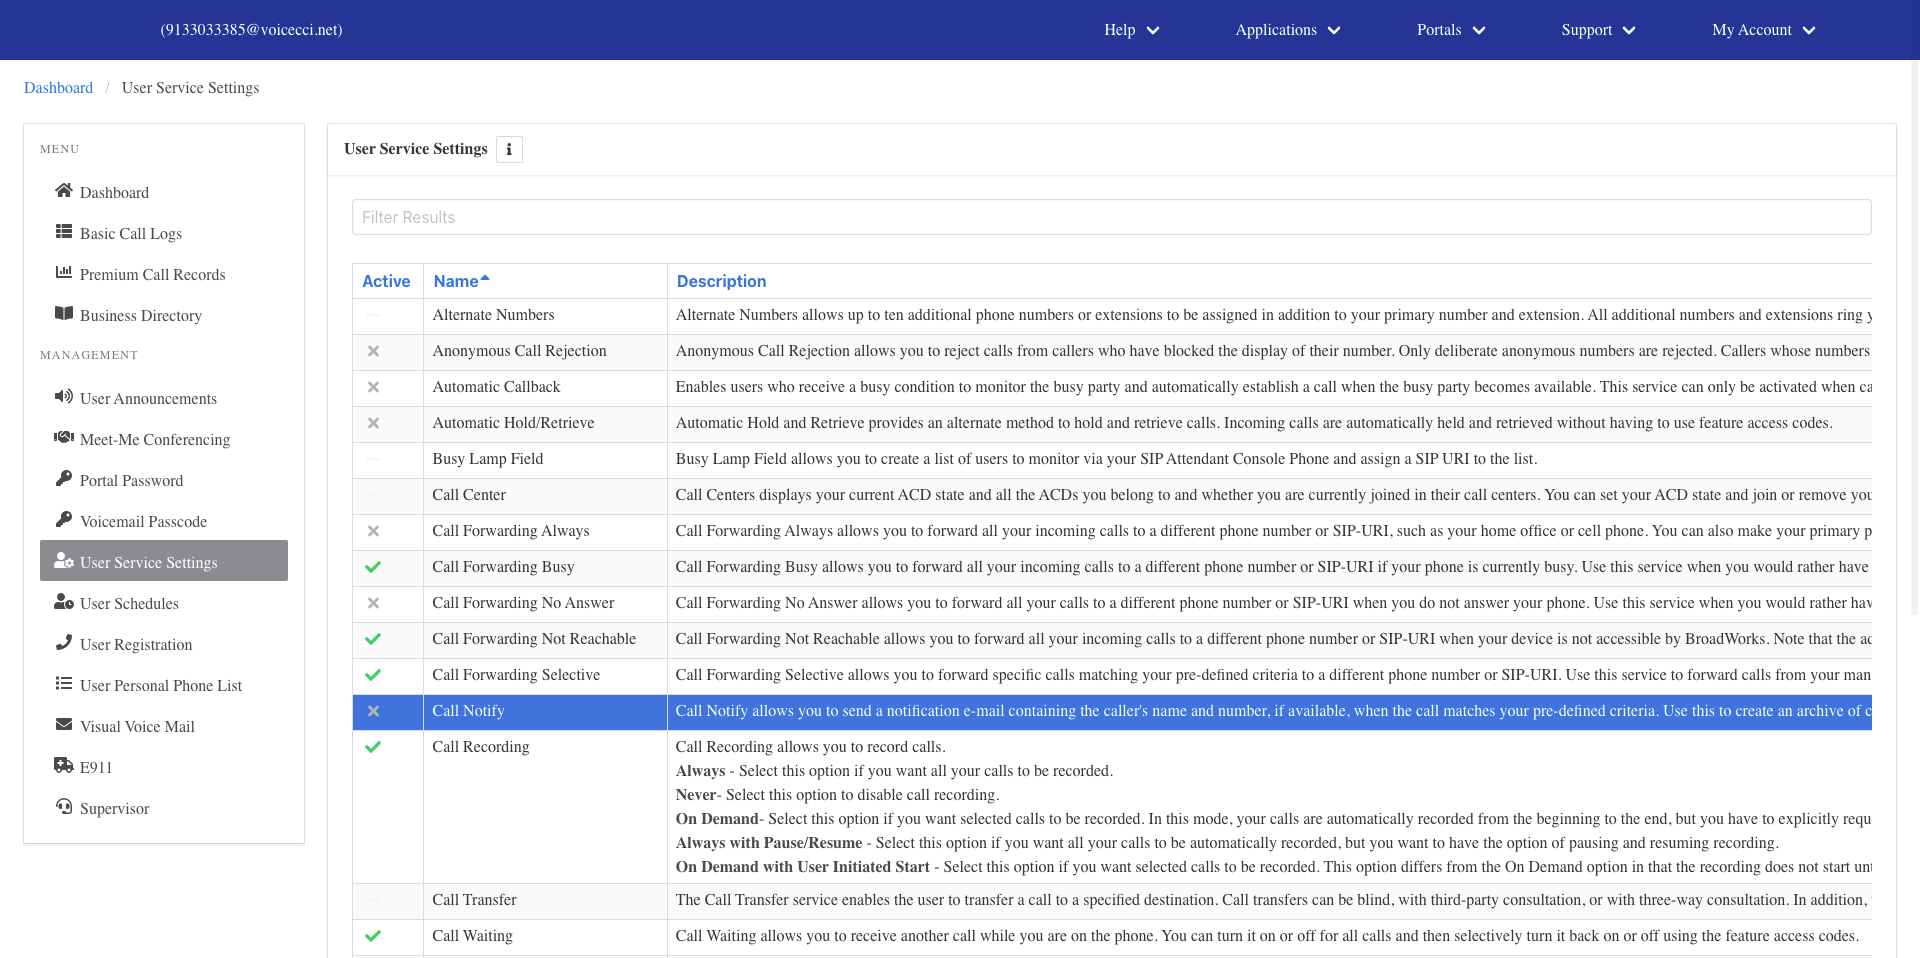
- Click the Edit icon in the Call Notify table.
- Enter a valid email address to receive notifications.
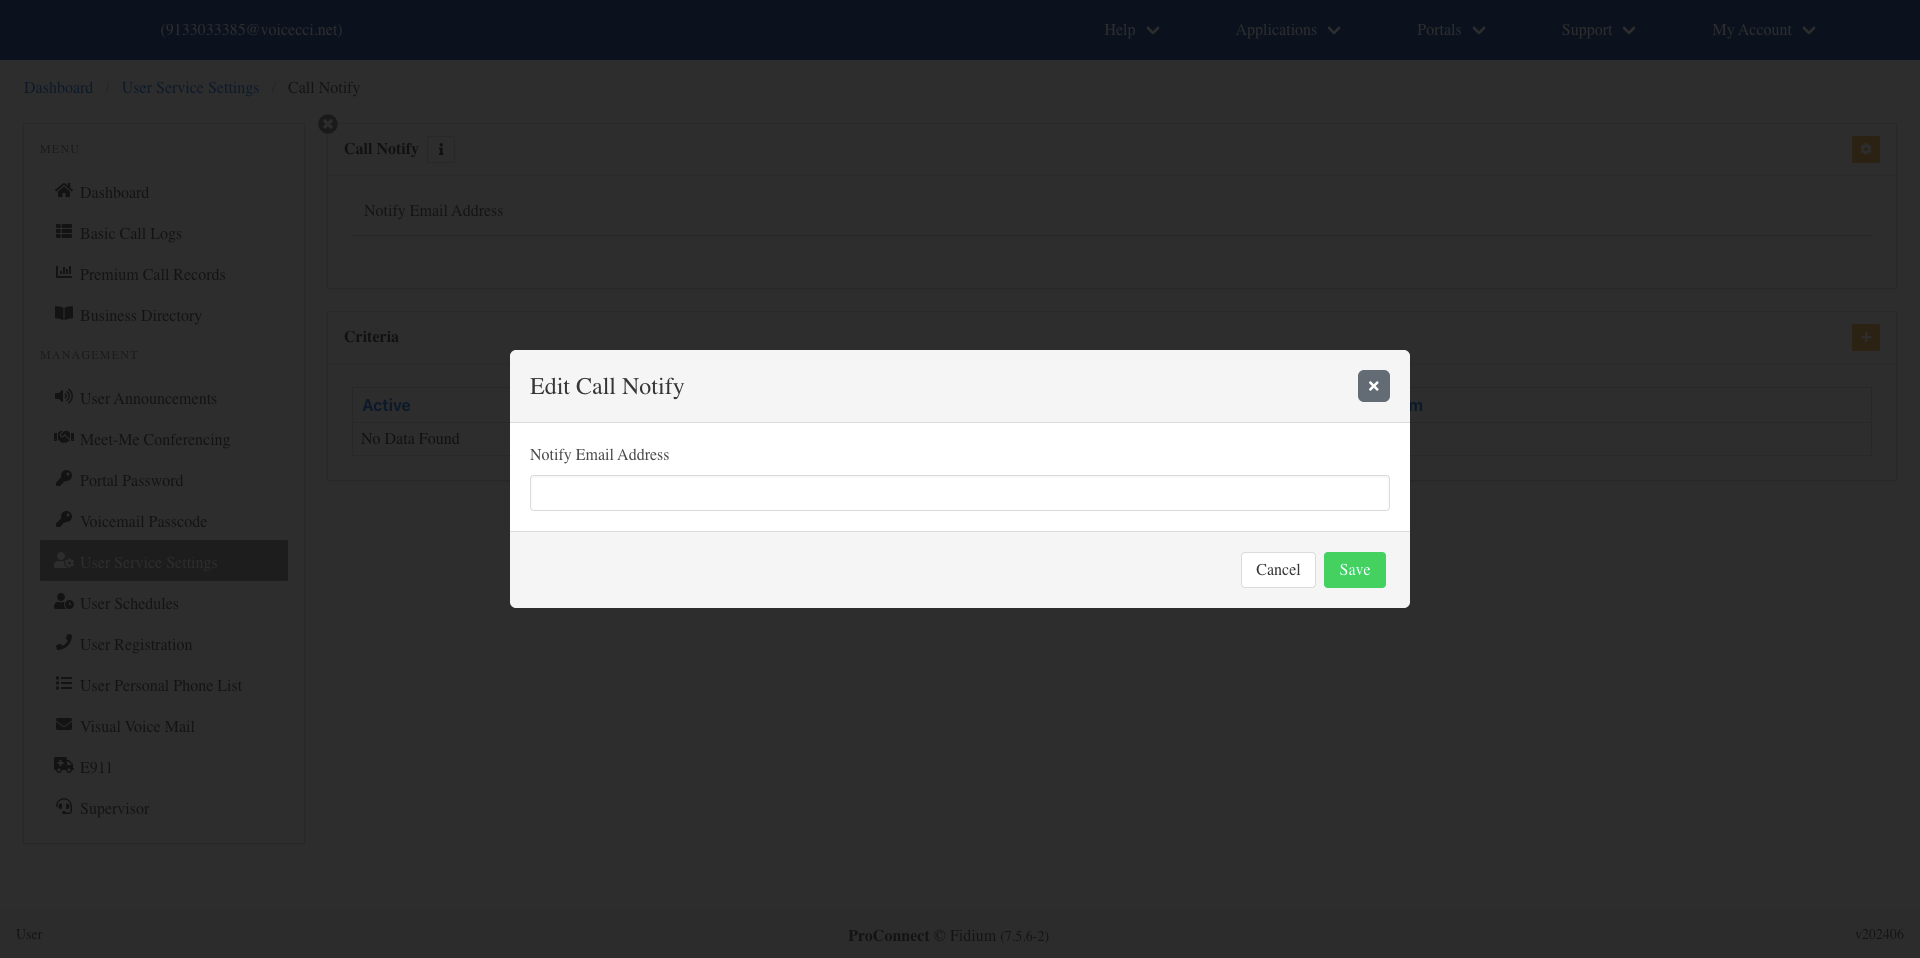
- Click Save.
3.
Add Criteria
Criteria allow you to apply specific notification settings at different times of the day or week. To add criteria, follow these steps:
- From the Call Notify page, click the Add icon in the criteria table.

- Check the Is Active checkbox to enable this criteria entry.
- Optionally, check the Blacklisted checkbox if you do not want to be notified when this criteria is met.
- Enter a name for the criteria.
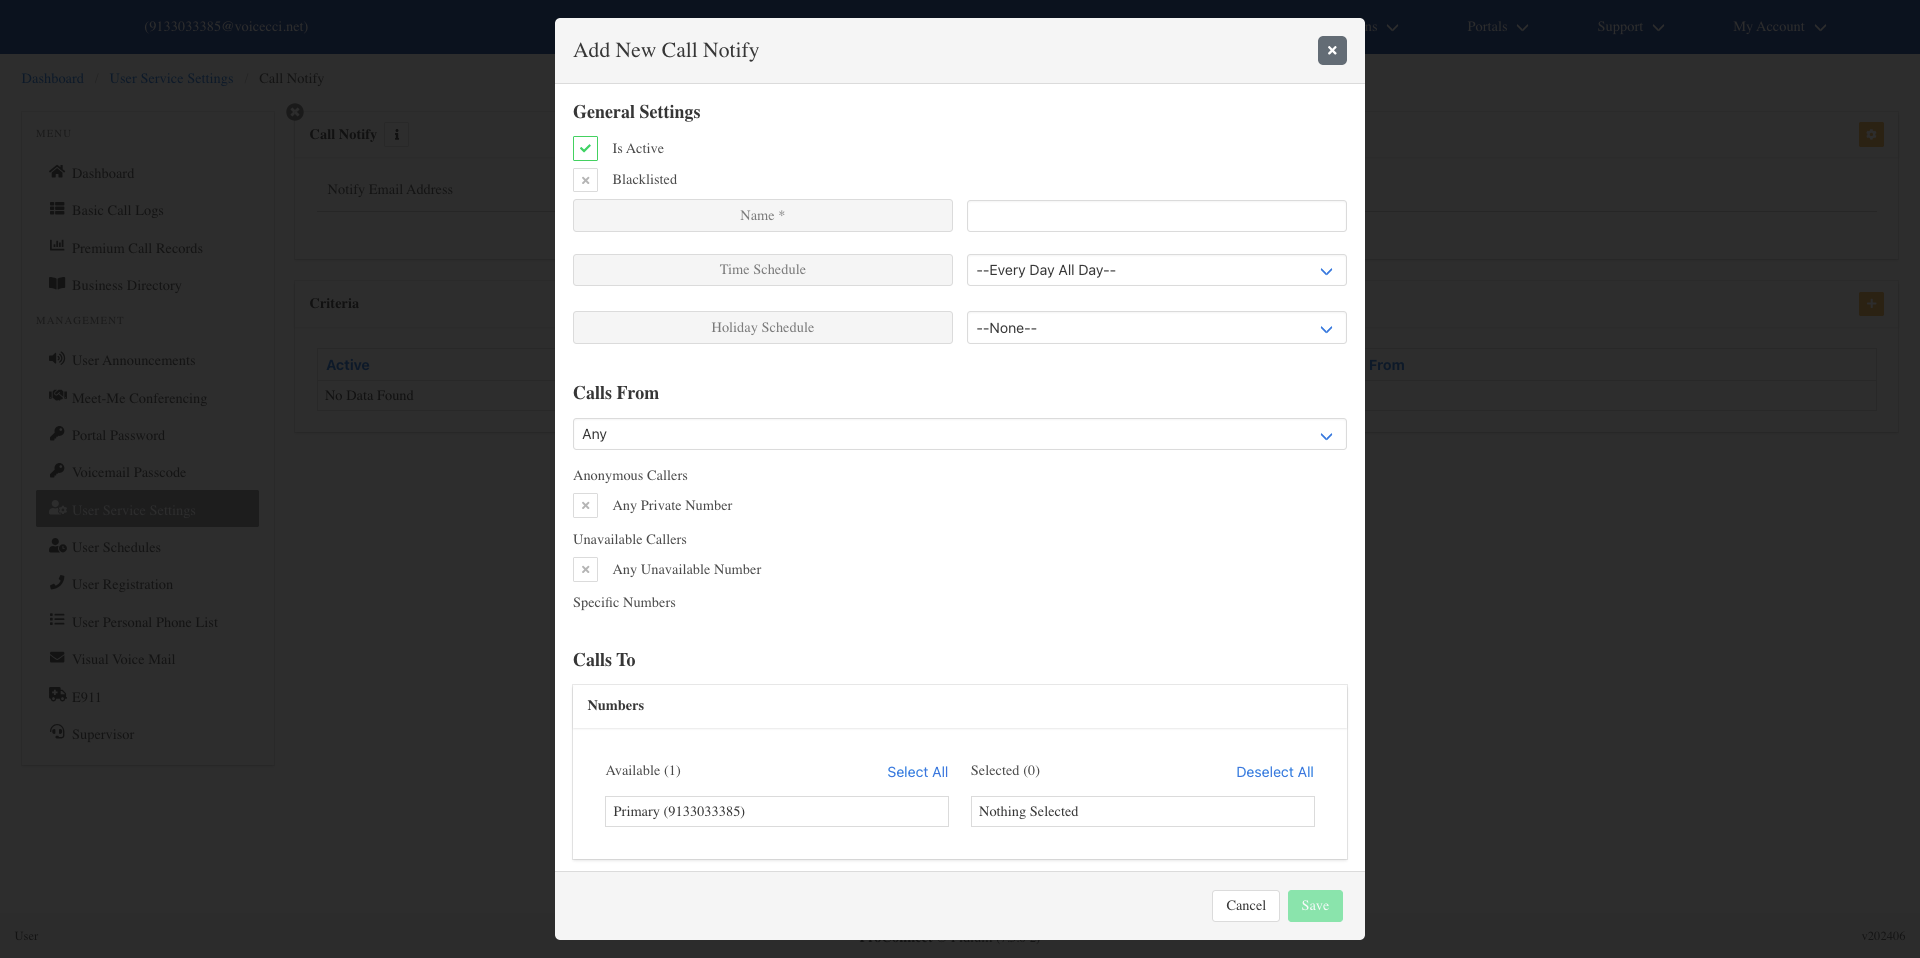
- Select a time or holiday schedule for when this criteria should be active:
- Time schedule — From the drop-down menu, select Every Day All Day or a group or user-created schedule. To create a schedule, refer to the User Schedules guide.
- Holiday schedule — From the Holiday Schedule drop-down menu, select the appropriate holiday schedule.
- From the Calls From drop-down menu, select one of the following:
- Any Number
- Any Private Numbers
- Any Unavailable Numbers
- Specific Numbers — Enter up to 12 valid 10-digit phone numbers in the fields provided.
- Optionally, select your Call To number by clicking the number you wish to use.
- Click Save. Your criteria are now set for this Call Notify entry.