1.
Manage Call Recording
The Call Recording service allows users to record inbound and outbound calls. Administrators and end users can configure call recording settings.
Note: Your system administrator may restrict access to certain settings. When restricted, some options will appear as read-only.
2.
Configure Call Recording
To configure Call Recording, follow these steps:
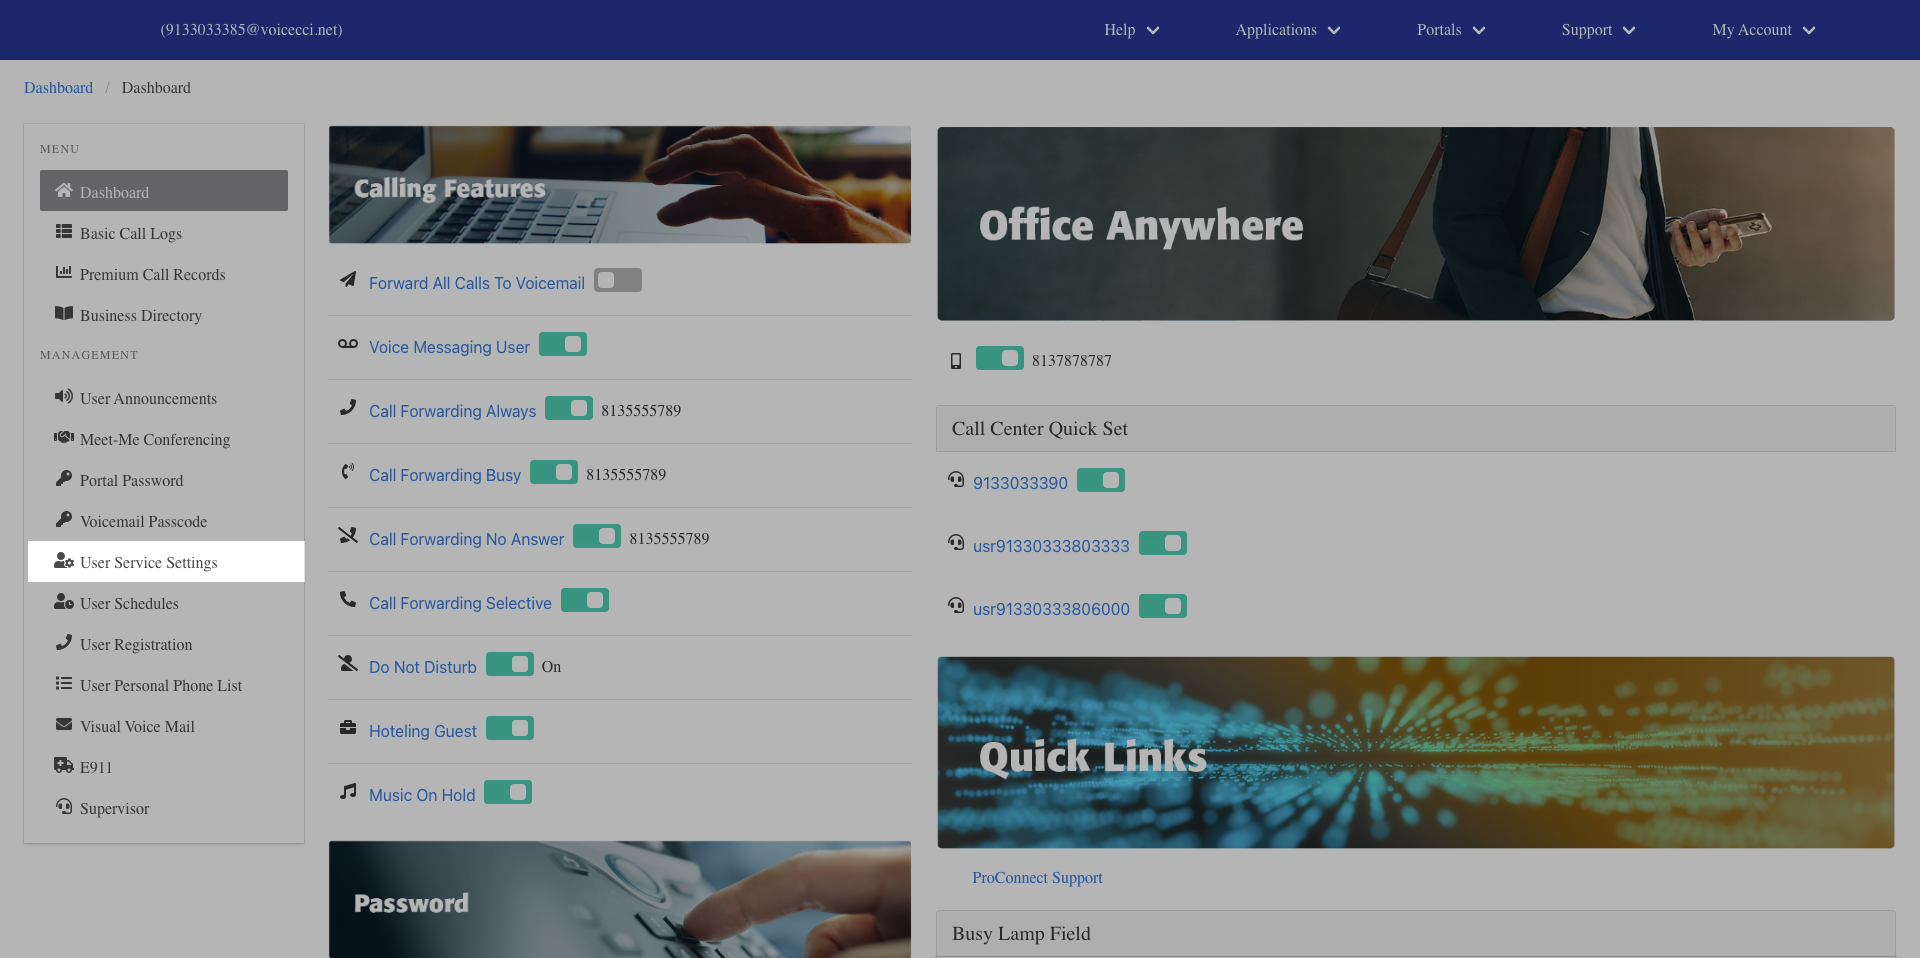
- From the dashboard menu, click User Service Settings.
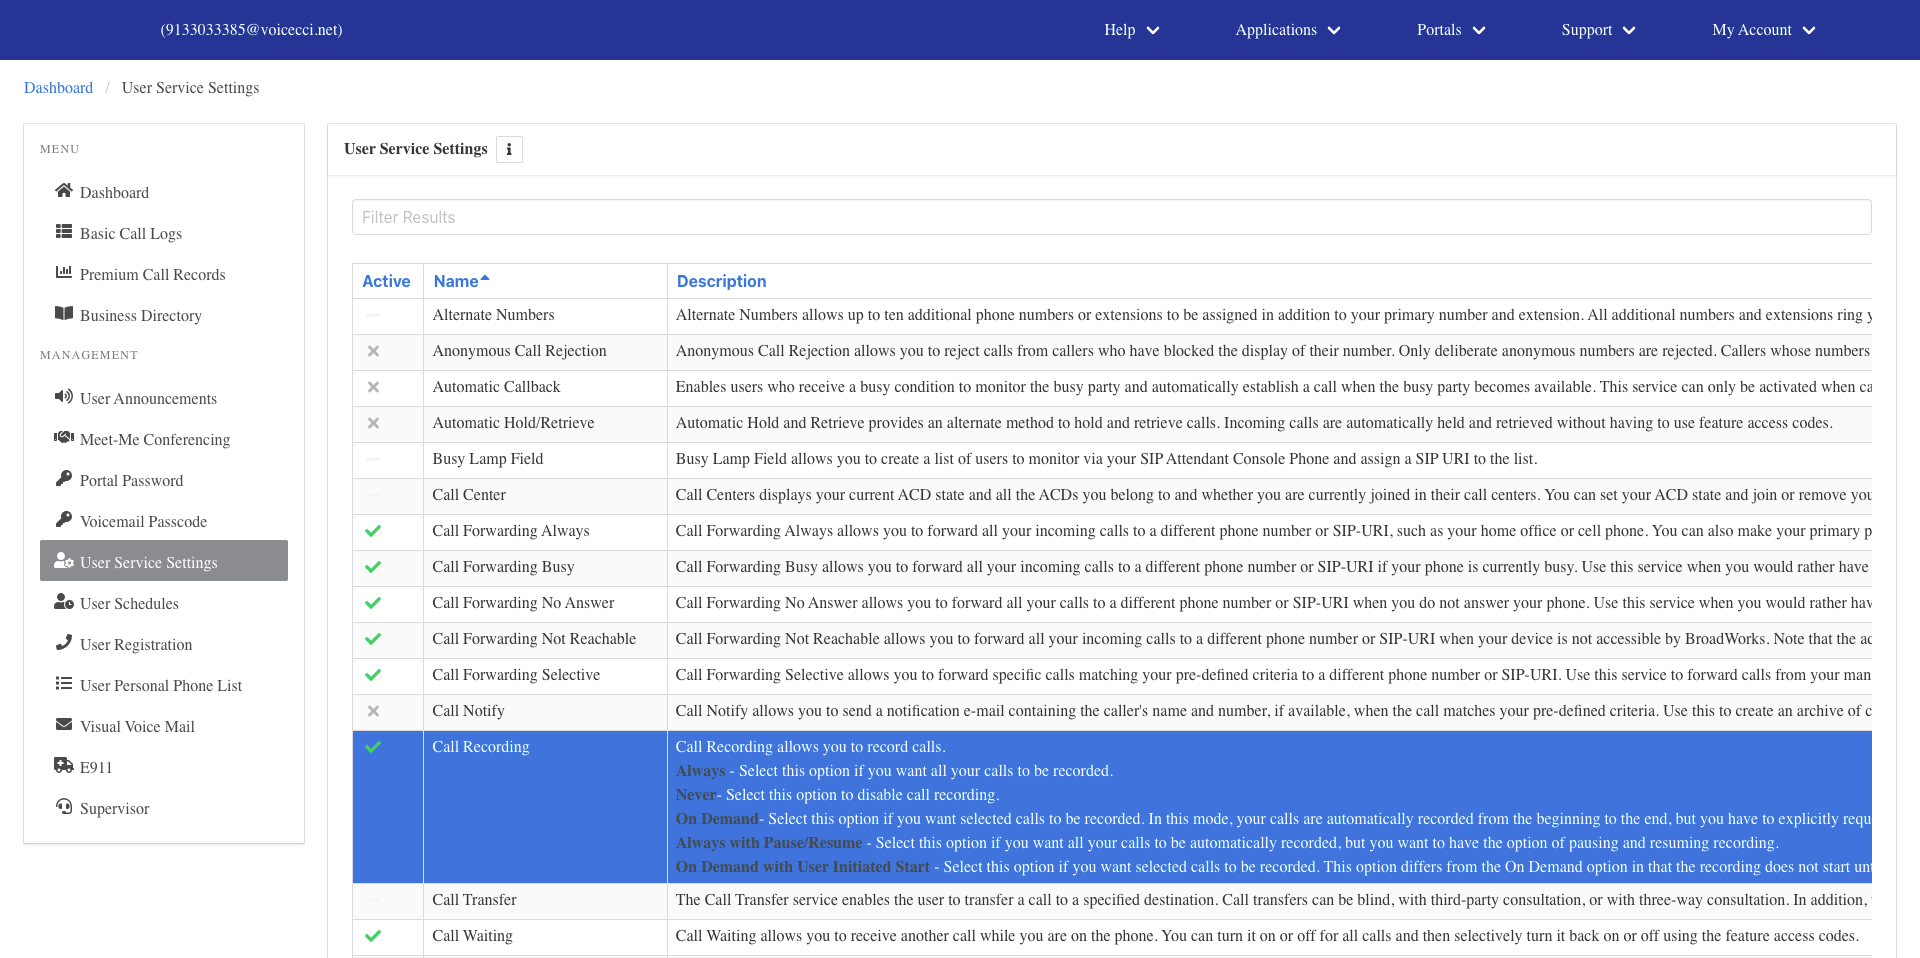
- On the Services page, click Call Recording.
- Click the Edit icon to edit call recording options.
- Select the desired recording option:
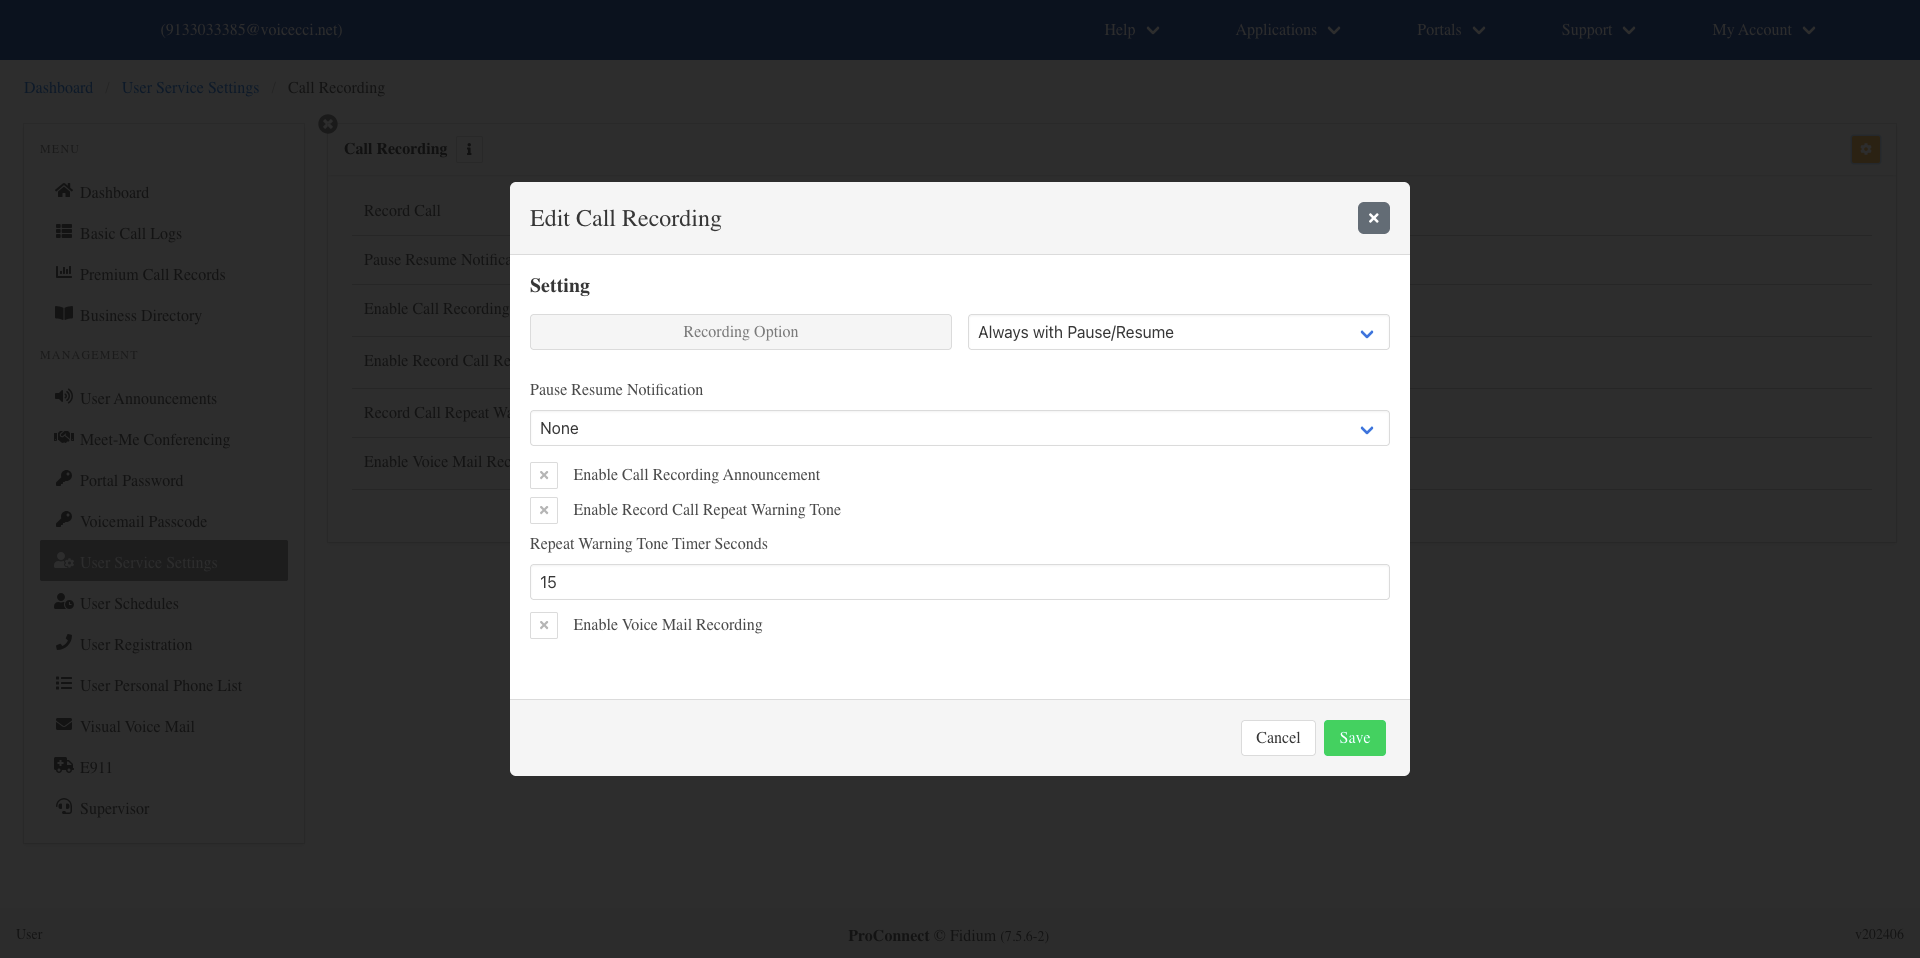
- Always — Records all calls automatically.
- Never — Disables call recording.
- On Demand — Records calls automatically but only saves them if recording is confirmed before the call ends. Recording can be paused and resumed.
- Always with Pause/Resume — Records all calls automatically with the ability to pause and resume recording.
- On Demand with User Initiated Start — Recording does not begin until manually started. Once started, recording can be paused, resumed, or stopped.
- Select how users are notified when recording is paused or resumed:
- None — No notification.
- Beep — Plays a tone.
- Play Announcement — Plays an announcement.
- Configure the following options as needed:
- Enable Call Recording Announcement — Notifies participants when recording starts or stops. Note: The system announcement cannot be customized.
- Enable Record Call Repeat Warning Tone — Plays a recurring tone during the call.
- Repeat Warning Tone Timer Seconds — Enter the number of seconds between each warning tone.
- Enable Voice Mail Recording — Records calls made to voicemail. Note: This option is only displayed if you have the Voice Messaging User service.
- Click Save to apply your changes.