MENU

1.
Manage Call Forwarding Selective
Call forwarding is a phone management feature that redirects incoming calls to an alternate number, such as a cell phone, home phone, or a colleague's number.
Call Forwarding Selective allows you to forward specific calls matching pre-defined criteria to a different phone number. Criteria can include a list of up to 12 phone numbers, a specified time schedule, or a holiday schedule. All criteria for an entry must be satisfied for the call to be forwarded. If the call does not meet the criteria, it continues as if this service was not turned on.
2.
Add Criteria
Criteria allow you to apply specific call forwarding settings at different times of the day or week. To add criteria, follow these steps:
- From the dashboard menu, click User Service Settings.
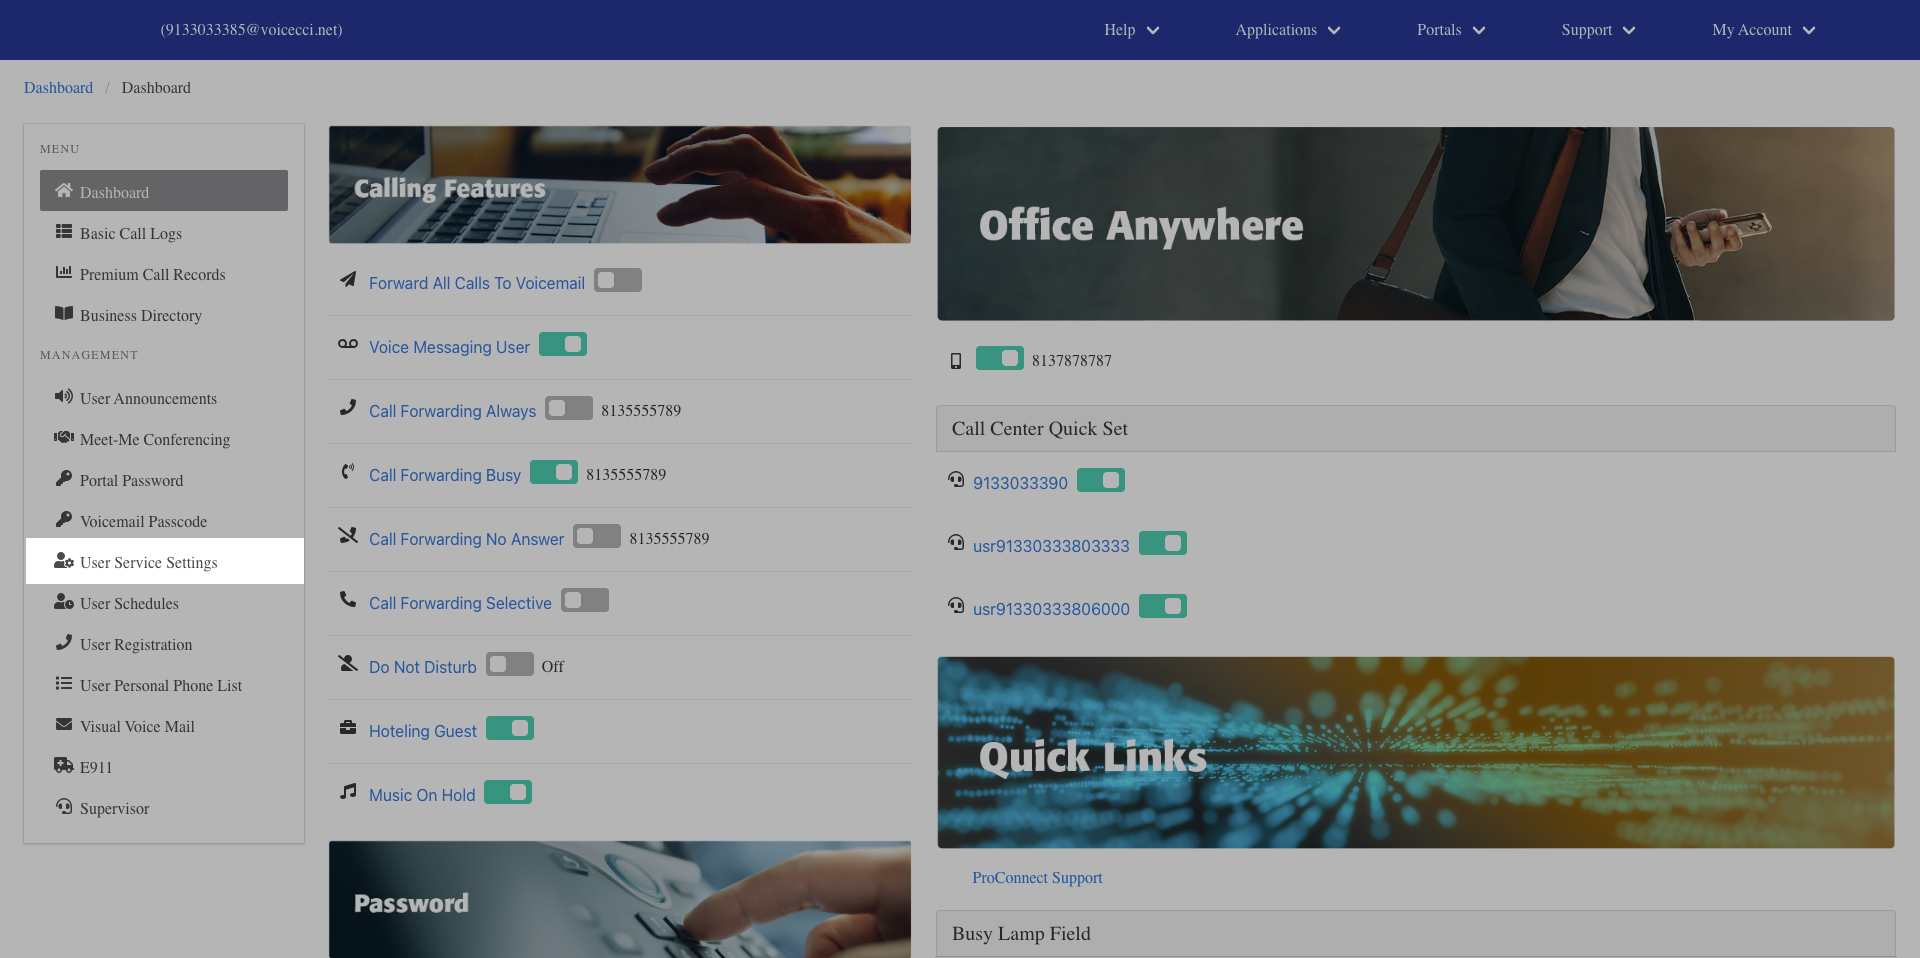
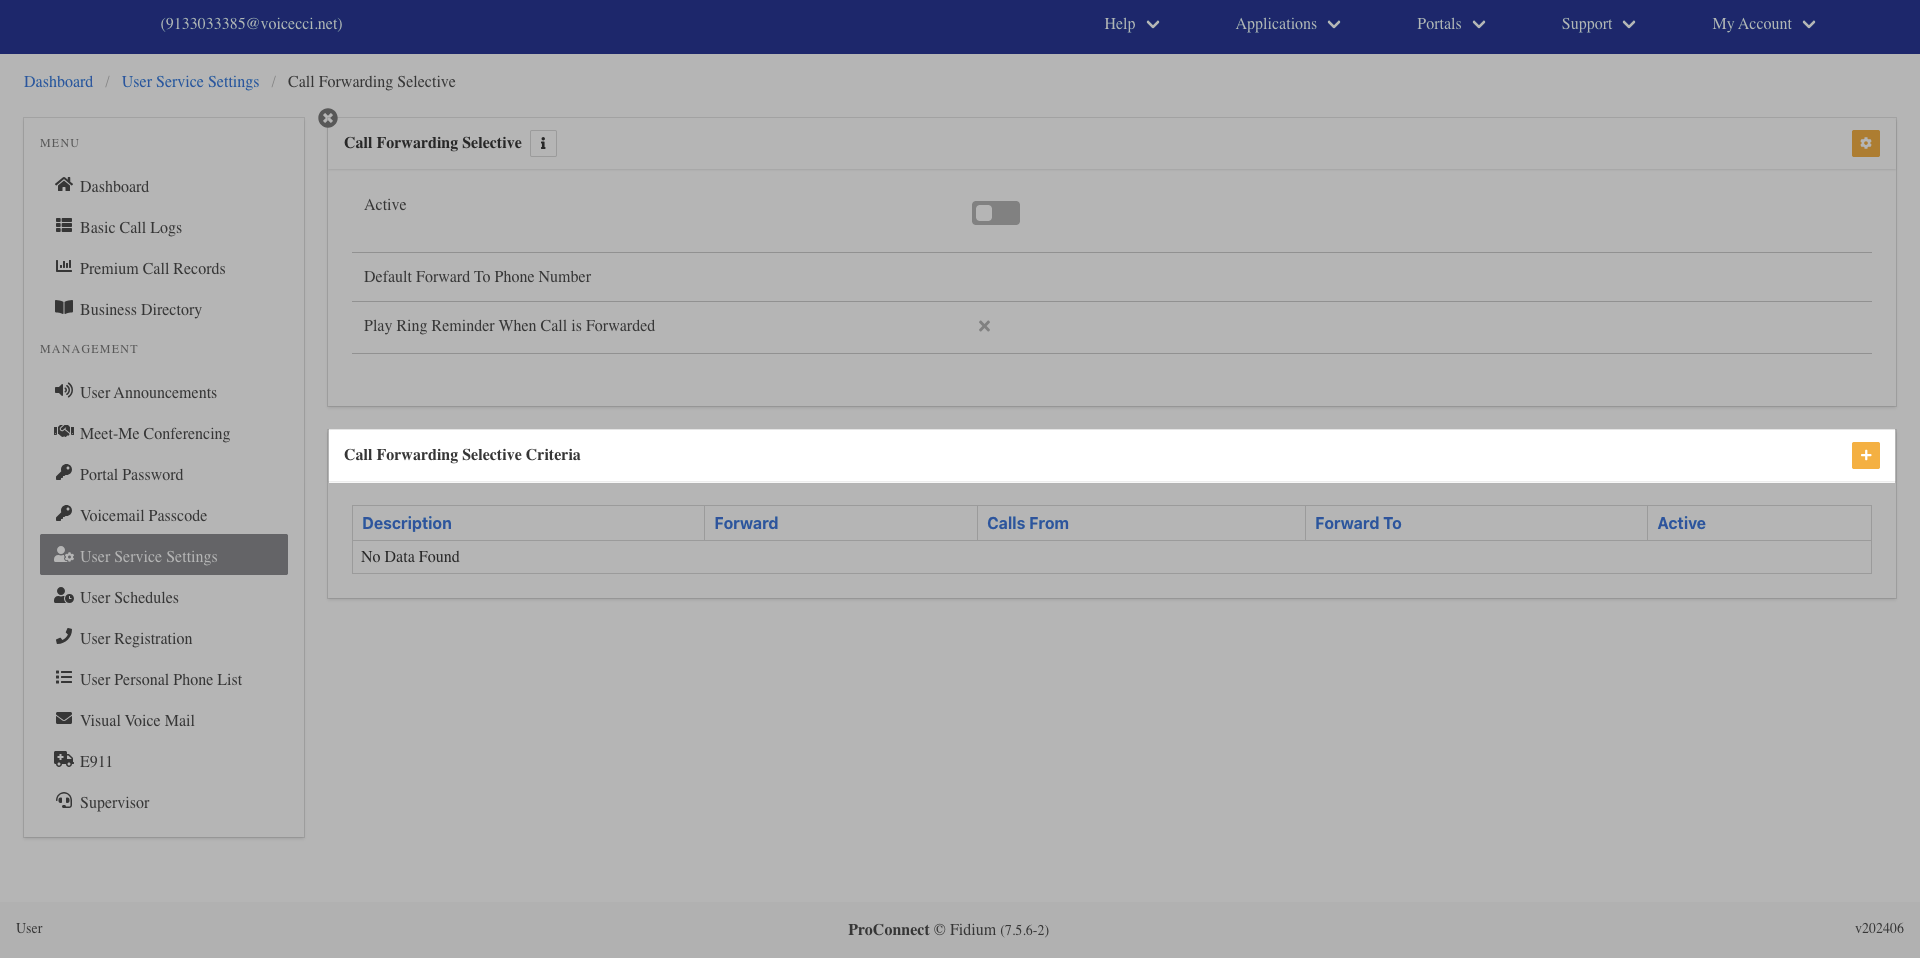
- On the Services page, click Call Forwarding Selective.

- From the Call Forwarding Selective page, click the Plus icon in the criteria table.
- Enter a description for the criteria.
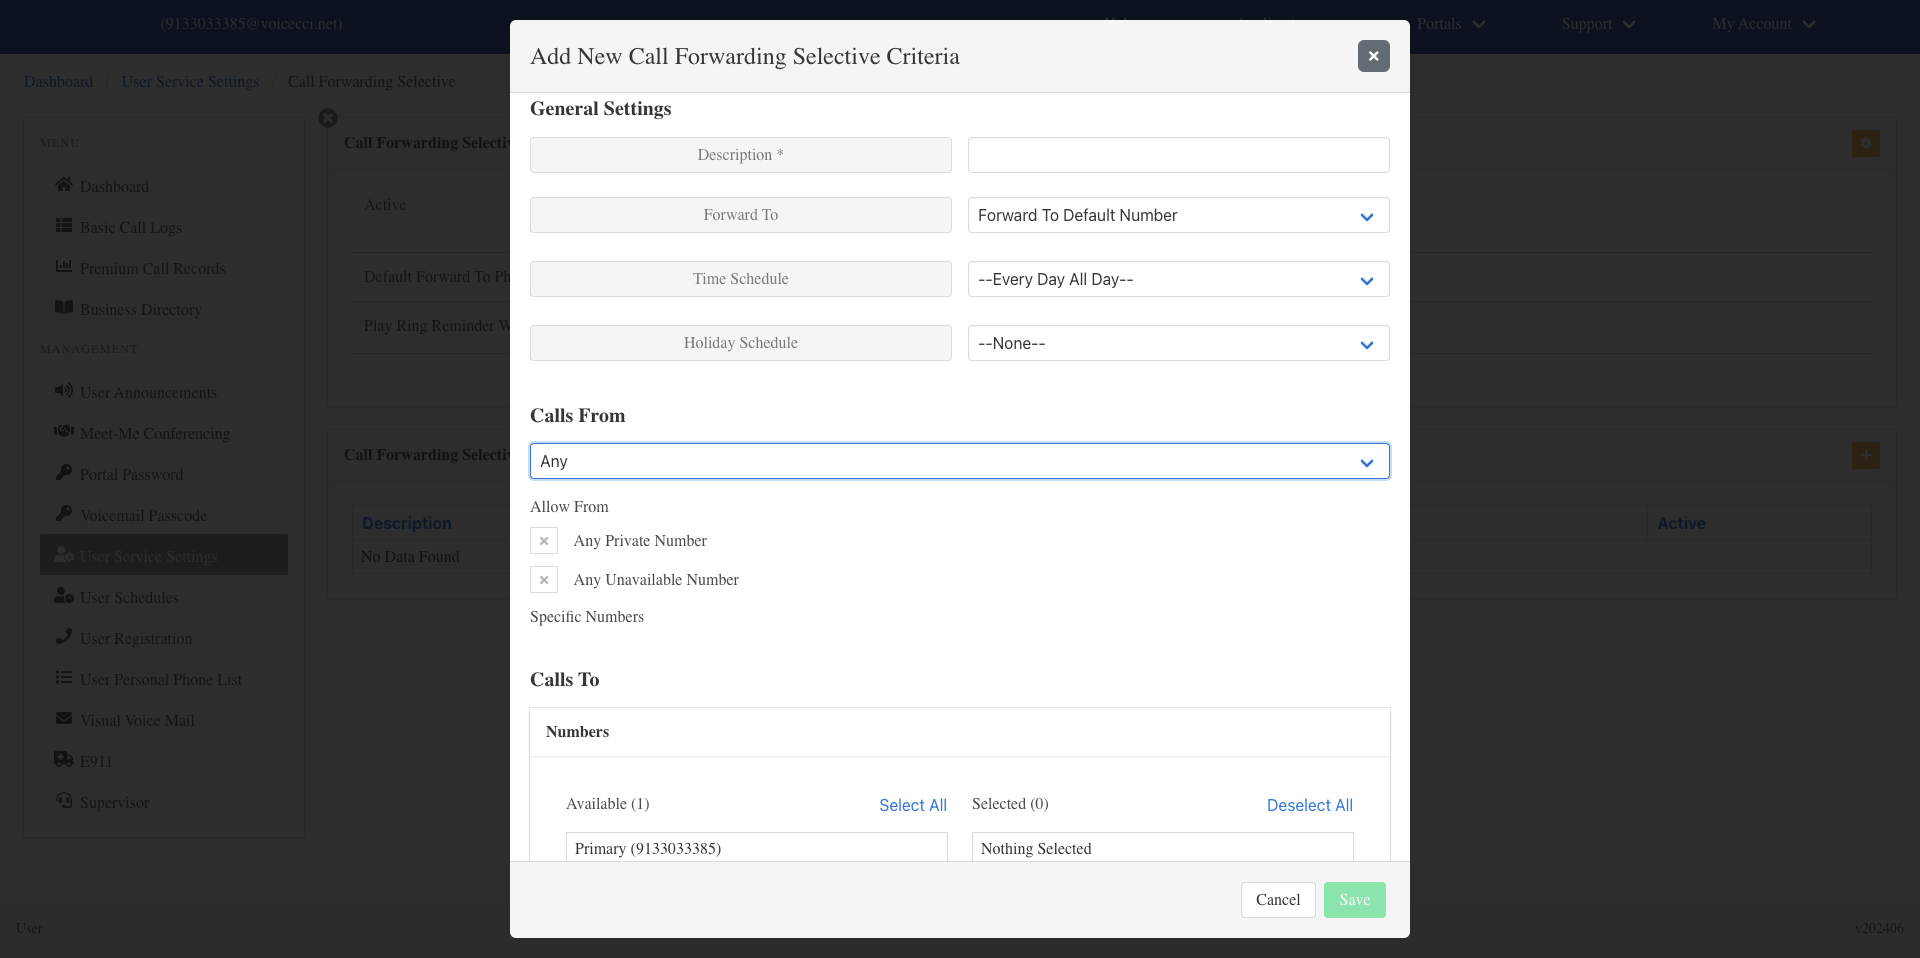
- From the drop-down menu, select the appropriate forward action:
- Forward to Default Number
- Forward to a Specified Number
- Do not forward
- Select a time or holiday schedule for when this criteria should be active:
- Time schedule — From the drop-down menu, select Every Day All Day or a user-created schedule. To create a schedule, refer to the User Schedules guide.
- Holiday schedule — From the Holiday Schedule drop-down menu, select the appropriate holiday schedule.
Note: Choose either a time schedule or a holiday schedule for each criteria entry. To use both, add separate criteria entries.
- From the Calls From drop-down menu, select one of the following:
- Any Number
- Specified Only — Enter up to 12 valid 10-digit phone numbers in the fields provided.
- (Optional) Under Allow From, select any of the following:
- Any Private Number
- Any Unavailable Number
- (Optional) Select your Call To number by clicking the number you wish to use.
- Click Save. Your criteria are now set for this Call Forwarding Selective entry.
3.
Enable Call Forwarding Selective
To enable Call Forwarding Selective, follow these steps:
- From the dashboard menu, click User Service Settings.
- On the Services page, click Call Forwarding Selective.
- Click the Edit icon in the Call Forwarding Selective table.
- Check the Is Active checkbox to activate the feature.
- Enter a valid 10-digit phone number to forward your calls to.
- (Optional) Check the Ring Reminder checkbox. When enabled, your phone will do a half-ring when a call comes in to remind you that your calls are being forwarded.
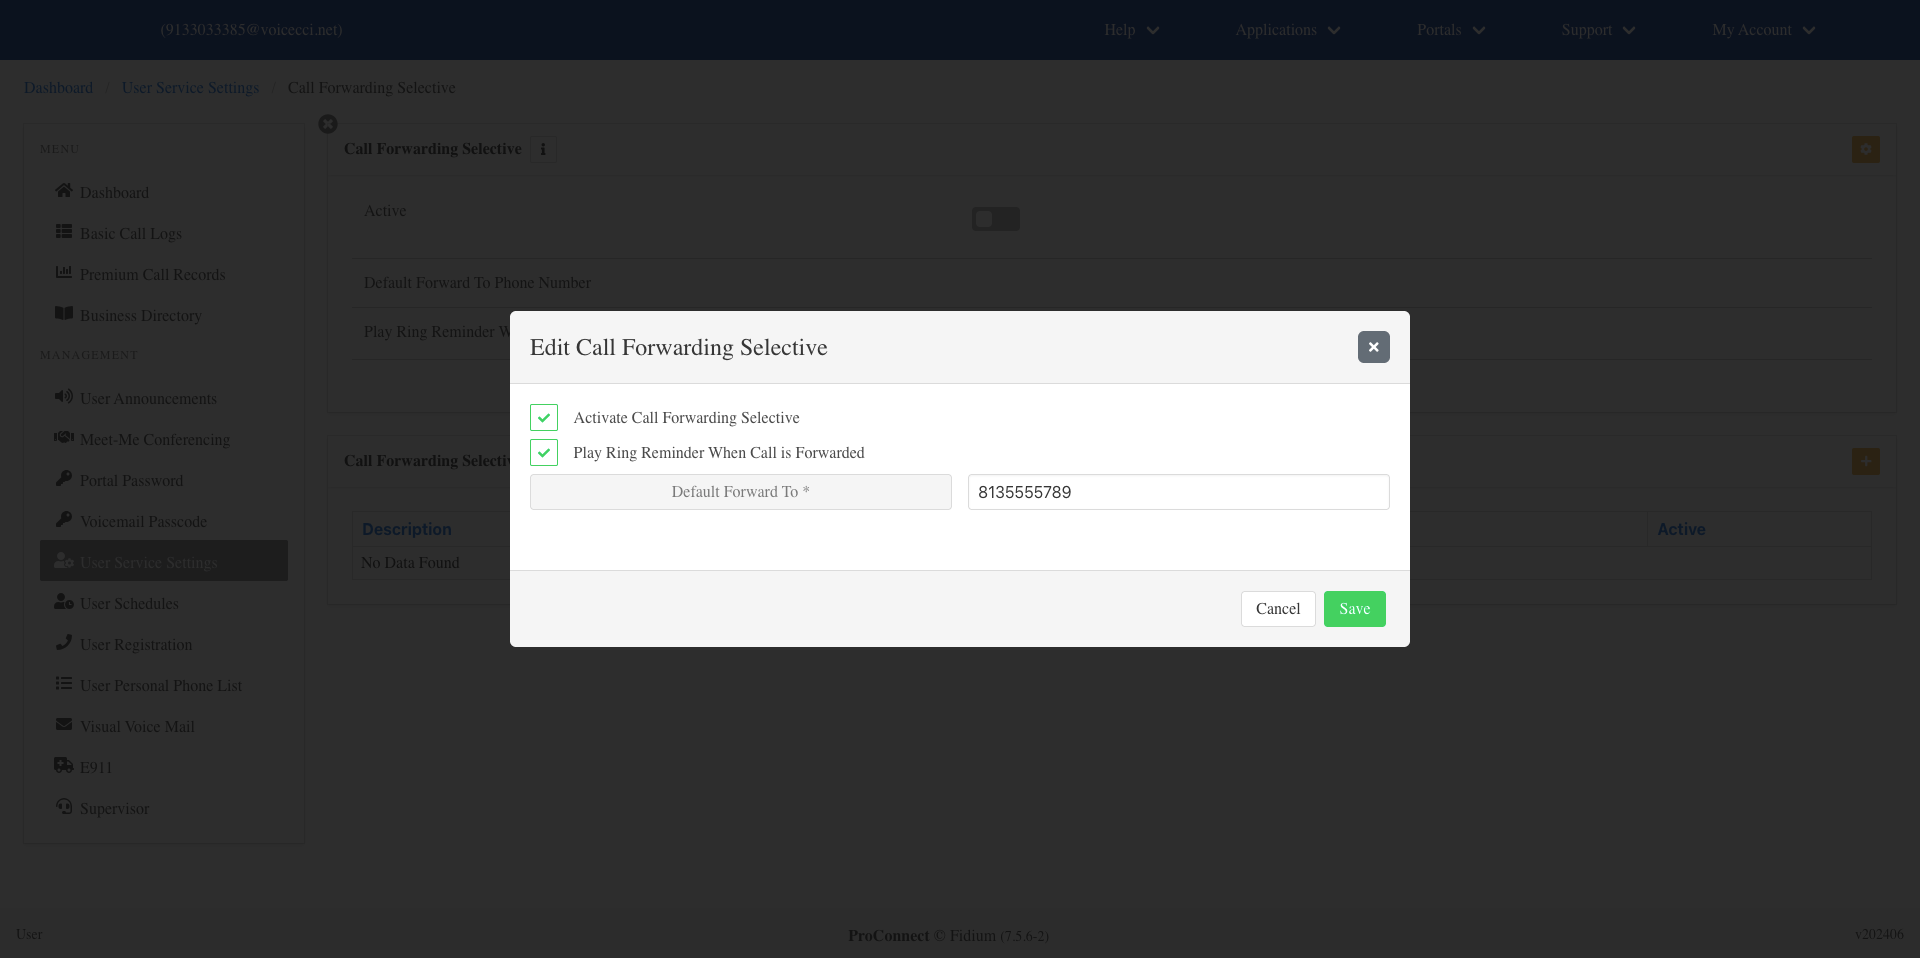
- Click Save.
4.
Disable Call Forwarding Selective
To disable call forwarding selective, follow these steps:
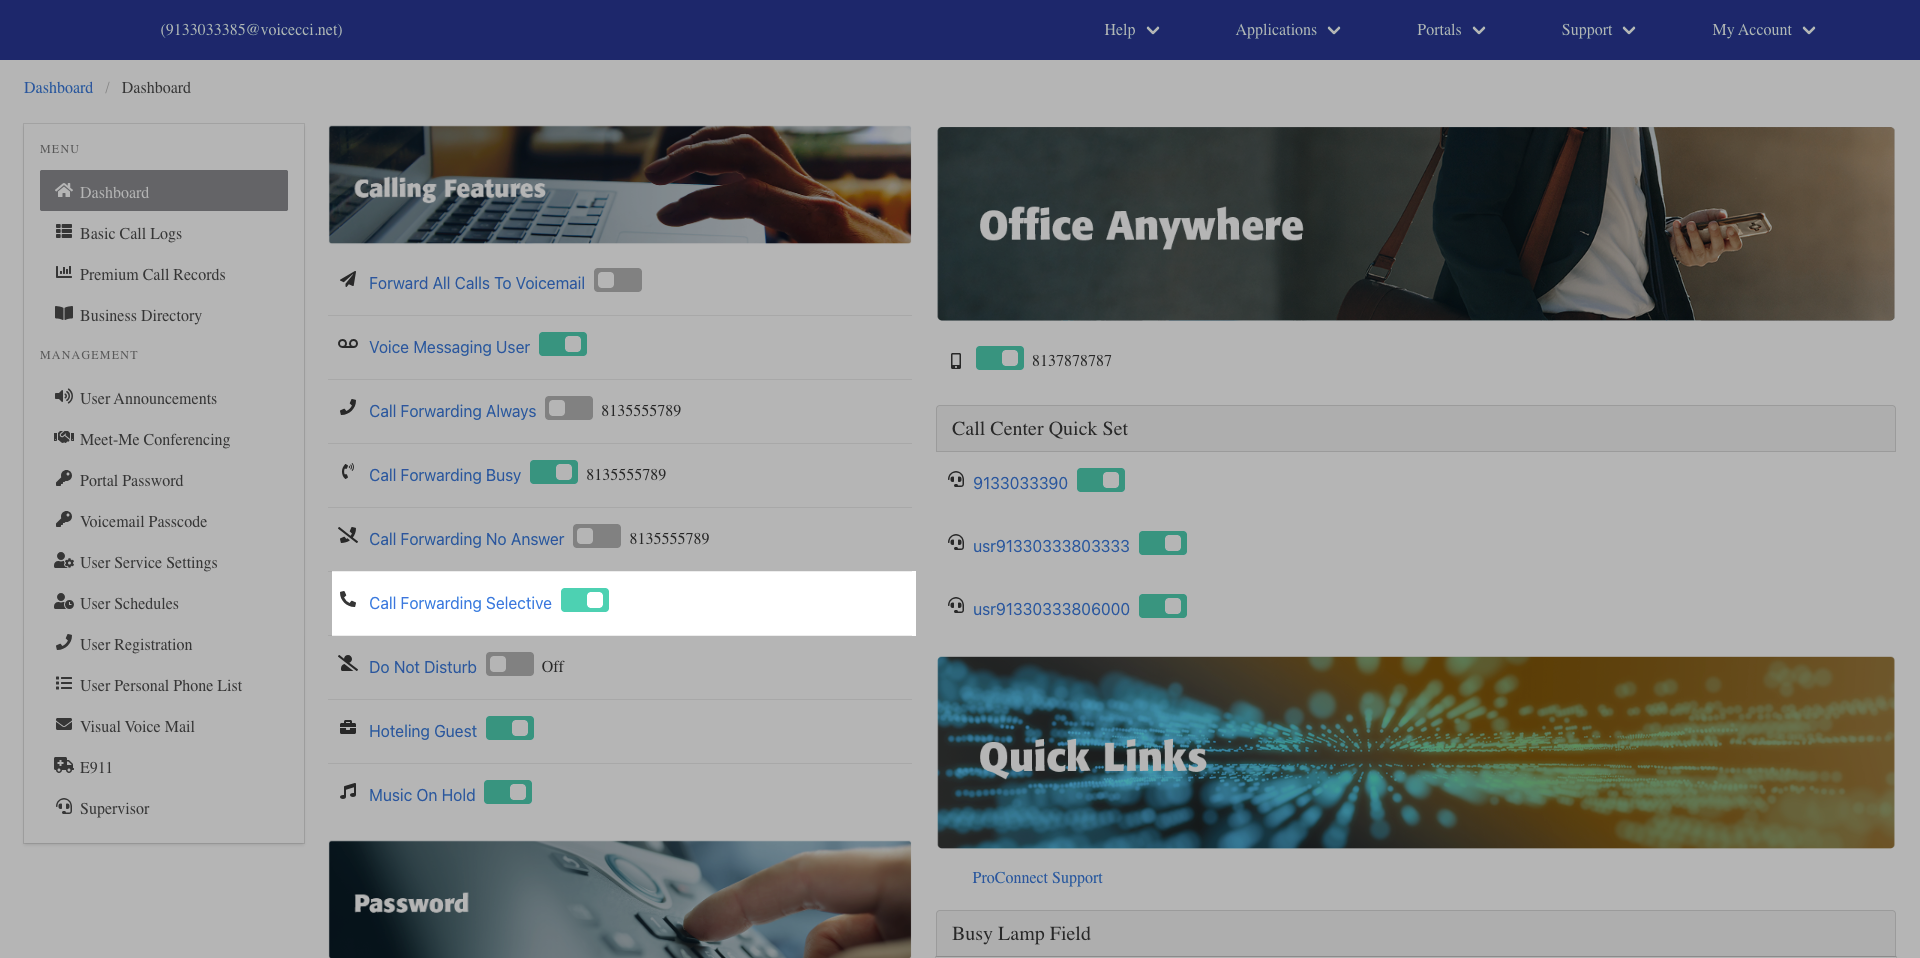
- From the main dashboard, under the Calling Features panel, click the Call Forwarding Selective hyperlink.
- Uncheck the Is Active checkbox. You can also disable criteria. Click each criteria toggle to turn it off.
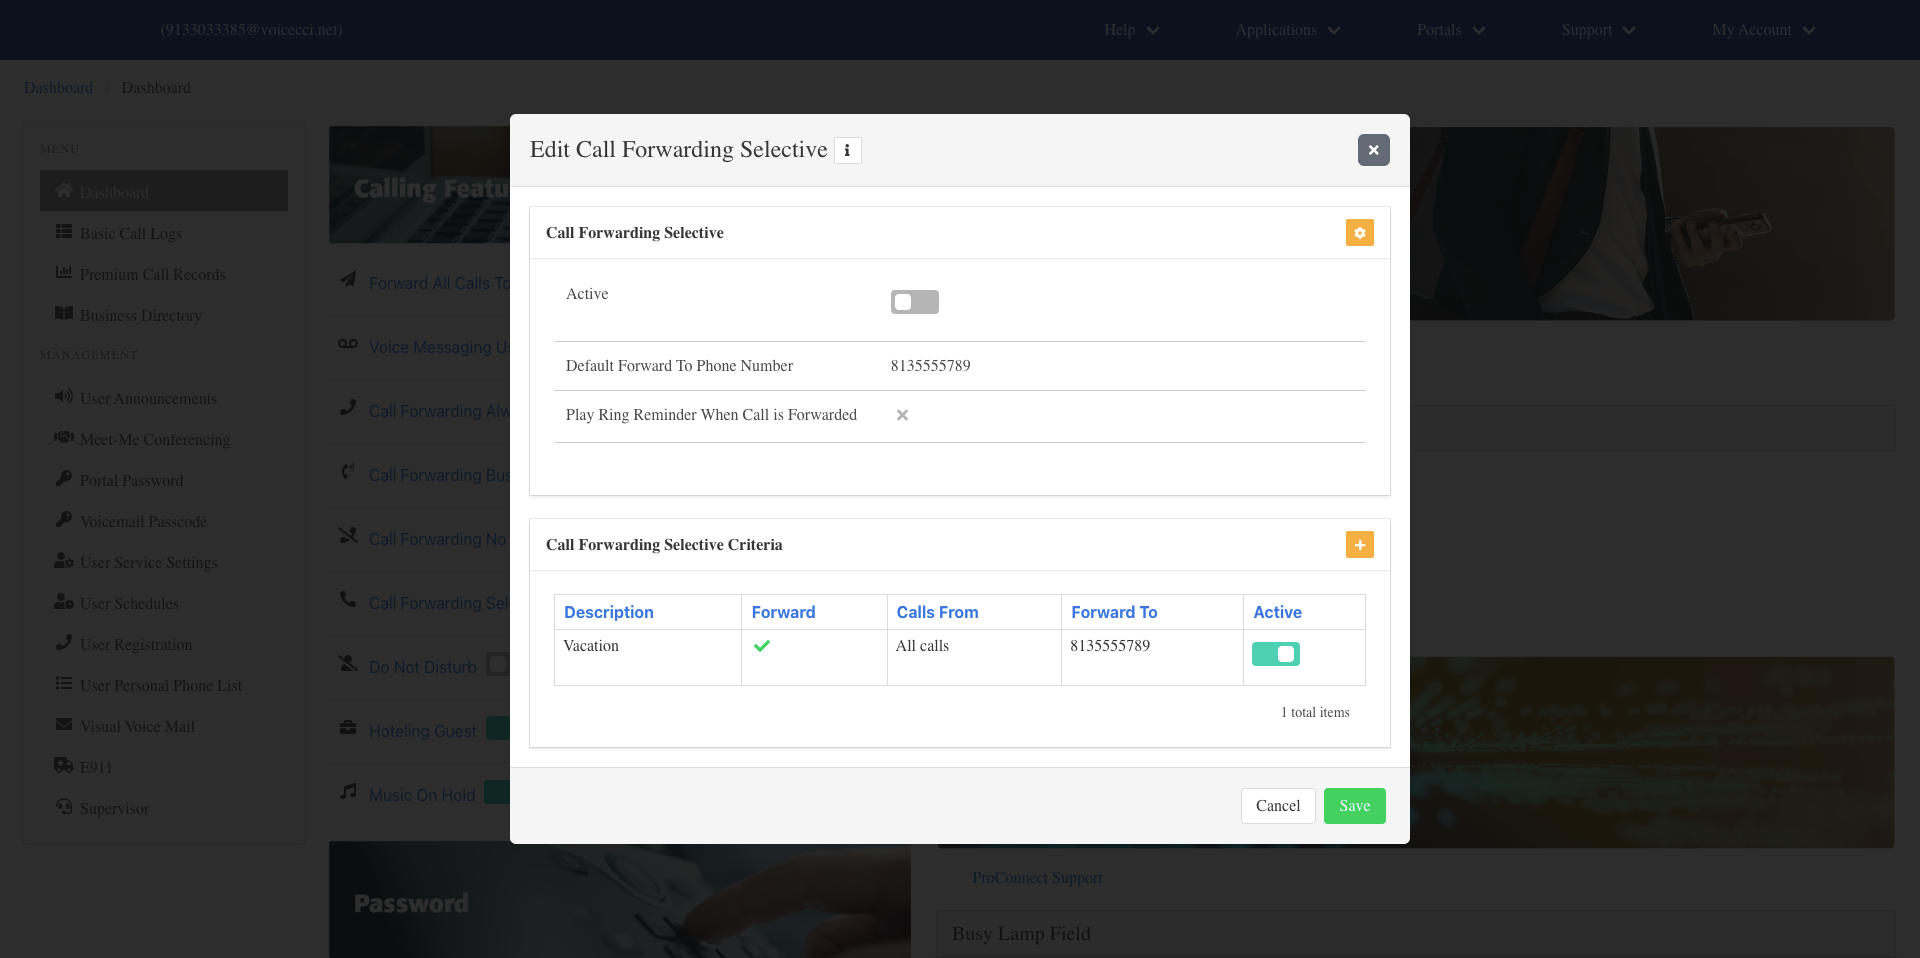
- Click Save.